Headlights and tail lights are the only source of vision for drivers while driving at night. Even if the street or road lights are on, headlights and tail lights play a significant role in safe driving. One of the recurring issues that vehicles face is moisture in headlights and tail lights, this issue hinders the night-time vision of the vehicles. Moisture also hinders potency and serviceable life of the headlights and tail lights.
If you are facing such issues, you could use the following steps to help yourself out.
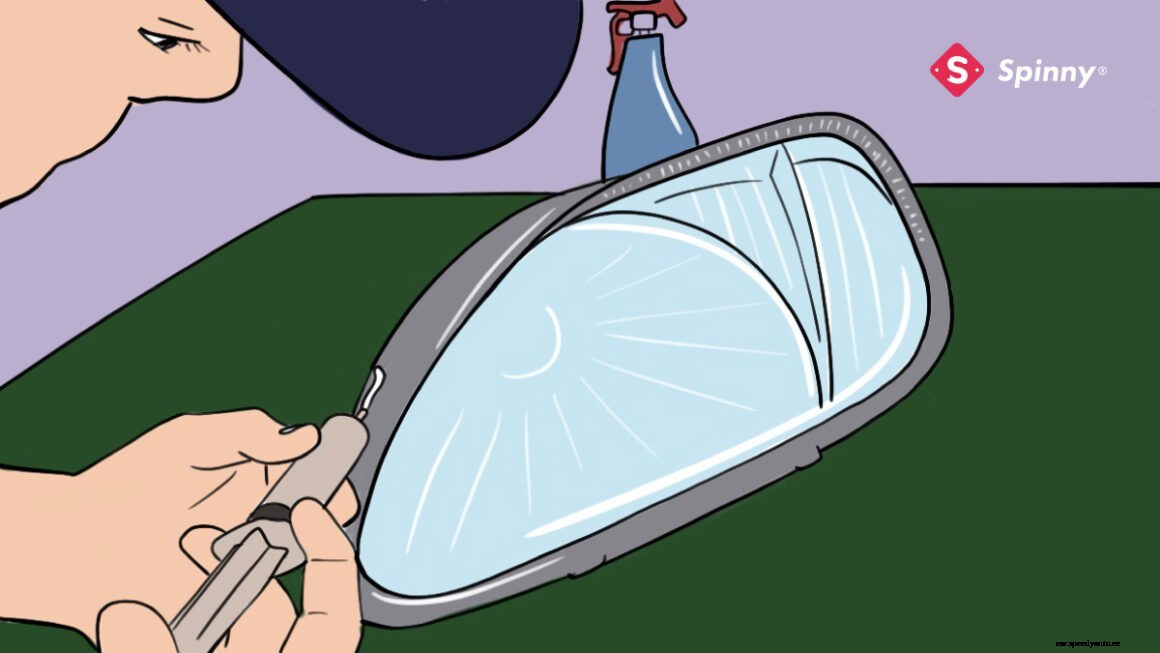
Before anything, disconnect the vehicle’s battery by disconnecting its cables. To unmount the headlight assembly, you would require a socket and a ratchet. To wrench the screws out, use a ratchet. Reading the car manual should suffice.

You should use a lint-free cloth for this job. Wipe off the moisture throughout the headlight assembly. Do check the area near the light and the corners. Don’t wipe hard as it could cause cracks in the glass and those draw more humidity in.
After removing all the moisture with the lint-free cloth, put Silica Gel packs in. Silica Gel is an easy and long-term solution for moisture inside the headlight assembly as it thoroughly absorbs the moisture present around it. Make sure you stick these gel packs with the tape to keep them static, so that they don’t come in the way of light.
This step entirely depends on the frequency of the issue of moisture you are facing. You can go ahead with this procedure if you frequently face moisture accumulation in your headlights. Remove the mask of the headlight, take some sealant (sufficient to cover the area of the frame), apply the sealant on the frame gently, put the mask over the headlight back, and compress to make them stick properly.
Fit the headlight where you took it out from. All you need to do is, insert the screws back, wrench them adequately with the ratchet.
This may sound surprising but your car’s lights do need some moisture, usually, they have holes to blow out the heat produced by the light. Thoroughly compact headlights could implode eventually.
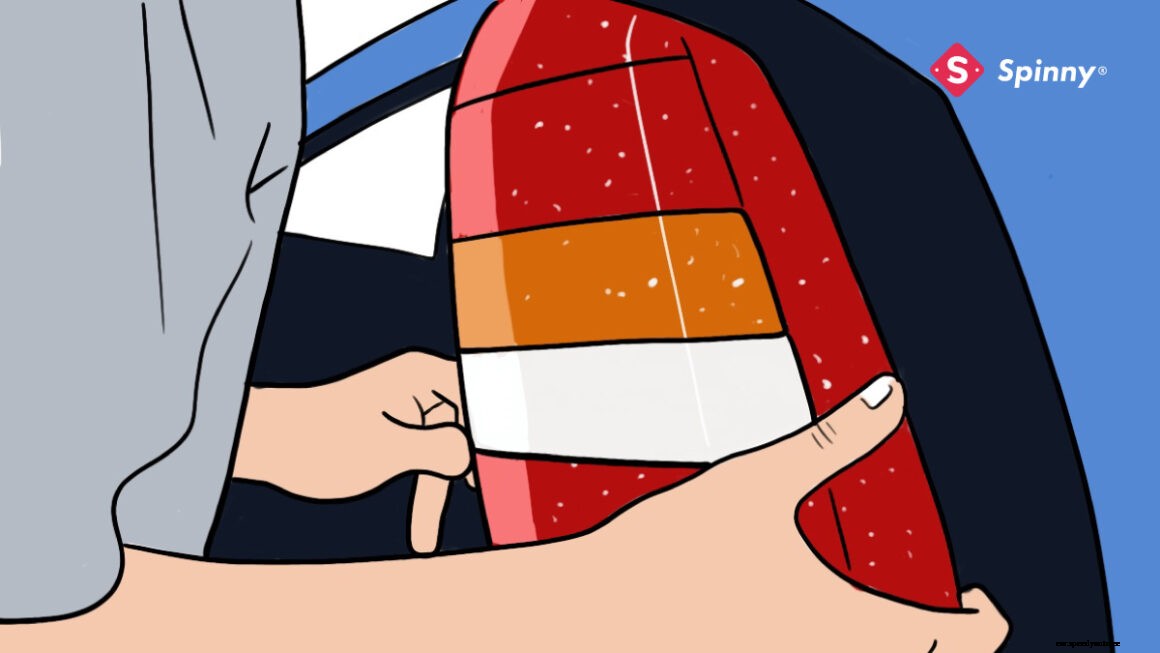
Disconnect the vehicle’s battery by disconnecting its cables. Use a ratchet to wrench out the screws and bolts right behind the tail light. If you are unable to do this, use the vehicle’s manual. Cautiously pull the tail light assembly off the vehicle.

There is a big circular screw or cap mounted at the backside of the light’s assembly, it’s called Rubber Housing Seal Cap. Rotate the cap counterclockwise by your hand, it will loosen up. Carefully pull the cap along with the bulb right out of the assembly. Flip the housing to drain out the excess water.
To dry out the light housing, it needs to be kept in a mildly heated atmosphere. You could make such an arrangement with the help of a cardboard box. Take a cardboard box, aim a hairdryer nozzle on it, touch the nozzle to any of the walls of the cardboard, mark an outline around the nozzle and carve the cardboard on the outline with any knife or cutter. Make sure the nozzle fits in the cut-out hole tightly to avoid any heat escape.
Put the tail light in the cardboard box, position it across from the hole carved in a way that the hole in cardboard faces the bulb hole in the housing.
Direct exposure to heat could hamper the taillight, this is why you need to put a piece of cardboard between the hole carved for the hair dryer nozzle and the tail light. Keep the piece standing upright.
Carefully insert the nozzle of the hairdryer in the hole. Close the box as compactly as you could, set the dryer at the minimum heat and start. Leave it on for around 5 minutes and check if the tail light has dried completely, if not, repeat for another 5 minutes.
Carefully pick the tail light housing as it would be considerably hot, you should use a glove while holding it. And then mount it back to the vehicle using a ratchet or a screwdriver.
An easier option could be using a hair dryer directly on the headlights and tail lights, but direct heat could damage the set-up.
If the moisture is mild, it is most likely to evaporate on its own. But, if you notice too much moistness or even water inside the lights, you must take some manual actions.
You could always use Silica Gel Packs, moreover, apply new sealants between the mask over the headlights and headlights.
The air inside the lights heats up when the lights are on. Once the lights are off, the air cools down and that develops moisture due to condensation.
Moisture inside the headlights is neither a good sight nor a good situation. Presence of condensed water vapours inside the headlights or tail lights assembly could cause electrical issues, i.e., bulb failure, short circuit, etc.
Silica gel is a desiccant and it not only absorbs the moisture but holds it as well. You could stick silica gel packets inside the headlights set-up to prevent them from excessive moisture. Silica gel can absorb and hold approx. 40 % of their weight in water. However, silica get packets are not a permanent solution for moisture inside the headlights set-up. You need to unmount the headlights and clean them whenever you find the moisture condition inside them going out of hands.
