A dirty car AC condenser can be one of the reasons behind poor AC performance. Cleaning the car AC condenser promotes its optimum performance and increases AC efficiency. By taking care of your car’s AC condenser, you’ll be able to enjoy an efficiently functioning AC in your vehicle.
In this article, you’ll find steps on how to clean car’s AC condenser. It may require removing the front bumper but cleaning it is rather simple if you follow the tutorial below.
Car AC condenser cleaning is a process that needs to be cautiously done with the right products and tools, especially in protecting the engine, brushing, applying the solution, and rinsing. So make sure you prepare the appropriate products and tools for the cleaning process as follows:
Auto AC condenser cleaning is really just easy, especially with a good coil cleaner with foaming action that will take care of all the grime and grease for you. Read the steps below, and you’ll see how easy it is to follow. Make sure to put the protective pieces on first.
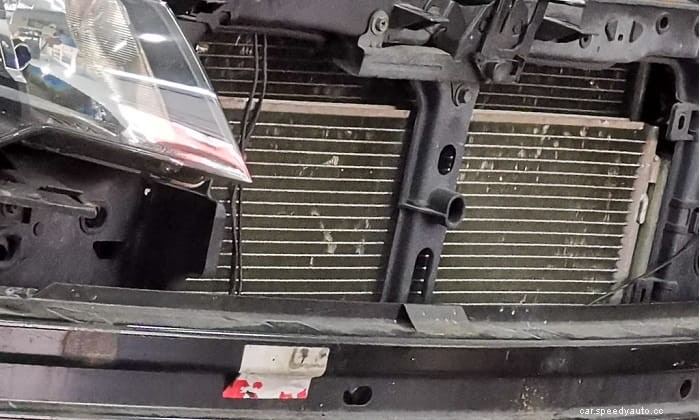
Every car is built differently, but the first step in cleaning car AC condenser is always going to be to remove the car’s front bumper. There will be a difference in where the clips, screws, and bolts are located.
To remove the front bumper, you will first have to open the hood. Then you will locate all the clips, screws, and bolts that you have to remove. After you’ve removed them, you’ll be able to take out the front bumper and reveal the AC condenser.
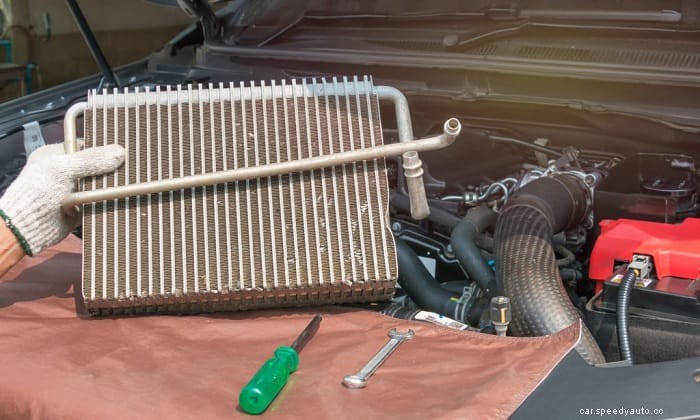
The next step would be to remove the dirt and debris that got caught in the AC condenser. You can use a shop-vac with a soft-bristled brush attachment to clean them off, or a soft-bristled brush can do.
Be gentle when brushing because the AC condenser’s fins are delicate, and you wouldn’t want to damage them.
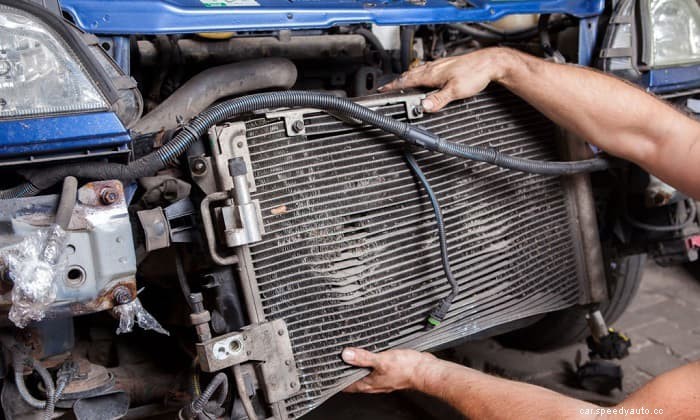
Once the dirt and debris have been removed from the AC condenser, it’s time to spray some coil cleaner on it. If the AC condenser in your car is separated into two parts, it would be best to clean them one at a time.
You would first need to shake the coil cleaner spray bottle, then spray the car AC condenser cleaner on the AC condenser’s surface.
Once the cleaner is applied, you will notice it foam up. You would need to let the cleaner sit on the surface for at least five minutes but not more than ten minutes to let it work on the grime and grease.
After the coil cleaner has worked on the grime and grease on the AC condenser, you can rinse the AC condenser with a hose until all the detergent is gone. Don’t get the engine’s wires wet because it can result in a short circuit, and make sure that the engine is not hot when doing this step.
Work on the other half of the AC condenser next if your car’s AC condenser is two-part. You can repeat steps number four and five if necessary.
You’ll need to get rid of the water from the AC condenser after cleaning it. You can blow out the water with an air compressor with a blowgun if you have them.
After the AC condenser has finally been rid of grime and grease and rinsed out, you can remove the garbage bags used to protect the car engine and clean the areas around the front bumper and AC condenser.
When everything has finally been cleaned, you can reinstall the front bumper. Put back the front bumper in place and secure it again with all clips, screws, and bolts that you removed earlier.
Now you know how to clean car’s AC condenser, don’t let a dirty car AC condenser adversely affect your car AC’s performance. Keep it clean and keep your car AC system running in perfect condition by following the easy steps aforementioned in this article.
Did you enjoy reading this tutorial? Any thoughts are welcome, and sharing this article would be appreciated.
