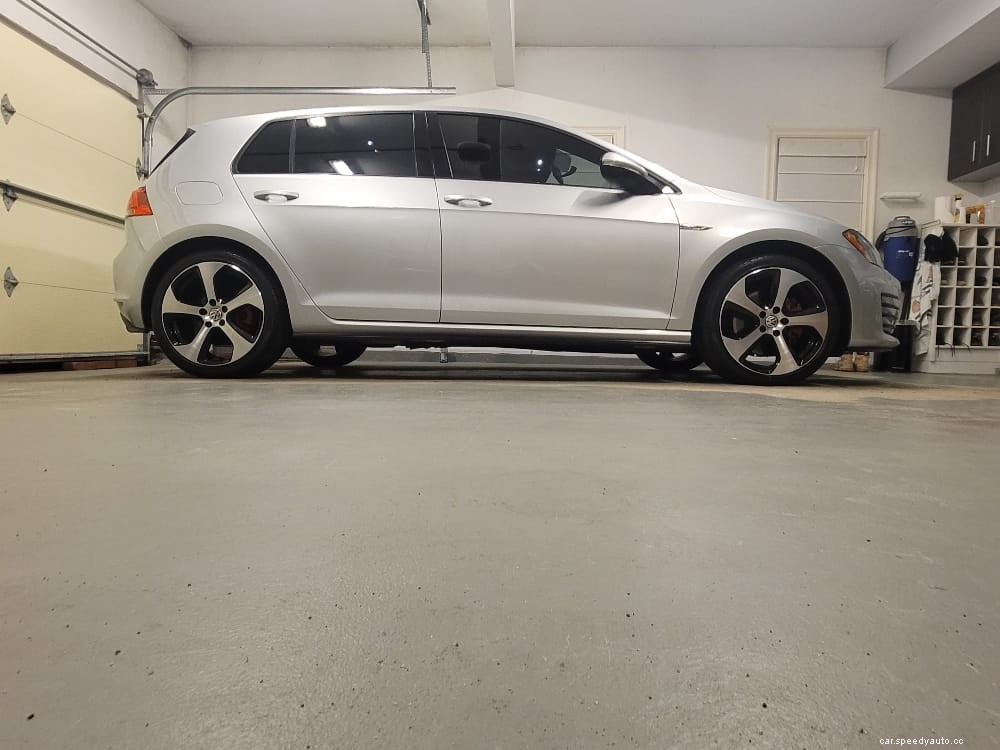
Applying a ceramic coating is like getting dressed for a wedding. It takes patience, practice, and just the right combo of materials.
Unfortunately, unlike a tuxedo or a slinky cocktail dress, removing a ceramic coating takes a tad more work than just dropping your garments upon the sofa after a night of revelry.
In this article, you will learn that in order to remove a ceramic coating, you’ll have to either muster-up some serious elbow grease, or pay a professional to tackle the task for you.
We’ll also cover the reasons why you might want/need to remove a ceramic coating prematurely, as well as the risks that are involved with this procedure. Ah, hell. While we’re at it we might as well cover the three most popular methods for removing a ceramic coating from a car’s exterior too.
Most people purchase a nano ceramic coating product because they are looking for an affordable, low-maintenance product to keep their vehicle shiny and shielded from the elements. A semi-permanent layer of protection that kicks-ass at repelling rain water, road grime, bird shit, tree sap, and really bad 1980s hair band metal.
Alright, so maybe it won’t fend-off obnoxious headbanging ballads, but nano ceramic coatings can keep a crap-ton of other crud from latching onto an automobile… at least… up until it needs to be replaced.
Here at AvalonKing we purposefully use the term “semi-permanent” to describe Armor Shield IX. Why? Because for as hearty as it may be, even the toughest 9H-rated ceramic coating will eventually begin to wear thin.
But even if a ceramic coating is in stellar shape, there are instances when its removal is mandatory. Here are a few of the more common reasons for prematurely removing a ceramic coating.
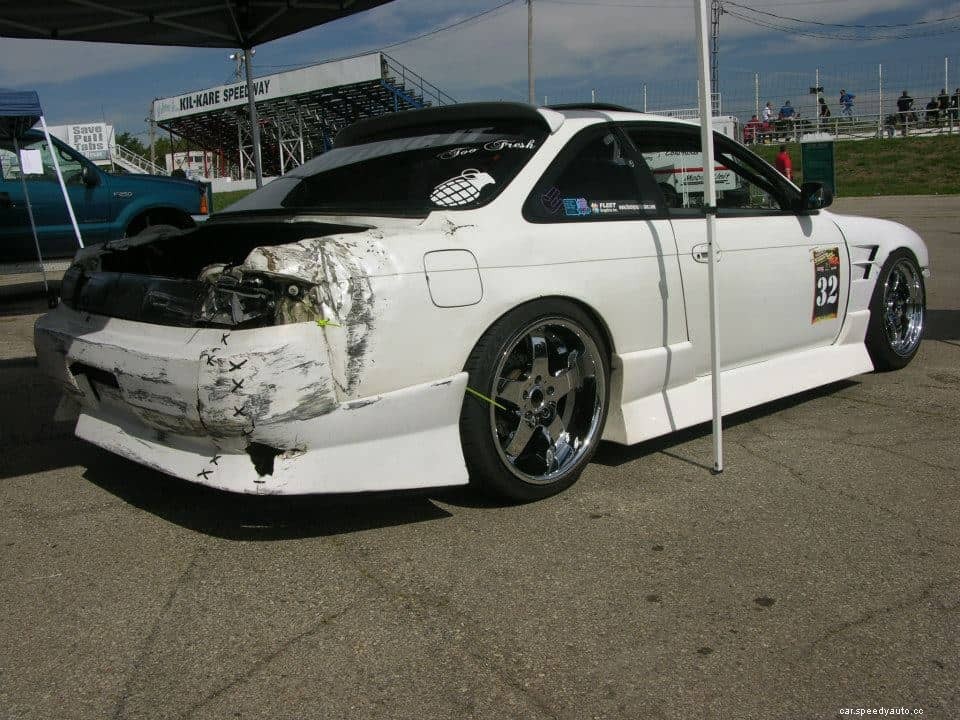
The most common reason for removing paint protectants like ceramic coatings prior to their expiration, is because body work is required. Fender-benders, human error, and various forms of vehicle surface scratch all call for the repair or replacement of an individual body part.
For those individuals who have ceramic coated their car, two very different paths can be taken:
The second reason why you might consider prematurely removing a ceramic coating, is in preparation for a fresh coating, or the installation of a completely different paint protection product.
As we mentioned earlier, most ceramic coating products tend to wear thin after 2-3 years. Removing an aging protectant, and then conducting any mandatory surface prep work and paint correction procedures is a crucial part of the reapplication process.
Quick Tip: You wouldn’t put a pair of clean underpants on over the filthy ones you slapped on your ass this morning, would you? The same goes for ceramic coatings. Always remove an old coating before applying a new one, even if it is was only applied a few months prior, and don’t forget to wash while you’re at it.
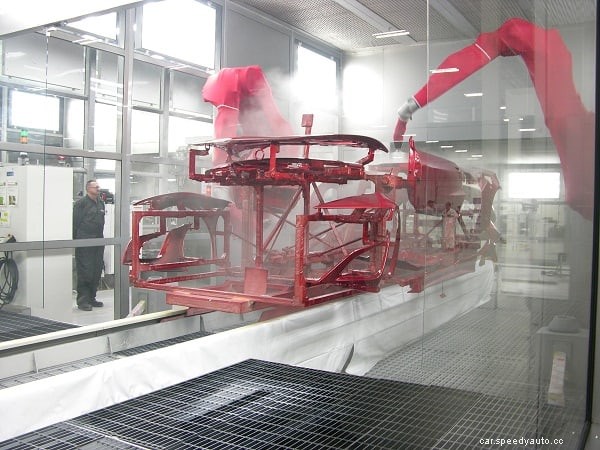
The final reason why you’d want to remove a ceramic coating ahead of schedule is because you plan on repainting the entire vehicle. If this is the case, you don’t need to worry about damaging the clear coat, as you’ll be removing that as well. It’s all going to get stripped anyways, so let the pros do what they do best, and worry about ceramic coating the vehicle when they are finished.
Ceramic coating removal is by no means a complex process. Here are a few of the more popular methods for accomplishing this task.
Quick Nerd Note: When possible, always follow the ceramic coating manufacturer’s recommended removal process. Any product manufacturer worth a damn will provide you with detailed steps on how to correctly remove the old product, prep the vehicle or surface in question, and install a new layer.
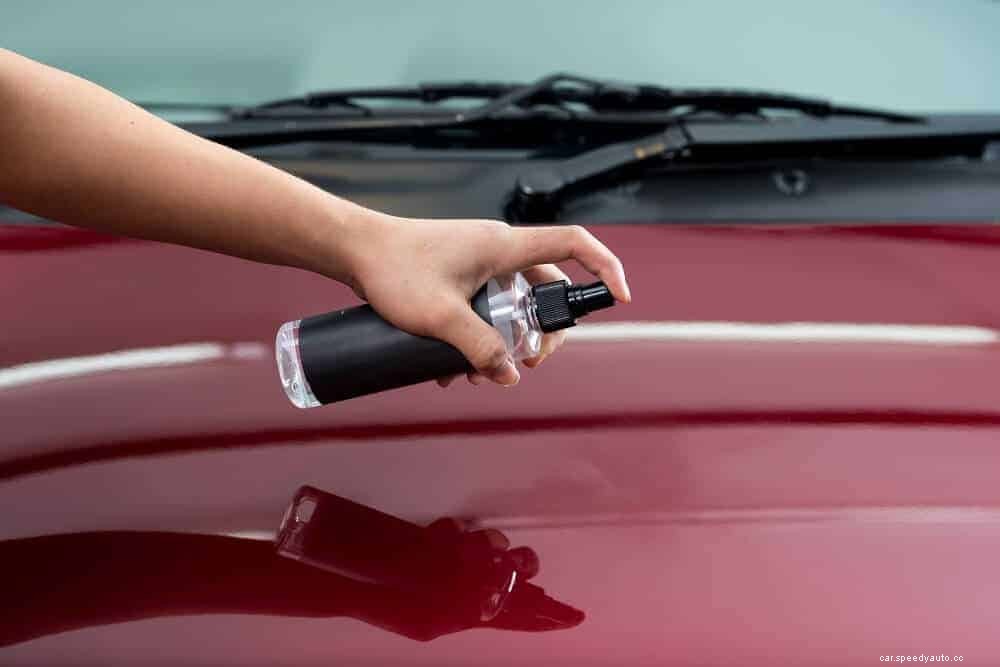
While most high-quality ceramic coatings are resistant to chemicals, they are not “chemical proof.” There are a multitude of chemical products that will eat into a ceramic coating faster than a brown bear at a hot dog cart.
For instance, alkaline-rich products and pH-heavy chemicals have the ability to cause ceramic coatings to peel-back, or “lift” from whatever surface they have been applied to. The drawback to this method of removal, is that many of these chemicals can also impact the quality of the clear coat underneath.
If you’re going to attempt this process, there are a few general steps you need to follow:
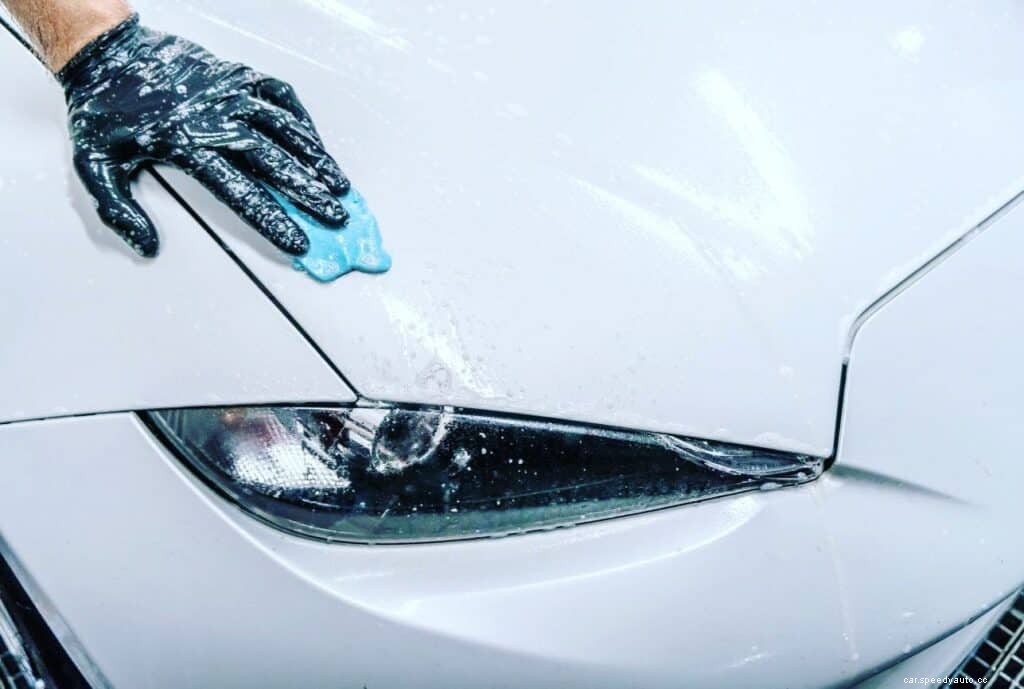
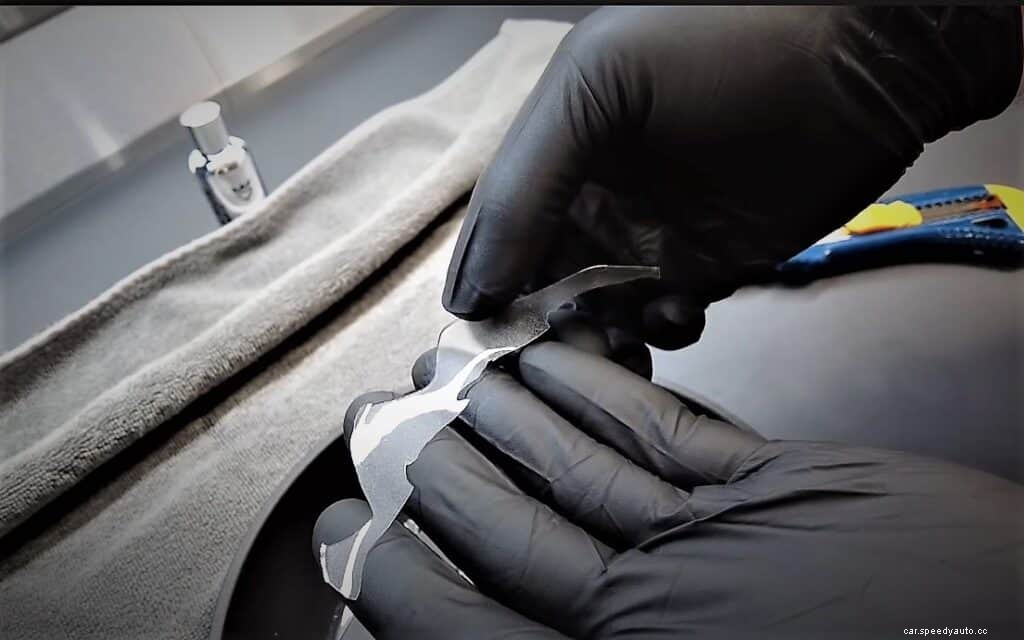
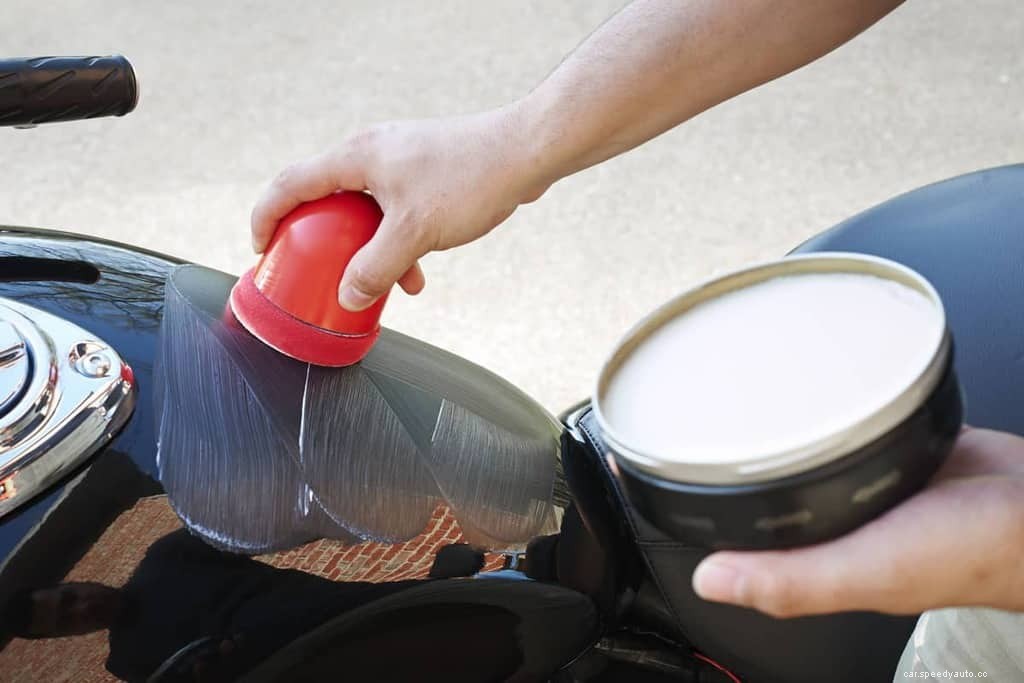
The second method for removing ceramic coatings requires the use of a clay bar, clay mitt, or clay towel. While “claying” a vehicle is a crucial step in the surface prep process, cutting back on the amount of lubrication used turns this synthetic material into an incredibly potent ceramic coating removal tool.
By going light on the lube, you increase the amount of friction being applied to the surface. This makes clay products ideal for lifting old and new ceramic coatings alike.
The main disadvantage to this method, is that it does not remove iron contamination. Iron particles and “fallout” are everywhere, including roadways, and this metallic material cakes onto everything, including ceramic coatings. So be sure to use an iron removal chemical before applying a fresh ceramic coating.
Once complete, follow these tips for removing a ceramic coating with clay:
Quick Tip: Most clay bar kits come with their own lubrication spray. However, you can make your own lube by using a high quality automotive shampoo, and blending it with water until it resembles a slightly watered-down soapy solution.
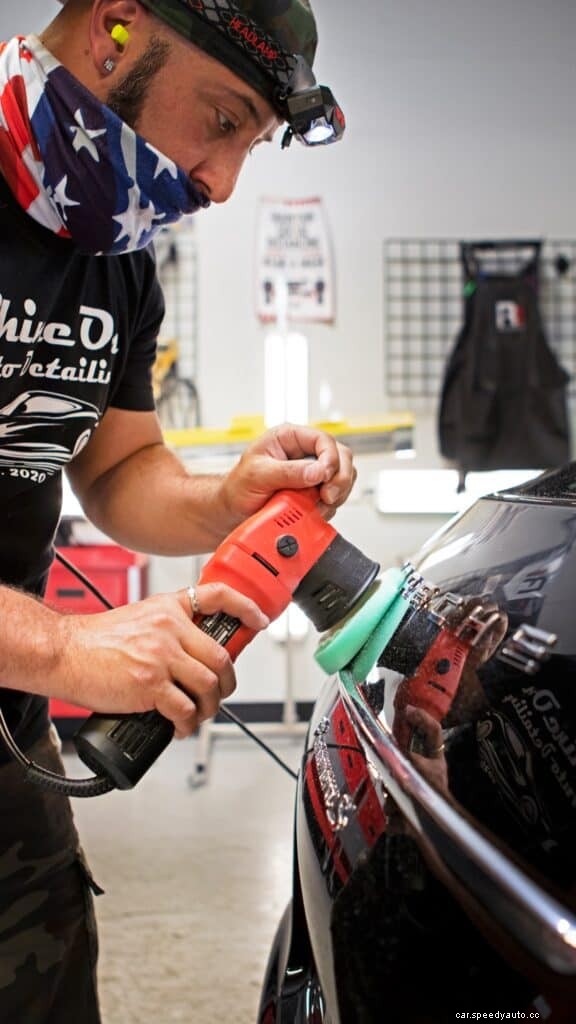
Universally recognized as the most effective method for removing a ceramic coating, polishing is the way to go if you feel up for a little power tool time.
This technique centers around various buffing pads that have been attached to a polishing tool, both of which rely upon different grades of cutting compounds in progressively milder increments.
While the polishing/paint correction process is a common step in the ceramic coating prep and removal routine, it is by no means a procedure that should be attempted by the inexperienced. Polishing compounds, buffing wheels, and powerful polishers do an outstanding job of removing ceramic coatings, but they can also eat-up a clear coat in a heartbeat.
That said, if you feel up for the task, or are curious to see how the process works, here are the core steps for removing a ceramic coating with a polishing tool.
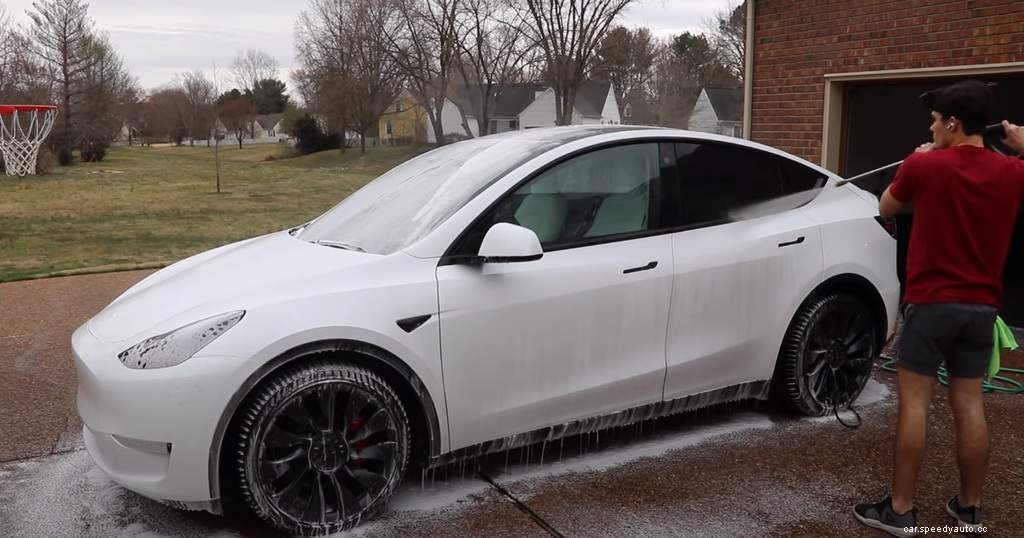
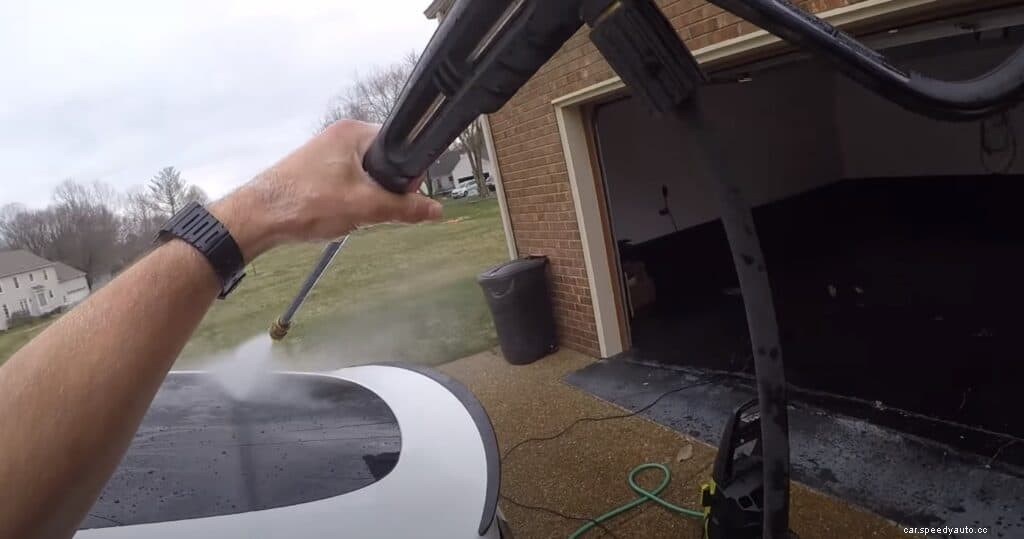
The first thing you want to do is wash your vehicle. When hand-washing a vehicle, it’s always best to use the two-buckets-and-a-beer method. If you’re unfamiliar with this approach, check out our AvalonKing car cleaning blog article, and don’t forget to snag a cold six-pack ahead of time.
While it is important to not wash a vehicle in direct sunlight, it is even more crucial that you keep it shaded. Polishing works best when the surface is cool to the touch, so if the hood or roof is warm to the touch, move the vehicle to a garage or shaded area for a couple of hours prior to proceeding.
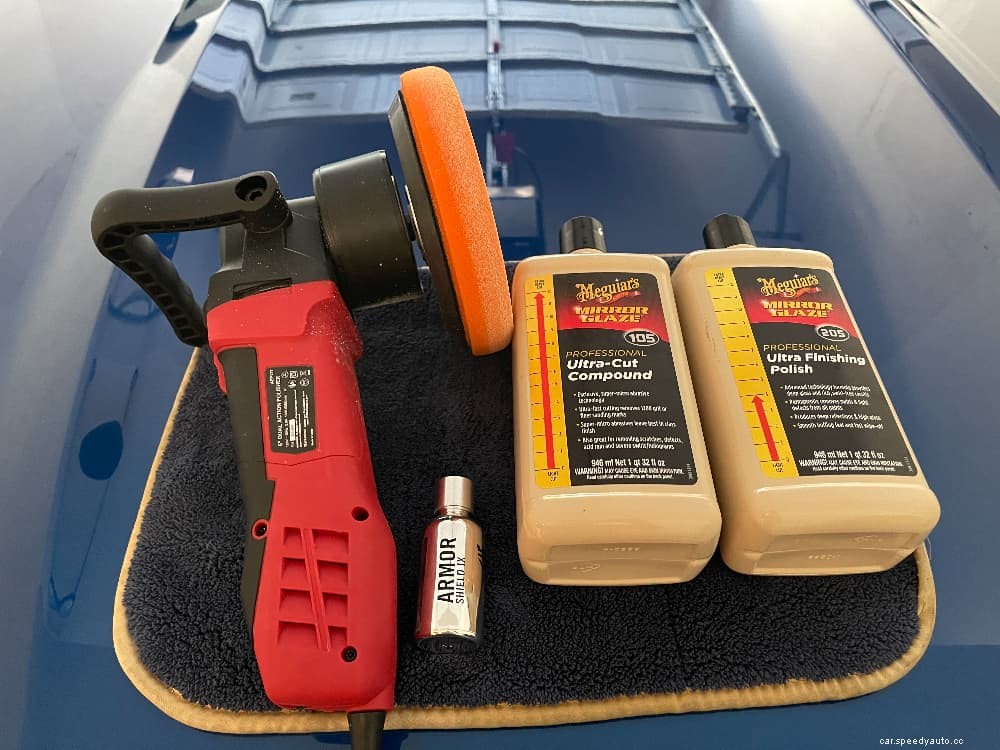
While the vehicle is cooling, you will want to round-up the following supplies if you haven’t already.
When using a cutting compound, especially a thicker grade, you should always be applying it to an extremely wet surface. This helps reduce the risk of scratching the clear coat or raw surface underneath the ceramic coating.
Using a fluid left-to-right, followed by an up-and-down motion, hit one panel at a time with the coarsest cutting compound. You’ll know you are done once every portion of the vehicle has been polished and is somewhat hazy looking.
Quick Tip: Many professionals suggest that beginners start by applying heavily abrasive cutting compounds with a hand-held polishing pad. Once they’ve become comfortable with how an electric polisher functions on a slow setting, the hand application process can be substituted for the far speedier power tool approach.
After the application of the most aggressive cutting compound is complete, you’ll want to step down to the medium grade cutting compound, and then repeat the entire process. Eventually you will be working with the lowest grade of finishing polish, at which point you will be removing more surface scratches and swirl marks than ceramic coating.
Quick Tip: As you go, be sure to routinely rinse-off the polishing pad to prevent it from getting gummed-up. However, if it looks super filthy, replace the pad with a fresh unit, remembering to rinse the vehicle to keep it cool and lubricated. Once all grades of cutting compound have been applied to the vehicle, rinse it one more time before wiping it down with some super plush microfiber towels.
Although removing a ceramic coating is by no means a complex affair, it is quite the labor-intensive, and potentially risky procedure.
Having a basic grasp of how paint and clear coats work is essential in solidifying the successful removal of a ceramic coating. So study-up before jumping in head-first.
As with any DIY project, if you feel uncertain of your methods or the potential outcome, seek the input of an auto body and paint expert on the subject. Plodding ahead and hoping for the best is a huge gamble, especially when a pristine clear coat is just a hair’s breadth beneath the ceramic coating you are removing.
