Raise your hand if you’re a fan of cleaning caked-on brake dust and road-grime from deeply corroded aluminum wheels. Anyone? Anyone at all?? Bueller???
For many people, hand cleaning a car’s wheels is about as much fun as waiting in line at the DMV, undergoing a root canal, or being subjected to an impromptu yodeling session. Will you survive? Barely. Are you looking forward to having this experience again anytime soon? Hell naw…
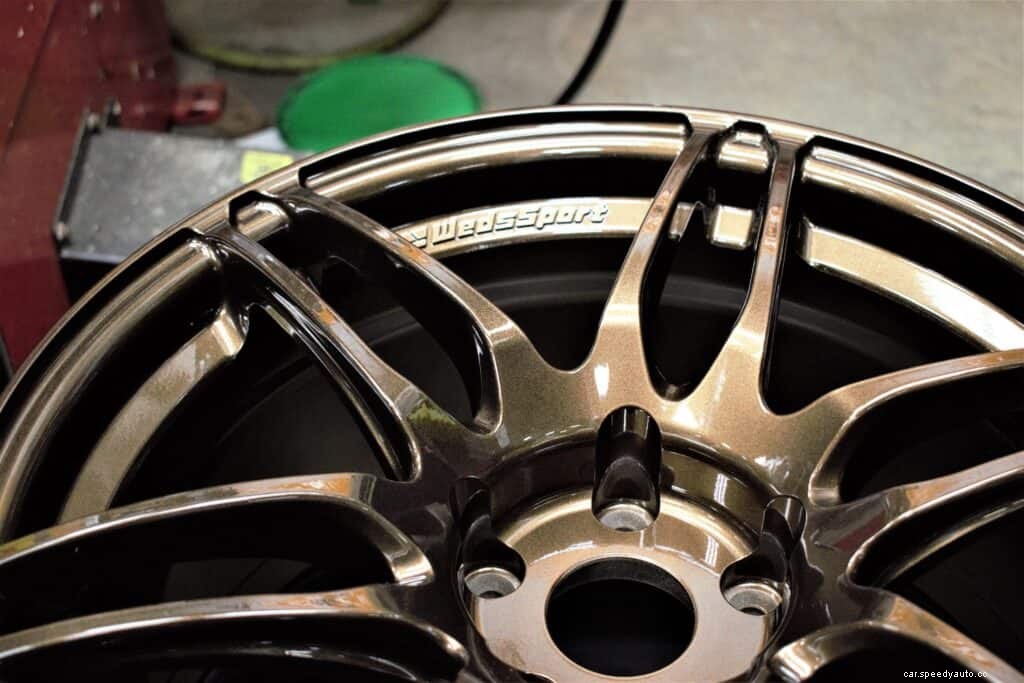
But “wheel cleaning blues” are quickly becoming a thing of the past, as the application of high-end DIY nano ceramic coatings have made this chore extremely easy. It doesn’t matter if you roll on chrome, forged aluminum alloy, carbon fiber, or stock steelies, ceramic coatings provide years of protection and gloss, and help make cleaning day a straightforward and stress-free experience.
Looking to learn more about how this magical elixir works? Could ceramic coating your wheels become the second best life decision you’ll ever make outside of that winning lottery ticket?
Then read-on, because we’ve got the ultimate step-by-step guide for surface prepping, applying, and caring for ceramic coated wheels. So without further ado, let’s have some fun, and let’s get those rollers done!
The first ceramic coating step, is to make sure that you’ve got all of the right supplies in place.
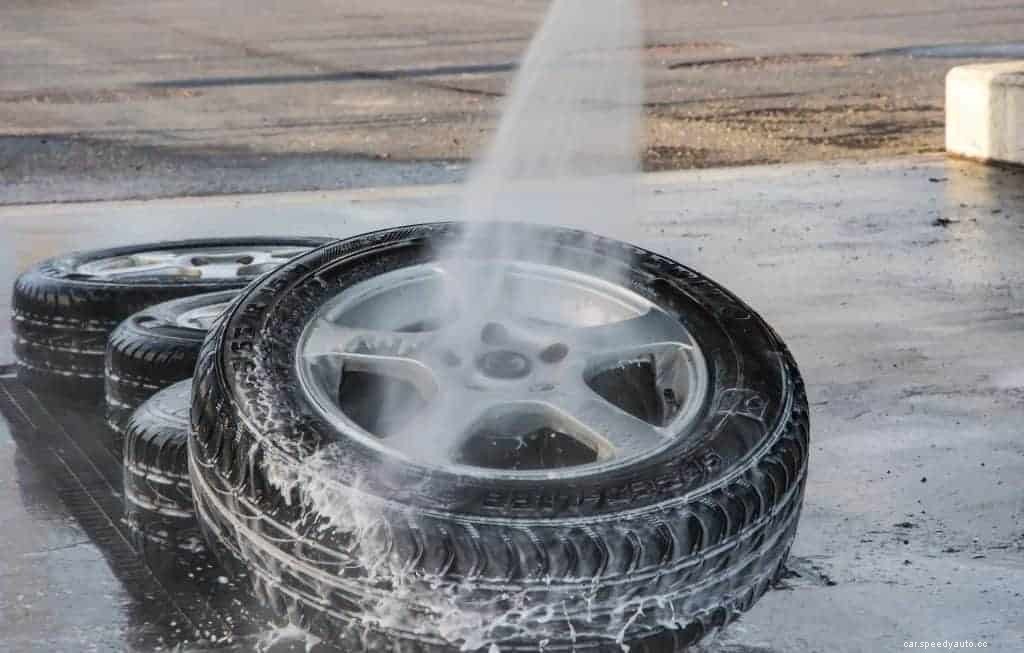
In order to successfully ceramic coat a set of wheels, they must first be thoroughly cleaned, surface prepped, and if damaged in some way, repaired and powder coated.
Here is what you’ll need in order to get the proverbial pistons pumping…
Quick Tip: To make the wheel removal and reinstall process as quick and painless as possible, either have the following things at your disposal, or know someone who can lend them to you.
Now that you have everything, it’s time to clean the wheels, fix any surface flaws, neutralize any remaining debris, and ceramic coat everything. If the wheels are not compromised in some way, this entire process should only take a few hours.
That said, you will experience a significant amount of downtime between when the wheels are coated, and when they are ready to roll. Ceramic coatings require at least 48 hours of downtime before they become hard enough to be safely used, and will continue to cure for a couple of weeks thereafter. So no off-road rally racing straight out the gate, alright?
Quick Tip: Regardless as to whether you are ceramic coating an entire car, or just hitting its wheels, you should invest in some clay decontamination media and learn how to make your own lubrication spray. For more on this dynamic car detailing duo, check-out our article focusing on the art of properly claying automobiles.
If you want to make this job a bazillion times easier, jack the vehicle up, slide some jack stands underneath it, and remove all four wheels. While you don’t have to remove your wheels in order for them to get ceramic coated, the DIY difficulty level is going to increase exponentially if you don’t pop those puppies off beforehand.
Quick Tip: If the wheels are still super filthy after a pH neutral shampoo scrubbing, you will need to graduate to a surface prep shampoo. This soap’s more intense pH levels will safely lift the majority of the crud that the wheel cleaning agent was unable to eliminate.
Crystal clean bling officially in full swing, it’s time to bring in that ceramic coating. Am I the only one who speaks in rhyme around here? Huh. Guess I am…
Circling back to the subject of coating rollers, you will find that this process is no different than that of applying it to paint, glass, carbon fiber, plastic, or any other piece of a vehicle’s exterior.
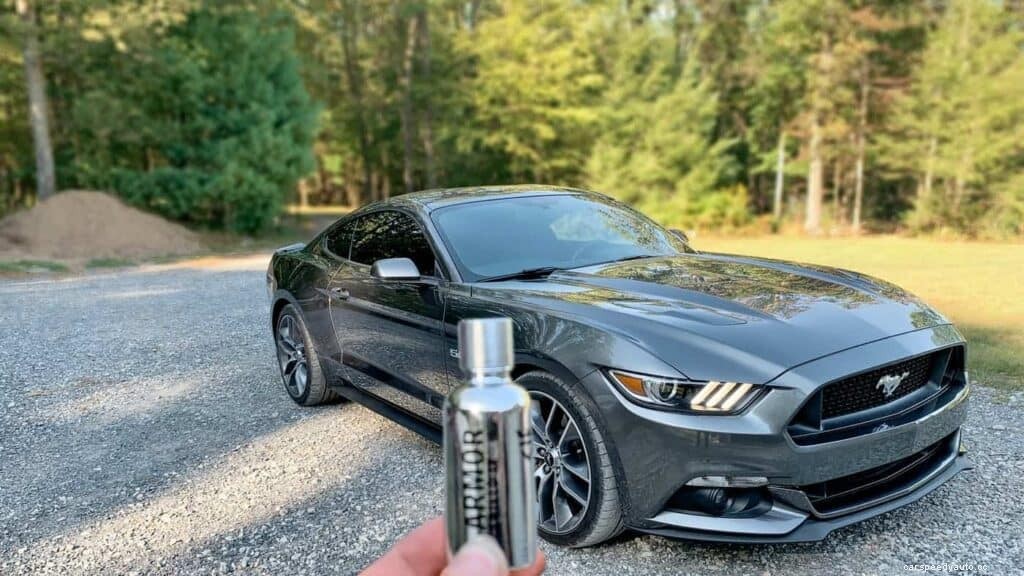
Following the DIY directions found within your Armor Shield IX kit, apply the coating on the barrel of the wheel, leaving the rear lip and face devoid of coating. Allow the coating to harden for a few minutes so that it can “flash,” and then wipe it off with the included microfiber buffing cloth.
Once you’ve fully coated the barrel, place the wheel face-up on the drop cloth, and coat its spokes, face, center cap, and front lip. Be thorough, hitting all of those little nooks and crannies that are notorious for collecting brake dust and other crud. Continue the coat and wipe-away procedure until every square centimeter has been covered with ceramic coating.
One core thing to remember, is that you must beware of the weather when applying ceramic coatings to surfaces. Never apply a ceramic coating in direct sunlight, and don’t attempt the coating process if temps are dipping below 45°F. Extreme humidity should be avoided as well, as this forces the ceramic coating curing process to drag-on for entirely too long, thus causing it to look “greasy.”
Quick Nerd Note: Due to a ceramic coating’s hydrophobic repelling properties, getting stick-on balancing weights to adhere to freshly cured wheels can be extremely challenging. To combat this issue, we suggest having the wheels balanced beforehand, or opting for the old fashioned clamp-on weight method.
Ceramic coating procedure complete, try to avoid the temptation to leave the wheels laying flat on their backs. Carefully pick them up by their uncoated sides (or tires, if they are still attached), and prop the wheels up at an angle in front of a fan. If you have the ability to hang the wheels by their bolt holes, go ahead and do so, as this will significantly decrease their curing time.
Like any other ceramic coated surface, you will need to wait at least 48 hours before putting those wheels back on your automobile and hitting the highway. Allowing ample time for a ceramic coating to cure is what will guarantee that the product works as directed. So don’t be an eager beaver, or you might find yourself ruining the ceramic coating, thus forcing you to strip and reapply the surface protectant before you ever leave the garage!
Quick Nerd Note: If you ever get ceramic coating on your brake rotors, remove it immediately, and then spray the area with brake cleaner. Nano ceramic coatings are super slippery stuff, and the last thing you need is a massive brake failure while flogging your jalopy down a rock-strewn canyon.
Like any ceramic coated car part, we recommend that you wait at least two weeks before washing your freshly ceramic coated wheels. On the upside, once it is finally time to wash your wheels, you will find those rollers are a breeze to clean.
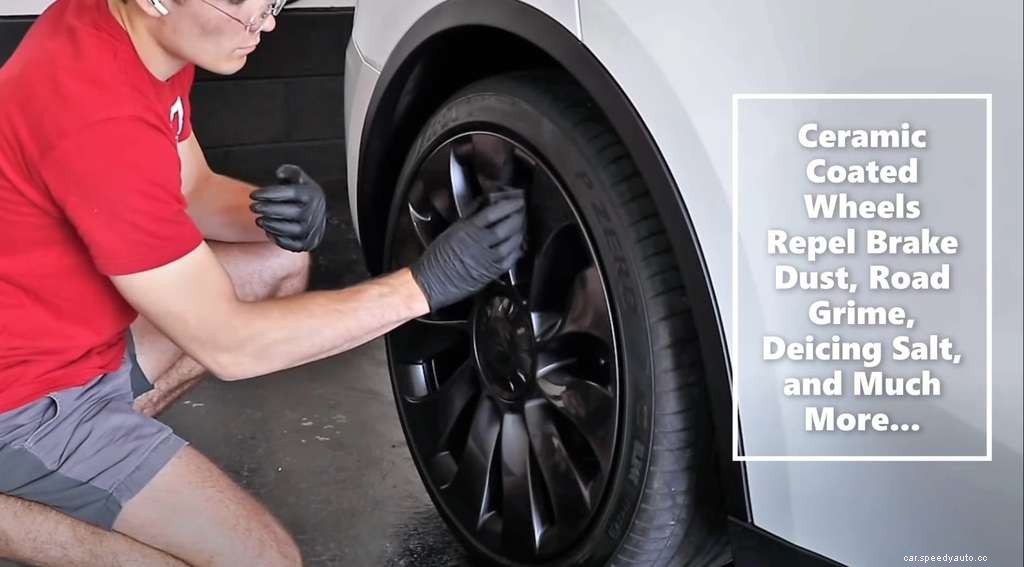
Just be sure to use a pH neutral car wash shampoo (make sure it is wax-free too), and wash your wheels with the two-buckets-and-a-beer method. You may even discover that a quick rinse with a garden hose is all that is needed, as the hydrophobic properties within the ceramic coating prevents brake dust and road grime from adhering to the wheel’s surfaces.
Just don’t forget to dry everything off with a plush microfiber drying towel once you are finished scrubbing and rinsing. While a nano ceramic coating will protect your wheels from the open road’s nastiest contaminants, hard water spots are one of those things no product can prevent.
In closing, here are a few things that you should NEVER do to ceramic coated wheels. If you have any burning questions about the following warnings, or need us to clarify something, don’t hesitate to reach out. AvalonKing’s customer care specialists are always eager to point you in the right direction, and learn about your ceramic coating projects.
