Being a recovering drag racer, I understand the value of BRANDING – especially for sponsors that help support my racing habit. I also realize the reality that advertising comes at a cost. That said, the first thing we do when purchasing a new car is removing the dealership badging.
Seriously – if you paid them for the ride, why should we advertise for free? Believe me when I say that I’m not alone here.
In fact, I’m willing to wager if we put up a poll asking how many of you have debadged the car, I’m willing to be its above 50 percent. Removing the branded license plate frame – probably 75% or higher.
The problem is – not all dealership logos are the same. Some are stickers, others vinyl, or metallic plates with a super-adhesive glue. Nonetheless, removing dealership logos and car decals without damaging paint or clear coat can be tricky.
Since we want your car to look as clean and sharp as possible, here are a few tips for removing dealership logos, stickers and other stuff that is factory stuck.
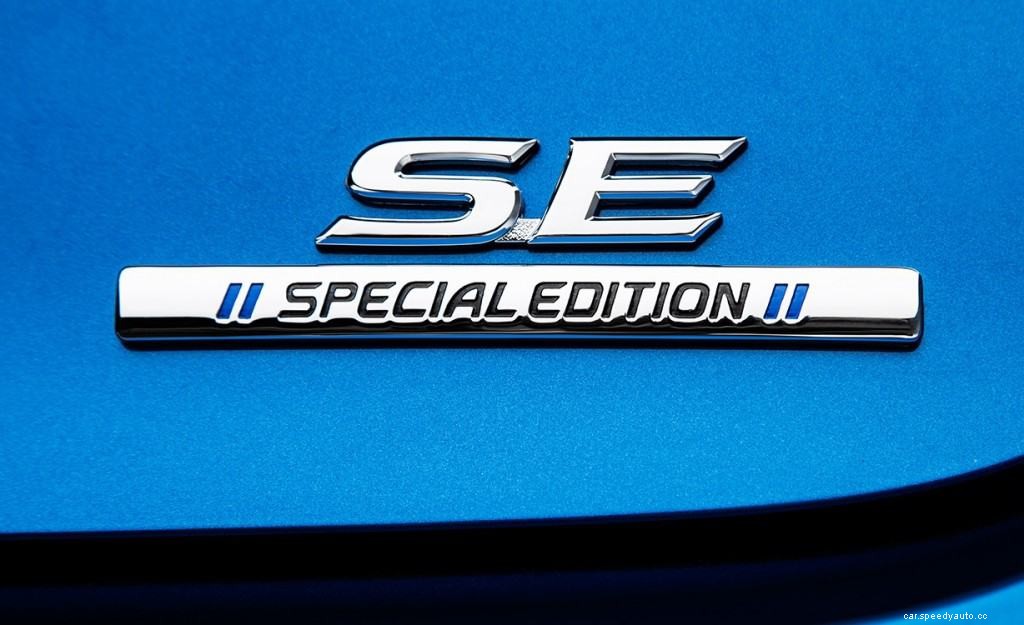
Most of today’s cars, trucks, and SUVs are ‘branded’ to display the manufacturer (Toyota for example) and the model (Tacoma for example). Some vehicles with unique trim configurations or limited-edition packages (TRD Off Road) will likewise have badging.
The problem is first identifying the type of badge used. Is it just adhesive applied or is it welded or bolted on? Most high-end or luxury models are badged permanently – meaning they are secured by drilling holes in the body, secured with a weld, or even bolted onto the vehicle.
Just to be clear – these are badging or dealership stickers solutions that can be removed, but not so easy to ‘repair’. With this situation, you’ll have to enact some advanced body filling and body work to do this – and that’s just not what we’re going to explain how to do.
The type of dealership badging that is most common is a metallic logo with a strong adhesive. This is what we’ll focus on with today’s blog.
Obviously the first thing you need to clarify is the type of badging or dealer stickers you are trying to remove. With stickers (like those on limited edition vehicles) – it’s simple; it’s a sticker or a vehicle graphic with an adhesive bond. It’s usually NOT vinyl – except on mid-range vehicles or above.
Either way, if the badging or the sticker is secured via glue, vinyl or adhesive, the removal process is generally the same. But you need to answer a few questions before starting this task.
The longer your vehicle has been sitting outside with the badging or a sticker applied, the more likely you are to experience problems with the removal.
This is common especially in higher-temperature regions, where the sun will heat up the body surface and the adhesive stuff holding on the badging or stickers. When it cools, that “glue” bonds tighter.
In fact, it’s quite similar with how racetrack conditions change. When rubber on a racetrack gets above 100 degrees, the rubber becomes more pliable or sticky. However, the hotter it gets, (like up to 150 degrees) – the greasier the rubber becomes.
This makes the rubber easier to remove (by spinning tires – which creates more friction or heat on top of that contact patch). As the rubber begins to cool after being heated, it becomes “tighter” – or bonds to the surface (and tires) easier. This is when traction is at its peak – or when a racetrack is considered “tight”.
That said, it makes sense to assume (because it is indeed a fact) that the longer your badging is secured to the vehicle, the harder it is to remove. Plus, as the adhesive is strengthened over time, it can stick so strong to the surface that it can remove paint completely.
The next question you should ask yourself is why this is important in the first place. If you’re wanting to improve the visual appeal of your ride, or your prepping for a ceramic coating application for example, it might be best to leave them on. Here is why.
If the badge has been stuck to the vehicle for a long time, it’s quite possible that there will be uneven markings or low/high spots on the paint when you remove it. Now, a simple polishing or paint correction should resolve this – but if that’s not an option for you – it’s probably best to leave it alone.
As stated above, before you remove any badging or stickers (that have been on the vehicle for more than a year or so), make sure you have the ability to polish that area to level out the condition of paint.
If you don’t, you’re going to have the embedded logo or sticker outline on your ride – and that just looks lame.
Alright. Now we’ll get to the nitty-gritty. If you’re looking to remove stickers or decals from your car, truck, SUV or motorcycle, there is a proven method for accomplishing this task.
However, you need to collect the right supplies.
Here is how we recommend removing decals or bumper stickers:
Most dealer or brand emblems are metallic – or at least look that way. They’re a hard and durable plastic material with a strong adhesive backing. As such, removing them is much easier than your average dealer-applied vinyl or sticker decal.
Here are some tips for removing these types of emblems:
Inspect the backing: So, this is the first step for a reason. A lot of dealer badges or emblems use an alignment post that are drilled into the body. If you remove them, and it has the holes in the body, you’ll have a bunch of bare holes on your vehicle body.
As such, before removing any – remove any coverings or interior trim pieces to gain access to behind the emblem. If you feel some pointed ‘bars’ near the emblem or badge – STOP!
If everything checks out OK and it’s just a plastic sticker (for lack of a more creative term) start by gathering some supplies. The same stuff mentioned above for the decals will work – but I’d recommend some dental floss as well – seriously, you’ll get it when I explain below.
As you can see, removing a decal or dealership emblem is easier than you think. The key(s) are heat, time, and completely removing adhesive from the surface. Emblem or badging removal as described above will reduce the potential of damaging paint. However, it also opens a can of extra detailing such as paint correction to even the ‘shine’.
Just keep all this in mind before getting too hot and heavy with debadging your car. And of course, when you’re done with everything, make sure to protect that freshly cleaned surface with a high-quality DIY nano ceramic coating like Armor Shield IX.
