The headlights are one of the most critical parts of a vehicle that provides illumination of the road and surroundings when driving. Its significance comes to play in dark conditions such as at night or if the area is foggy or misty. It is also a way for the driver to communicate with oncoming traffic where you flash it to pass a certain message. Looking at its significance, you should know how to clean inside headlights.
Cleaning is a vital part of maintaining the headlights as the dirt may affect the quality of illumination. To beginners, cleaning the lights might be hard, but in essence, it is a straightforward affair. If you want to know how to remove oxidation and dirt, you are in the right place, as this article outlines the steps to follow.
What You Need
To clean the headlights, you need to access them, and this is why you should open the hood and lift it. You now bring the screwdriver and open the screws securing the lights. Ensure you are removing the right screws as they may serve different purposes, depending on the vehicle model.
Remove the cover and set it aside, the same to the screws, to prevent them from getting lost.
After you remove the cover, you can now access the lens. At this stage, you prepare your cleaning solution. You can mix your detergent with some warm water, ensuring it lathers sufficiently.
Toothpaste comes in handy to deal with oxidation inside headlights.
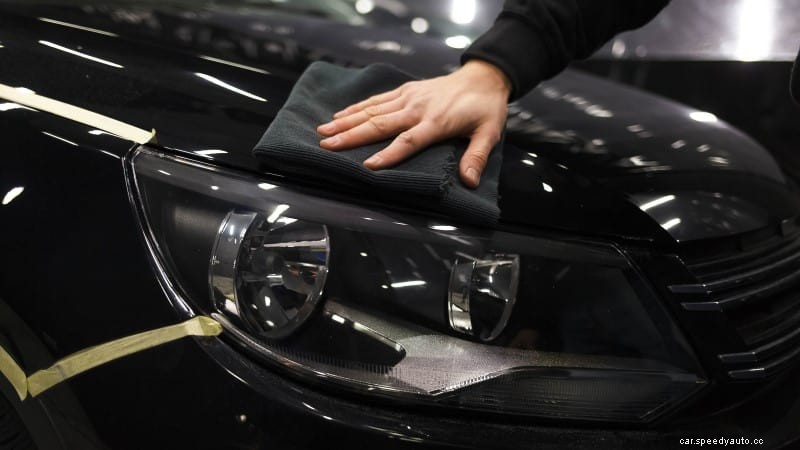
You now dip your cleaning rag into the cleaning solution and wipe the dirt off the lens. When removing the dirt, be gentle, and do not use too much force as you may break or scratch the lens.
Use the rug repeatedly as you clear the dust build-up. Once it looks clean, you can inspect it for oxidation streaks, which your toothpaste will deal with. You apply a generous amount of toothpaste to the lens and let it be on the surface for a few minutes. You then wash it off with the same gentle motion.
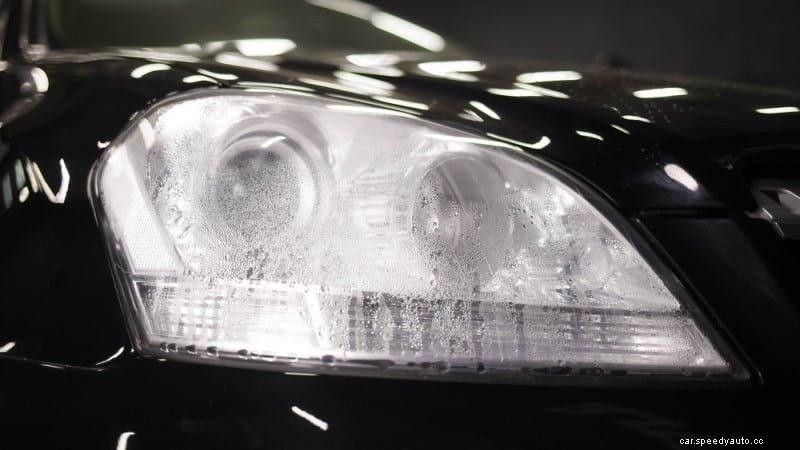
Once it is clean, you now let it dry before you fix it back. Put it in a place with shade and give it a few minutes for it to dry. You can give it a dry wipe before screwing it back.