Some of the most annoying problems to have with a vehicle are the failure to lock the doors or keep the window up. If the vehicle has trouble starting or won’t start at all, at least you can leave it where it is and know it’s relatively safe.
When the window won’t stay up, it’s an invitation to have your stereo or accessory equipment pulled out, or even have the vehicle stolen. That’s enough of a reason to fix it, especially considering that temporary fixes are extremely easy.
Whether your vehicle has electric windows or they’re rolled up with the crank, this guide will show you how to keep the window up and what it takes to fix the problem.
Wedging an object between the window and the door frame is the easiest way to keep the window up. If the window can’t be raised, the door panel has to be taken off to access the mechanism.
Keeping the car window up and fixing the problem permanently are two very different things.
On cars with power windows, solving the problem permanently can be very expensive and difficult, so securing the window until you can afford it or have the time to work on the window will be very useful.
Cars with mechanical windows have a different issue – availability of parts, so waiting days to get the right replacement part isn’t uncommon. With that in mind, let’s take a look at the easiest way to secure the window in the up position.
A screwdriver sticking out the top of the door on the interior side of a car is an iconic solution for the window that refuses to stay up. It’s far from a subtle solution and it might damage the glass, but a tried and true solution.
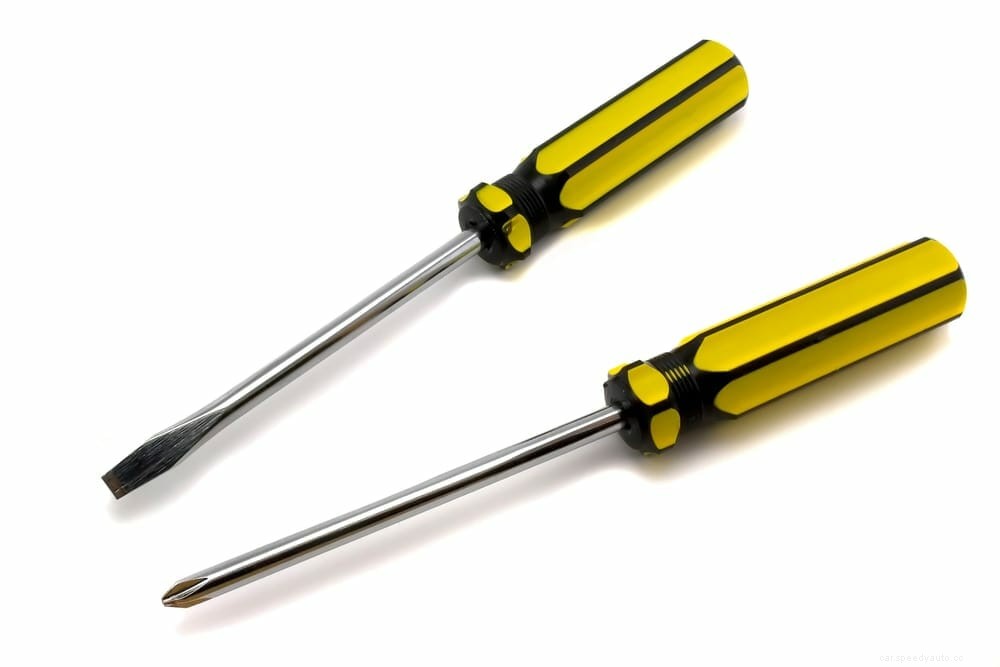
You can use whatever you have on hand – a flathead screwdriver, an auto trim removal tool, a piece of wood shaped like a thin wedge, etc. Simply hold the window up, and place the wedge in the middle of the interior side, between the glass and the window seal.
Driving with the wedge may cause some rattling and the window may lower gradually over time, but once you’re parked and the wedge is in place, there’s no chance of the window coming down or dropped from the outside.
The universal problem-solver, duct tape will be strong enough to hold the window up with enough surface area.
I don’t like using duct tape, especially in hot weather, as the adhesive can melt and make it near-impossible to clean the upholstery it’s attached to. If you want a stop-gap fix, glue the window from the top towards the metal frame, rather than at the bottom.
Duct tape won’t hold for long, but it will be enough to keep the window up until you find an adequate solution.
The window mechanism has a locking system that prevents the window from falling down when it’s kept in its upward position. This fix would only work on vehicles with manual windows, as the mechanism is far more simple than the one found in the power window.
Keep in mind that while this is a stopgap to keep the window from rolling down since you’re pulling off the door panel, you could just as easily repair the problem, as explained in a future section.
Taking down the door trim panel increases in difficulty based on the vehicle’s age. The older the vehicle, the more simple the assembly is, and on some vehicles, it’s as easy as unscrewing a few Phillips head screws. On others, you’ll have to use auto trim removal tools to separate the panel from the door.
Once you’ve gained access to the mechanism, use a wooden dowel, a PVC pipe, or anything that has the height to wedge between the bottom of the mechanism and the bottom of the door.
The window will stay up permanently, but it provides you with a solution until you can afford or have the time to repair the problem.
The previous focused on a window that wouldn’t stay up but could be pulled up by hand and secured in place. Now, we’ll focus on how to pull the window up with suction cups, how to change the window control switch, and replace the window motor.
The process will vary depending on the make and model of your vehicle, but the general steps remain the same.
This point has to be brought up whenever there’s an electrical issue with the car – you need to check the fuses and relays. Even if it’s tedious and trivial, you’d still want to check the fuses before you go ripping off door panels.
The fuse box is located in a compartment underneath the steering wheel, or it can be found in the engine bay area. You can check the fuses without tools by pulling them out one by one and inspecting the condition of the wire, but an easier and faster method is to use either a multimeter, or a test lamp.
As mentioned before, taking off the door trim panel without breaking it is by far the most challenging part of the job. The modern way of installing trim pieces relies on retention clips, clamps, and pins more so than screws to create a tight fit.
Using an auto trim removal kit is essential to avoid damaging the panels.
Have a look at the 10 best kits here. You’ll also need a flathead and Phillips head screwdriver, to unscrew certain sections.
The following steps will give you a general idea of where to start, and in what order the pieces are taken off.
Being patient is the key to successfully taking off the door panel without damaging it. Finding a video guide for your vehicle is ideal, but if one doesn’t exist, you can use these steps to get the panel off.
Don’t think about the panel as 5 different pieces – many owners have damaged whole sections of the panel thinking they come off (the large section around the door handle in particular). Look for smaller parts that are obviously covers for the screws and inspect the door from different angles, especially from the bottom.
Even if you’re really careful, it’s not uncommon for the retention clips to break anyway. This is not a real issue as replacement clips are very affordable and readily available – the SunplusTrade 240-piece set costs just $15.
Personally, I find that working on door panels with electric switches is more trouble than it’s worth, but if the mechanics want to charge heavily for the job, you should at least try fixing the problem yourself.
Lifting up a power window won’t be possible without detaching the electric motor as the connection between the two keeps the window in place. However, whether you’re fixing a manual or a power window, lifting it up is going to be a necessary step in both temporary and permanent solutions.
This is where the glass suction cups come in handy. Pulling the glass up by pressing your palms against the window and pushing up may move the glass in the way of a sharp metal object and scratch it up, while using just your fingertips from the top may prove too difficult.
Suction cups make the job much easier. Place one at the center of the glass and the other to the side, and pull the glass up.
Once the cups hit the edge of the door frame, release the side suction cup and place it at the center of the protruding piece of glass. Now you can release the 2nd bottom suction up and transfer it to the top, and pull the glass up all the way.
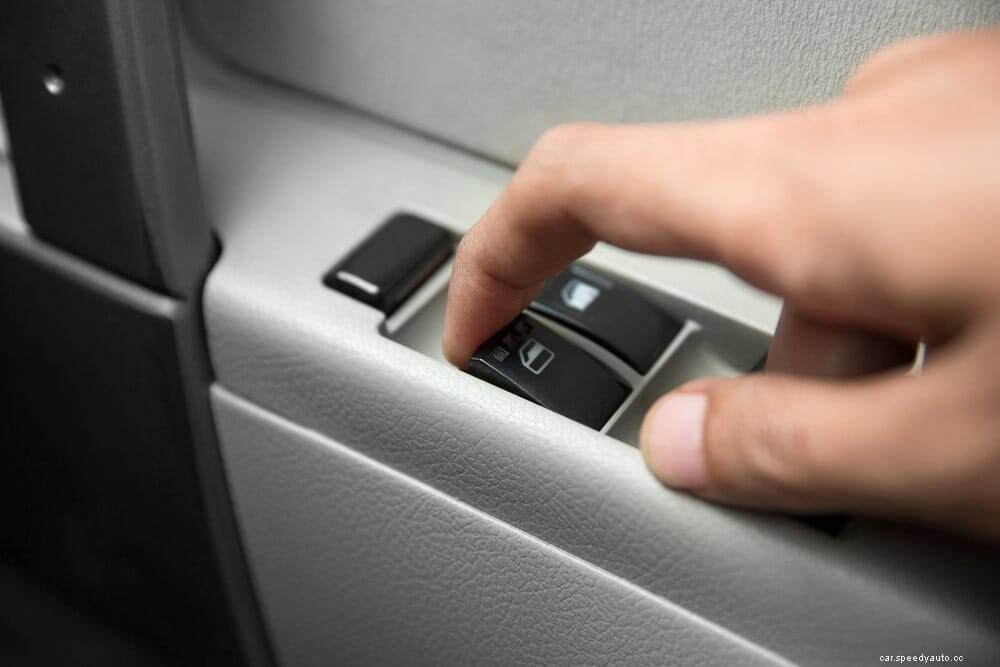
When the window won’t move up or down, the likely cause is either the power window switch or the electric motor.
If the passenger window switches don’t work, but the main window switch does, then the passenger switch has failed. In the same line, if the passenger switches do work but the main switch can’t move them, then you need to replace the main power switch instead.
There are two main ways a power window switch is connected to the door frame. The first allows you to remove the switch separately and leave the door panel in place. However, on some vehicles, you’ll have to take the entire door panel off and unscrew the power switch from the back.
In either case, the steps explained in the previous section will be enough to separate the power switch. All you need to do then disconnect the battery, pull out the power plugs and install the new module.
To replace the power window motor you’ll have to apply everything we’ve covered so far.
The window motor is surprisingly easy to remove as it hangs off the door frame with just a few bolts.
Located in the shell between the outer and inner layers of the door frame, the motor can be pulled out and replaced by one person, but having another set of hands to help align the motor as you bolt it back in place wouldn’t hurt.
The most reliable method of keeping the window from sliding down is to wedge something between the glass and the door frame while temporarily holding the window up.
You can use a screwdriver covered in insulation tape to protect the glass from scratches, a piece of plastic, rolled-up paper, or really anything you have at hand.
Duct tape can also work, but I find it to be an inferior solution due to the residue it leaves on the surfaces and the fading adhesion. Still, it makes for a decent short-term solution, especially if you have no other way of securing the window overnight.
When the window won’t stay up, it’s most likely caused by slipping of the bracket that holds the window up or a failure of the electrical motor. Both problems require disassembly of the door panel, which can be a difficult and risky job for a novice DIY mechanic.
Jamming a car window shut can be done by accessing the area behind the door trim panel and wedging a piece of wood, metal, or PVC between the bottom of the door and the window when it’s raised full up.
You’ll have to measure the distance correctly because a pipe or dowel that is too short won’t keep the window fully closed.
Unfortunately, the power windows are made so there is no backup in case the system fails. When the power window switches stop working, you’ll have to take off the entire door trim panel, disconnect the window from the motor and raise it up manually.
Then, you’ll need to use a dowel or a pipe from below, or a wedge from the top to keep the glass in place.
The window regulator takes the power from the electrical motor and turns it into vertical movement. The system is hidden behind the door panel, but its failure could cause issues with the movement of the glass.
If the window keeps rolling down when you full roll it up, it means that the window power switch is short-circuiting.
You can circumvent the problem by tapping the button quickly and rolling up the window in segments so it doesn’t go back, but the best way to handle the issue is to replace the power switch completely.
The cost of fixing a broken car window depends on the cause. The master window switch located on the driver’s door is the most expensive and can cost up to $200, although simpler models can cost just $30. The side window switches are $20 – $50 at most.
The power window motor is about $50 – $100, while the entire window assembly goes for a couple of hundred dollars. The biggest expense is going to be labor, as the removal, repair, and reinstallation of the door panel can cost $200 to even $500.
The total cost of the replacement is between $250 and $400. The cost of the motor is generally less than the cost of labor, but that can also depend on the make & model of the vehicle.
The car window that won’t stay up is not only a nuisance, it can also be a problem when it’s cold, rainy, or snowy outside, and ultimately poses a safety risk for the vehicle when it’s parked.
The first step is to secure the window in the up position – a wedge or duct tape will do the job. In the meantime, inspect the electrical components – fuses, relays, and the power window switch.
Then, it’s time to pull off the door trim panel and have a look inside – the window regulator and the electric motor are the next parts on your list.
Removing the door trim is going to be the biggest challenge, so take your time and work your way around it until you find the spots where it disconnects from the door. In all, this guide should be enough to solve most, if not all window-related issues!
