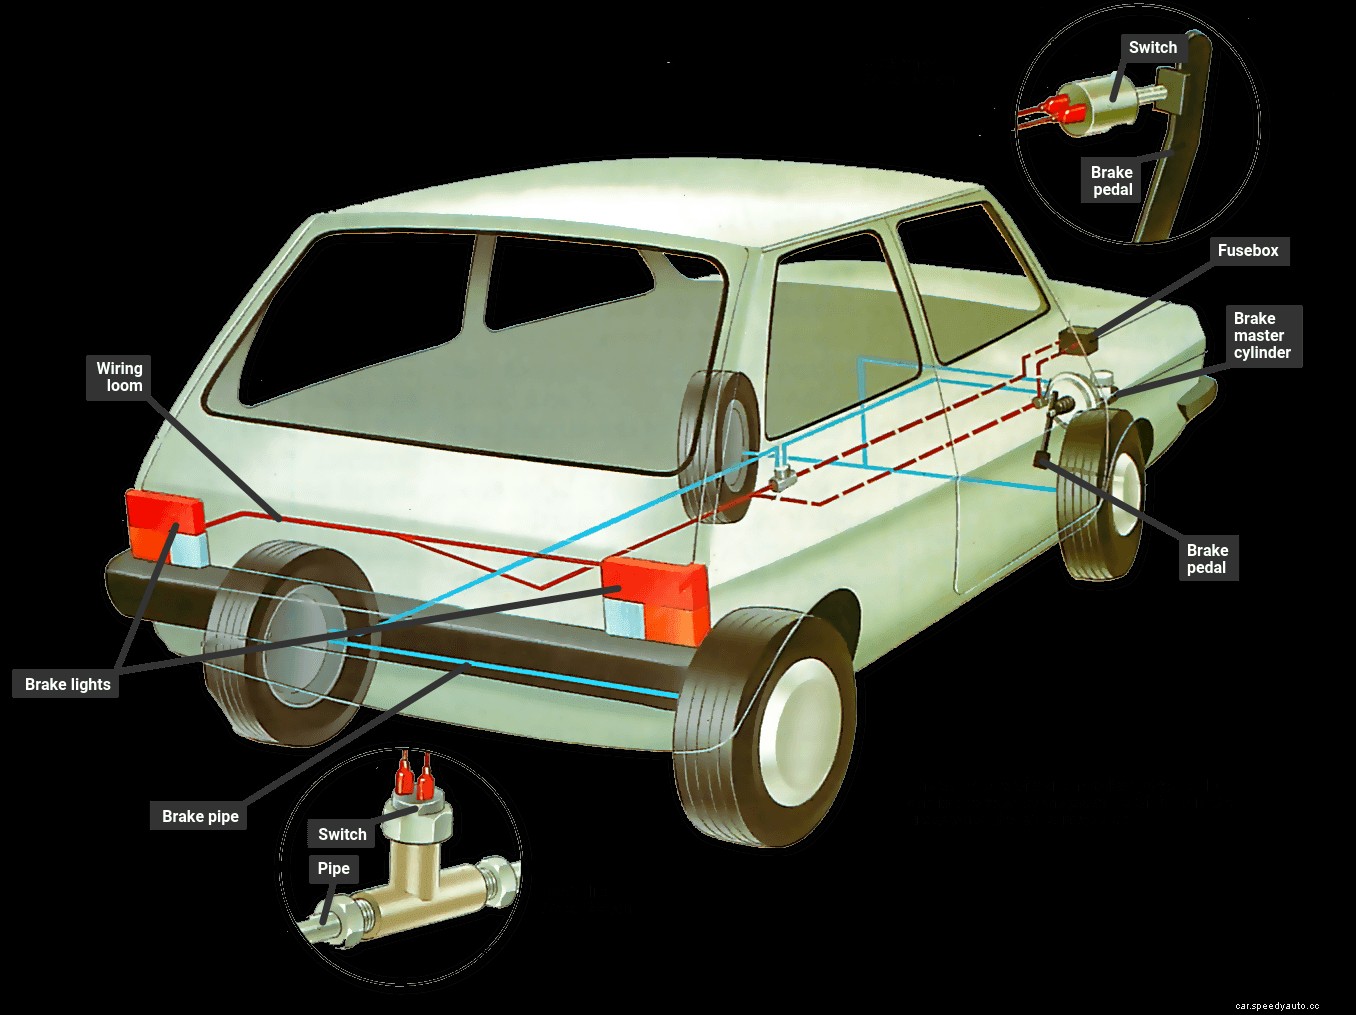
As well as being a legal requirement, it is also an essential safety measure that your brake lights work correctly. Any faults in the brake lights are usually easily traced. The circuit itself is a simple one, controlled by a switch operated either directly by the brake pedal or hydraulically by the increase in pressure in the brake pipes.
Start by making a visual check on the lights. Get a helper to operate the brake pedal (with the ignition on). If only one light comes on, the fault is probably a blown bulb since any failure in the brake light circuit would affect .both bulbs.
Check this by taking out the bulb from the light that works and fitting it to the non-working light. Now see if the light comes on. If it doesn't, the fault lies in the light unit (see below).
The other simple check you can carry out is on the fuse . If both lights fail to come on, the fuse may have blown. Try a new one, though a blown fuse usually means that some other circuit has also failed, which you would probably have noticed.
If after carrying out the above tests the lights still fail to work, you will have to check the circuit with a test lamp. But before you do this, check all the wiring connections to the brake lights, making sure the connectors are clean, free of corrosion and tight.
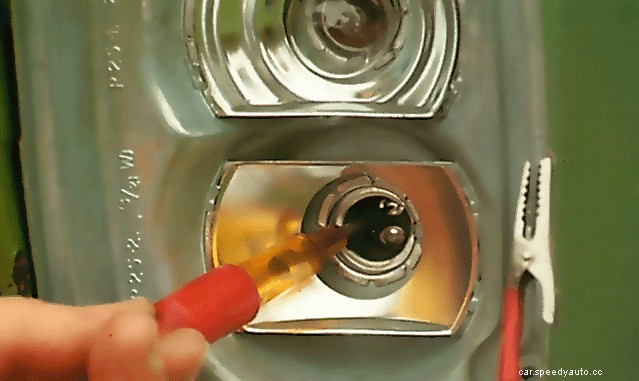
Next check the bulbholder. Remove the bulb and connect the clip of the test lamp to a good earth point. Turn on the ignition and get your helper to hold the brake pedal down.
Touch the centre contact of the bulbholder with the test lamp probe. If the test lamp lights, current is reaching the bulb and the fault lies with the earthing. Check and clean up the earth side of the circuit.
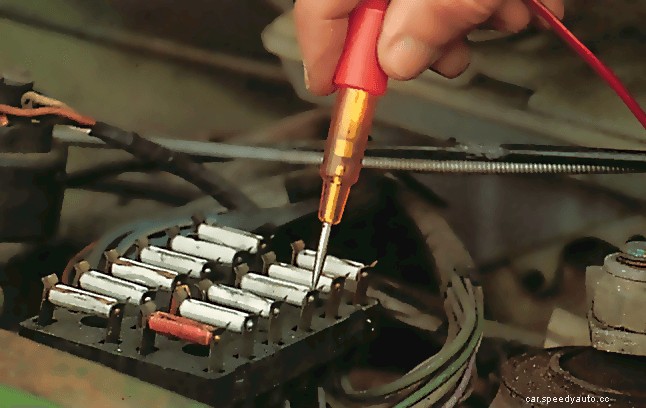
If the test lamp fails to light, next check if current is reaching the fuse by probing each fuse terminal in turn with the test lamp. If the lamp lights on the battery side of the fuse, the fault is in the fuse itself. But if it does not light, the fault is in the feed from the battery to the fusebox — get an auto-electrician to check and replace the wiring.
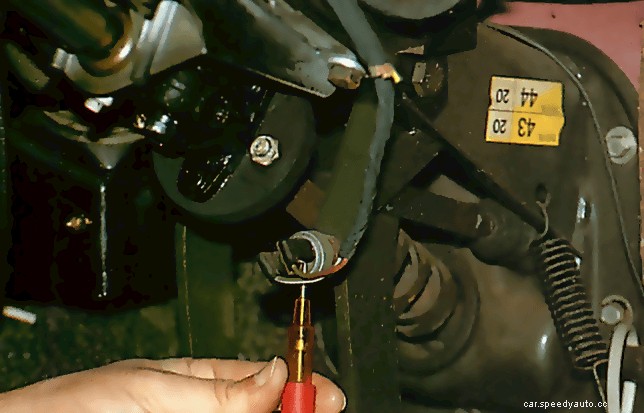
If current is reaching the output side of the fuse, suspect a fault with the wiring to the brake switch or switch itself.
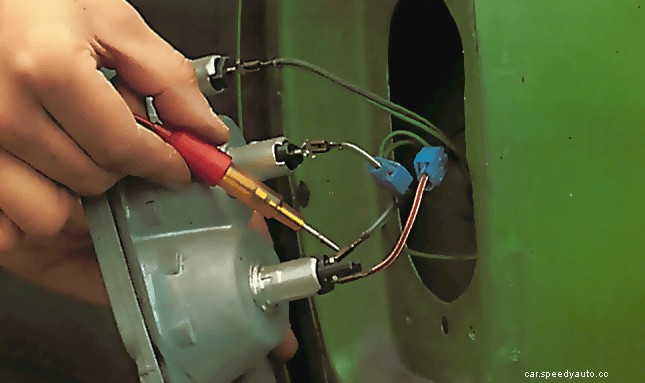
Attach the test lamp to a suitable earth and again hold the brake pedal down with the ignition on. Touch the probe of the test light to each of the switch terminals in turn.
If the light only illuminates on one terminal, the switch is faulty and should be adjusted or replaced. To check this, disconnect the wires to the switch and join them together. The brake lights should now come on.
If both terminals cause the lamp to light, the fault lies in the wiring between the switch and the brake lights. This should be checked along its length for any breaks or chafing where it could short circuit .
