Having a healthy and appealing car is what every car owner desires. However, due to external influences and unpredictable situations, your vehicle can not always be in top condition all the time. Not only that, time will fade the paint and tarnish the windshield, making your car look no longer as beautiful and shiny as the first time you two met.
When faced with such situations, quickly identifying the problem and preparing for a thorough repair is essential to help prolong the life and the refurbishment of the vehicle.
If your car has troubles that are difficult to solve, as well as when you have the time and are ready to spend a relatively large amount of money on it, head to the car shops or large showrooms for professional advice and quick problem-solving.
However, if you only need a small makeover for your vehicle, whether it’s simple technical parts or decorative components, you can do it at home with some cool DIY car projects.
Let’s take a look at some quick and money-saving DIY projects that you can do at home with just a multi-tool box, a car, and some sparkly day-to-day excitement.
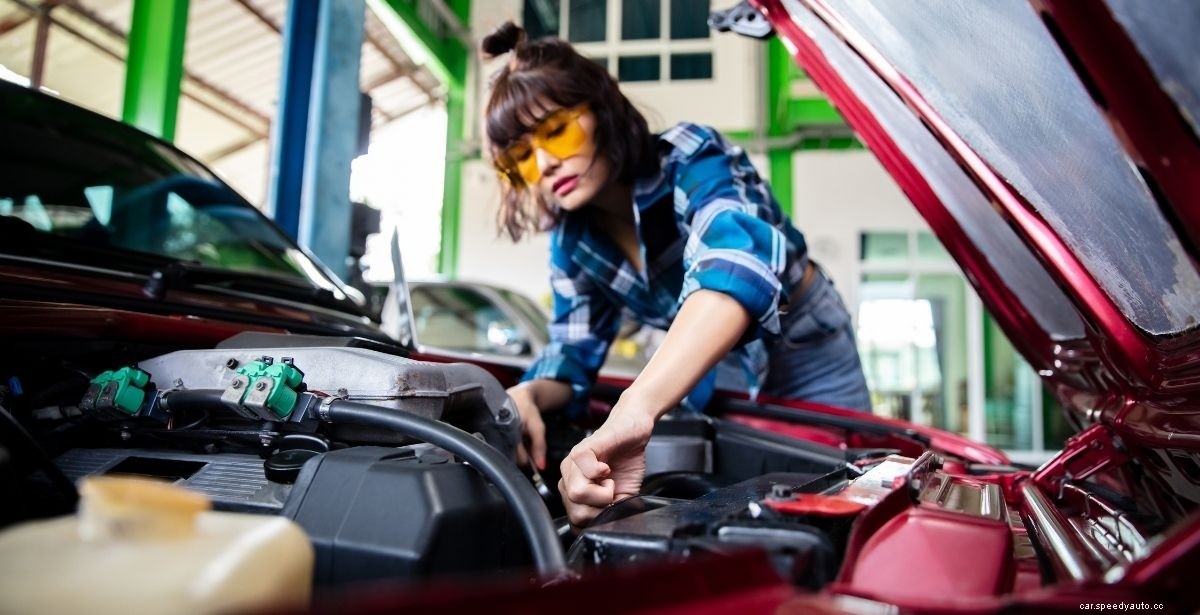
You may be thinking: “I can easily cover the maintenance of my car at home. I only need to go on Youtube or skim through some instructing articles and then do it right away.” Do not be subjective. Executing DIY projects, although very attractive with the great benefit of saving costs, are not something you can do spontaneously without any research.
As a car owner, you should always actively learn about your car. You should know which are its sensitive points that need to be taken care of and the strong points that need to be enhanced. Only when you clearly understand the technical parts and functions can you confidently use screwdrivers to explore the inner structure of your one lovely bulky person, with faith that he will wake up and be a thousand times stronger than before.
What you get after these spiraling efforts and the joyfulness called “money-saving yay” will follow you through your happy days in the car and motivate your coming self-repairs. Being able to self-study and practice repairing at the same time, what could be better than your time exploring and learning with the car on these cool winter days.
Once you’ve full-equipped with the necessary technical tools and knowledge about your car, roll up your sleeves and start these DIY automotive projects right now.
The exterior of cars, due to frequent contact with dirt and dust on the street, is easy to get dirty. However, the scariest thing is the invisible dirty floating invisible things on the car interior.
The interior space can easily become a disease. So it’s crucial to acknowledge that cleaning this place occasionally will make big changes for you and your car’s well-being.
For the interior cleaning, it is necessary to prepare the following tools:
– Specialized car interior cleaning solution
– Wet and dry cotton cloth tower
– Vacuum cleaner
– Soft brush and toothbrush
There are many types of specialized car interior cleaning solutions containing high detergent ingredients for different surfaces, you should consult and choose the suitable one.
Once we have all the tools, let’s start cleaning:

If you want to clean the interior yourself, the most visible benefit is cost savings. However, you have to accept that it will take you quite a lot of time and effort. So, prepare yourself and your tools for DIY car projects. It will be fun.
> Check out: 8 Tips For Cleaning Your Car To Have A Sparkle-clean And Spotless Interior
After a long period of use, the floor mats will be worn and need to be replaced. So if you have free time and especially want to save money, you can refer to the following simple steps to change car floor mats at home.
Several incidents have occurred because of the floor mats. That said, there will be risks when you use an unqualified car floor mat. So, no matter how rushed you are, always buy a fine car mat and install it properly.
With a unique air-filtering feature, a car air purifier that applied ozone technology, nano-activated carbon, or negative ions will remove all bad odors in your car.
In addition, it can also filter out dirt particles or kill bacteria in the car via the integrated filter system. With the above features, car air purifiers will be helpful when you drive through dusty roads or have to endure a smoking driver.
Regularly cleaning and inspecting the air purifier will help keep the air refreshing and protect you and your family from the risk of disease caused by dust.

If you do not pay attention to its standard life span, it will slowly be under functional, which can be harmful to the air quality in general. In addition, because car air filters from different brands are different, you should read the instructions carefully to understand the exact time to replace and inspect them.
The air purifier removal and replacement are considered relatively easy. Following the user guide is already enough to understand and inspect your own.
Moreover, you can always turn them into cute DIY car accessories to garnish your interior with a more refreshing and modern look.
Car oil self-changing has long been done by drivers to extend the engine life, increase gas mileage and improve the driving experience.
> Find out: What Happens When Car Oil Is Not Changed Regularly?
Anyone can change the car oil at home with a simple process without spending hours at car shops.
Here are the steps to change your car’s oil at home.
If you want to get another economical way to decorate your car interior, check out this DIY decor project idea.
The steering wheel cover is a project you can do right at home with just a small set of tools and a few simple steps. The new wrapped steering wheel will ensure durability and cleanliness. Moreover, it will be a decorative part for a more modern and eye-catching interior space.
You can always buy the steering wheel cover from the specialized garage or car interior accessories store and install it yourself for cleaning and replacement when necessary.
Pay attention to the following steps when replacing a brand new steering wheel cover:
With just these basic steps above, you may now know how to install the steering cover and do it at home in a simple way.

This project creates a protective outer layer to help your car avoid scratches and always look as good as new. However, for those who are not used to this, the thought of polishing cars will be very discouraging.
The estimated time needed to perform the car polishing process is about 1 hour. However, it also depends on the weather, the car’s size, and the polishing speed of each part. Polishing the car means that you will proceed to refresh its exterior. It does not require many skills, so beginners can also do it.
Here are some tools and specialized products you should prepare:
– Rotary pad/polish or manual polishing pad
– Faucet and sprayer
– Microfiber towel
– Brush or sponge
– Active-polishing ingredient
– Car wash soap
– Wax (if desired)
Once you’ve prepared all the necessary tools, here are the simple steps you can follow:
Regularly executing this car DIY maintenance task will help eliminate defects on the car’s surface and help avoid spreading sores that affect the inner paint layer.
> Touching up car paint notices:
Car seat covering is essential for every driver who loves a more luxurious and comfortable seating experience.
This car interior project will not only protect the car’s seats but also increase its aesthetic look. You can completely upholster your leather seats at home, with just a little ingenuity and a few basic tools.
For the seat covering to go smoothly and quickly, you need to prepare all the tools in one place to quicken the working process. You may need screwdrivers, pliers, scissors, specialized tools to remove seats from the car, glue, needles, and adhesive pads.
And here are some basic steps:
Noted, when choosing a seat cover, you should choose one with a color that matches the interior.
If you want to upgrade your car headlights, then you’re looking for a cool headlight or one that lights up the night better?
Many headlight modifications are simple enough that you may complete them without much experience with these few steps:
Car window filming (tinting) is an anti-heat solution for the car. It helps protect the car’s glass from the impact of UV rays, prevents light that causes glare for the driver, and protects the interior from thermal effects.
The complete tinting process for parts such as the rearview mirror, side glass, and windshield takes only about one to three hours.
The basic process must proceed from cleaning the surface to being tinted, measuring the dimensions, gluing the tinted film, and defining. However, if the car has been covered with film before, it will take more time to remove the old one. Accordingly, the cleaning process will take longer than expected.
Besides, the tint quality also needs to be focused on. There are a variety of products on the market. So to ensure safety and maximize the effect, you should always head to reputable units.
Tools you’ll need for DIY window tinting:
– Ruler
– Cleaning cloth: It is necessary to clean the glass surface before applying the film. A good choice is soft towels made from absorbent cotton.
– Sprayers: Use specialized sprayers equipped with nozzles.
– Foaming: Create a smoothness on the glass surface to make the tinting more convenient. It is also a highly cleaning detergent.
– Film wiper: You can use hard plastic wipers or silicone wipers. It will remove the air bubbles when the tint film is applied to the glass.
– Dryer: Quickly dry the adhesive layer and easily shape the tint.
After preparing the tool, here are a few easy tinting steps to avoid errors:
> See more:
Wiper blades are usually made of rubber, which will wear out after several months of sweeping raindrops and dust from the windshield.
Many people will get the wipers changed in the repair shop. Others choose to turn it into a fun and easy do-it-at-home car project.
There are 3 types of wiper blades you can choose from: rubber wiper, silicone wiper, and beam wipers depending on your usage goals and budget. You should carefully look at the shape of the old wiper to get the right new one.
After identifying the appropriate car wiper blades, you can proceed with the project:
After replacing, you should turn on the wiper blades to check if their position is set correctly. You should notice that these blades can be bent or warped due to environmental influences that can cause scratches and scuffs on the windshield. So as long as you put enough attention to this easy-neglected part, your rainy-driving experiences will always be optimized.
With these money-saving and simple DIY car projects, we hope you will have some fun learning times with your family and friends.
If you want to turn your home into a ‘do it yourself auto repair shop’, you can equip yourself with the basics right today, and then slowly progress to learn more about specialized technical knowledge.
For more helpful car maintenance tips and news, check out Car From Japan right today.
