Ask a group of auto detail experts whether DIYers should attempt pro paint corrections on their own, and you’ll receive a wide array of opinions on the matter. We’ve heard everything from, “With the right tools, research, and a steady hand, it shouldn’t be an issue…” to, “Are you fucking high?! No amateur should ever attempt paint correction on their own!”
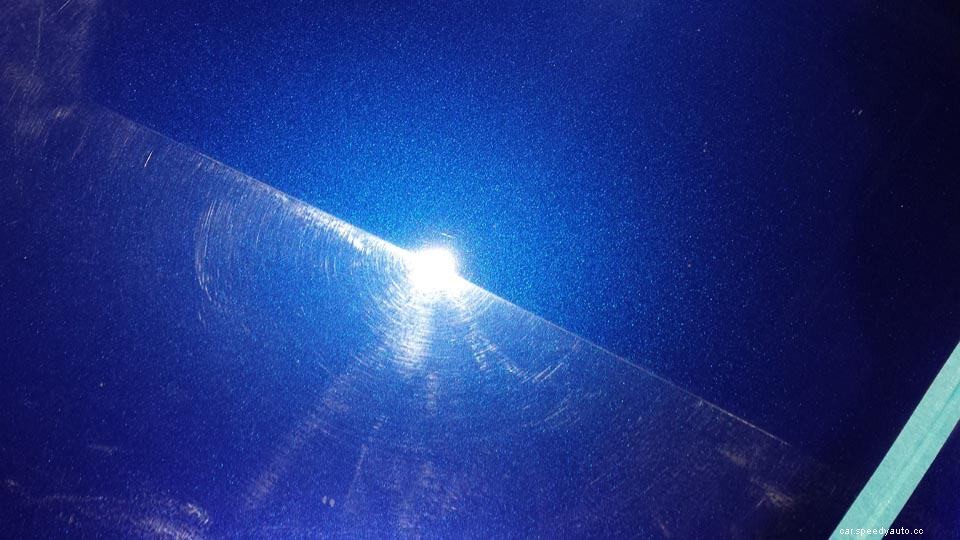
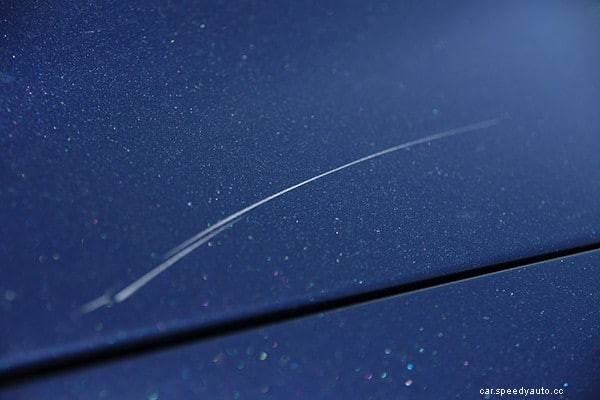
No matter the response, one thing remains constant: Paint correction is no simple task. The removal of paint swirl marks, fading, oxidation, and marring in clear coat requires a significant amount of time, patience, equipment, and preparation, none of which can be skipped or hurried.
But for those who take the plunge, the rewards far outweigh the hurtles, especially when it comes to saving money.
Following the same approach as our Beginners Guide to Car Detailing (Like a Pro) series, today’s article will begin by covering a few facts about paint correction. We will also go over some important tools and techniques, talk about recognizing the warning signs of a failing clear coat, and outline the core paint correction steps. So grab your gloves and let’s get to correcting the situation!
Paint correction is a multi-stage process that involves removing imperfections in automotive clear coat (a.k.a. finish) and restoring it to as close to original condition as possible. Opposed to a straightforward DIY paint correction, professional paint correction involves a few additional steps, which we’ll describe in detail a bit later.
For all you DIY fans out there, the following steps offer a generalized glimpse at paint correction procedures:

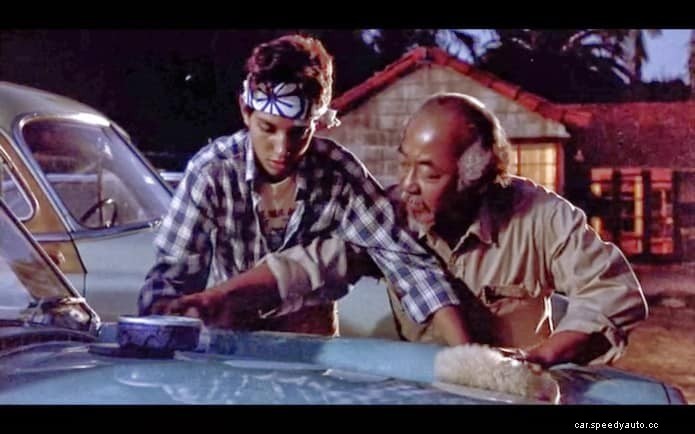
While Mr. Miyagi’s method of washing and waxing is well recognized, his technique is just as known for its damaging tendencies as its cleaning and buffing powers. Is it good for teaching karate skills? Sure. But when it comes to safely decontaminating a car’s clear coat… well that’s a whole other story.
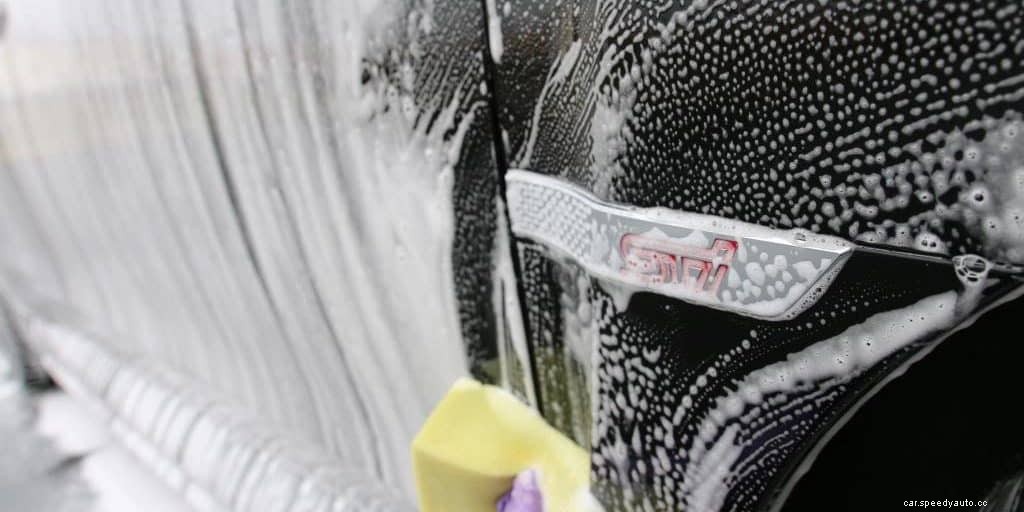
When a car is being washed by hand, or an automatic car wash, soap and pressure are applied to cut into any caked-on residue or contamination. The scuzzy surface is then agitated with a cloth or some form of scrubbing media, before the human hand or mechanized arm moves on to the next area.
The issue, is that humans and automatic car washes alike tend to grind whatever grime is sitting on the surface into the clear coat. This creates scratches in the clear coat, for without routine rinsing and a separate decontamination water bucket, even a clean microfiber towel can become a weapon of mass destruction during a wash.
Car waxing offers a very similar scenario. While washing a car remains a crucial first step, not all of the debris embedded within the clear coat is removed at this stage. So when the wax-on/wax-off method is implemented later on, this same grinding of loose particles into the paint’s protective layer strikes once more, this time with the help of a waxy bonding agent.
Quick Nerd Note: Although some paint imperfections can be fixed with automotive waxes or paint sealants, they rarely provide a lasting solution. As an auto detailing buddy once explained, “This is like putting duct tape or super glue on an open wound. It’ll work in a pinch, but at some point you are going to want to seal that sucker up.”
In order to truly remedy automotive detailing mistakes, and “buff-out” any marring or fading on a car’s clear coat, a paint correction procedure must be implemented.
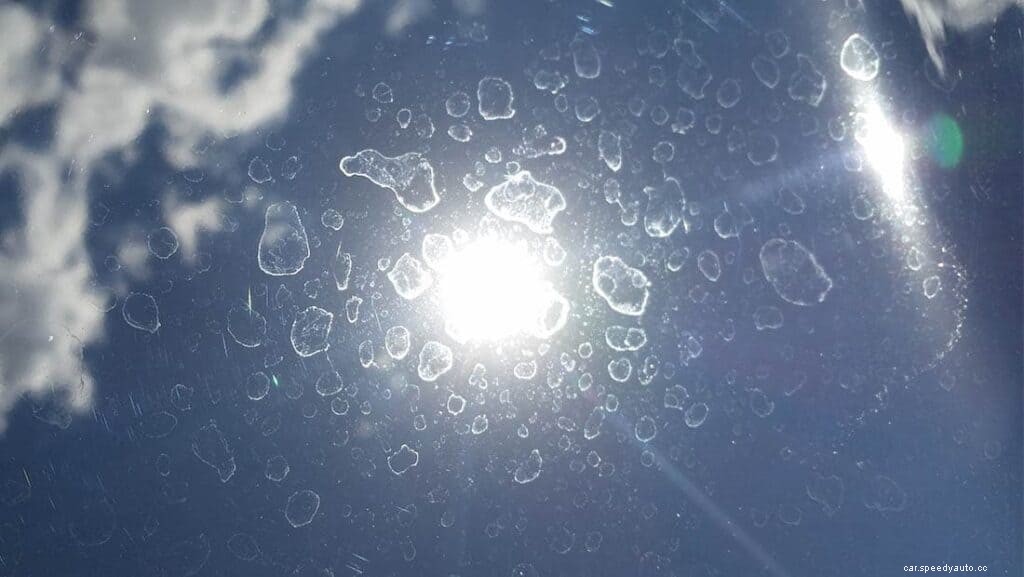
However, there’s this dated assumption that paint correction is little more than a visual enhancement. Paint correction does far more than just apply some shine to a painted surface. It fills in the gaps and scratches, lifts flaking clear coat, and prepares the surface for protective products like ceramic coatings.
Quick Nerd Note: When your paint’s clear coat is damaged, it is just a matter of time before dirt and debris penetrate the surface and start eating into the pigmented basecoat. In the past, this has been linked to paint chipping, sun damage, premature fading, oxidation, and other unsavory issues.
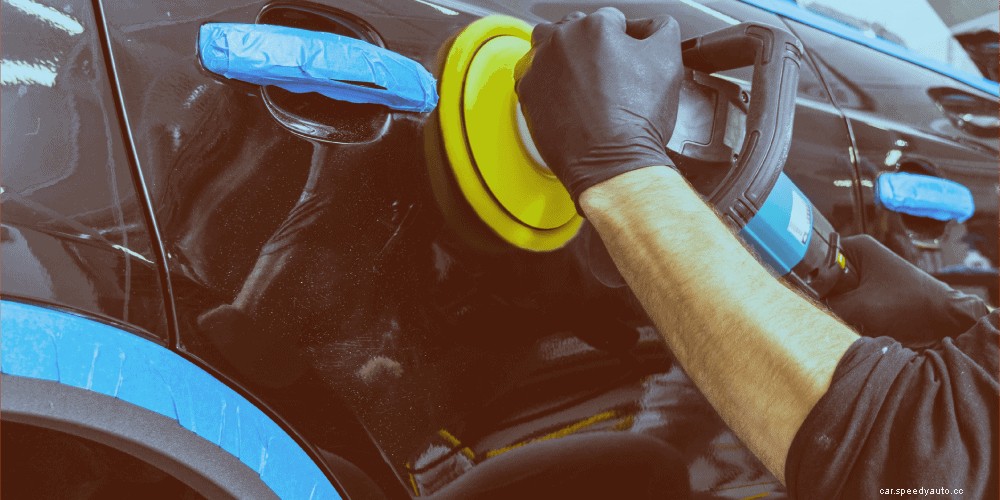
If you’ve made it this far into the article, chances are you are hell-bent on attempting a DIY paint correction fix on your own. It may sound intimidating at first, but minor paint correction procedures are more of a time and labor intensive endeavor than anything.
The following steps will help guide you in the removal of swirl marks/spider webbing, the most common, and easily repairable clear coat imperfection. Any other type of paint damage, including deep scratches and etching, should be carefully inspected and taken to a professional. You don’t want to attempt an advanced paint correction process, only to realize halfway through that you’ve bitten off more than you can chew.
Quick Nerd Note: The steps listed below should be viewed in the same light as ‘The Pirates Code’ in the Pirates of the Caribbean franchise: These really aren’t rules, but guidelines. And when in doubt, consult an auto body expert to determine whether paint correction or a respray is the best course of action.
Before you can even start correcting a vehicle’s paintwork, all of the surfaces must first be cleaned and prepped.
Here are a few of the steps you’ll need to complete when prepping a car for paint correction:
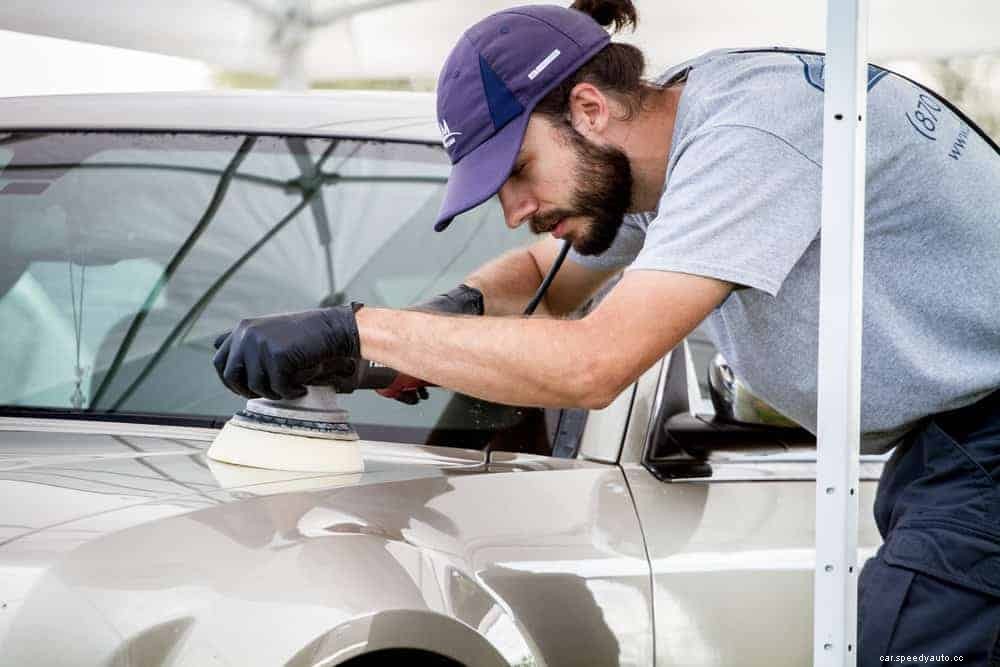
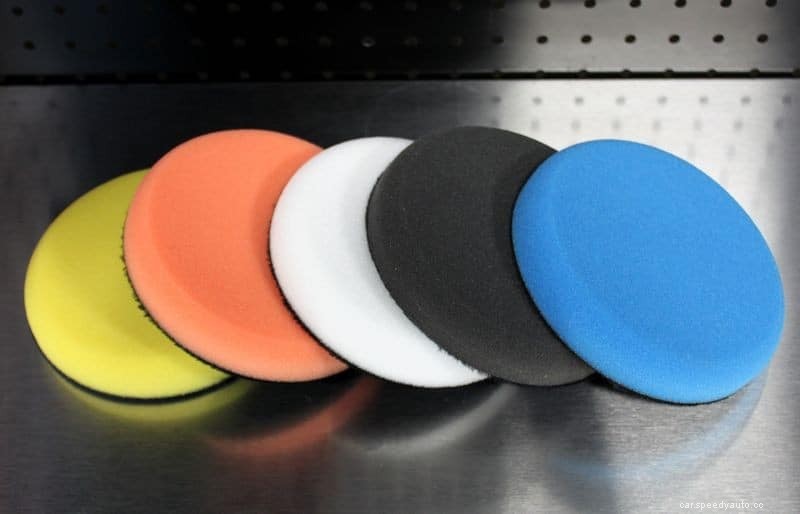
For the next stage, which is the leveling process, you will need an electric polisher or sanding wheel, and a variety of high-quality microfiber cutting pads and cutting compounds in various grades of coarseness. Here, opting to purchase an all-in-one paint correction kit will remove much of the shopping guesswork on your end.
Quick Nerd Note: A professional auto detailer would not use a cutting compound, but would instead opt for a color sanding approach. However, this procedure is by no means intended for the inexperienced, or even intermediate DIY enthusiasts.
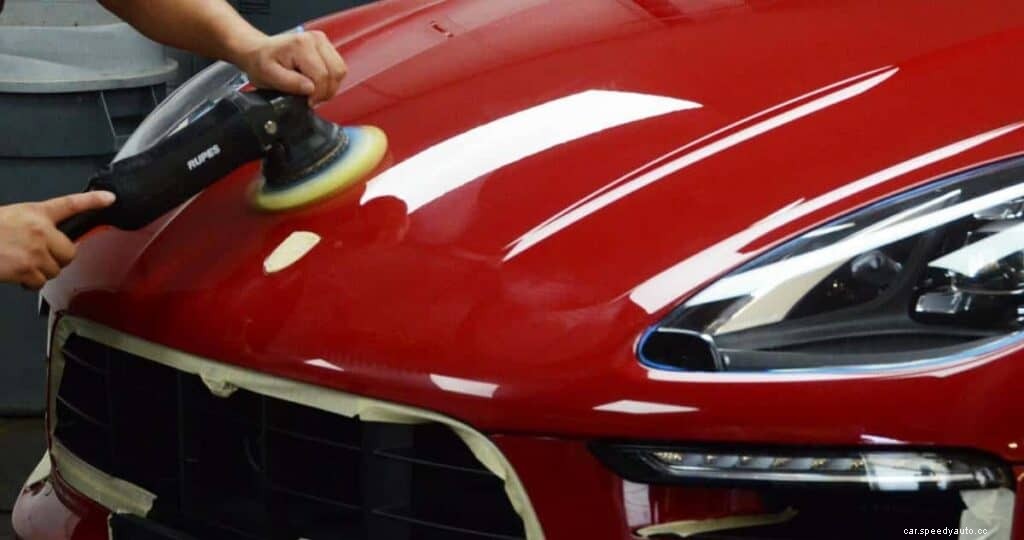
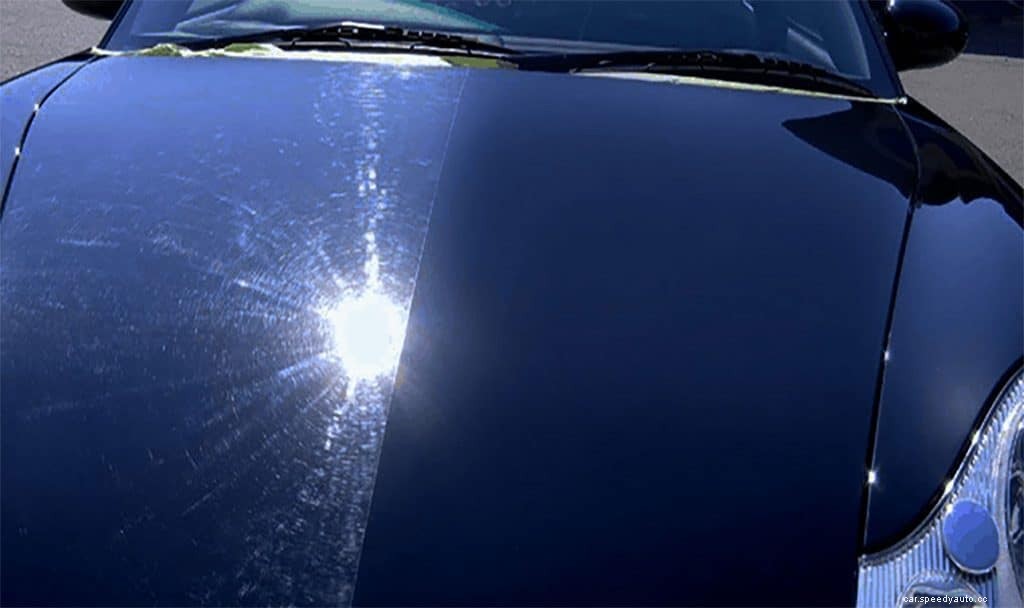
Leveling step completed, you’ll be greeted by a scratch-free, but rather dull-looking finish. This is where the polishing process comes into play, as you seek to both restore shine and fill-in any scratches in the clear coat that may have been caused by the leveling process.
At this point, the paint correction procedure has been completed, and it is now time to protect that pristine exterior. A paint protection procedure will not only reduce the need for this clear coat correction process to be repeated on the regular, but it will also give your car’s exterior enhanced levels of shine and protection.
Traditionally, DIY enthusiasts would apply an automotive wax at this point, an option that does indeed work, but only for a brief period of time, and with limited resistance to scratches and impacts. Today, things like paint sealants, paint protection films (PPF), and nano ceramic coatings have become the go-to paint protection alternative to traditional waxes, and for good reason.
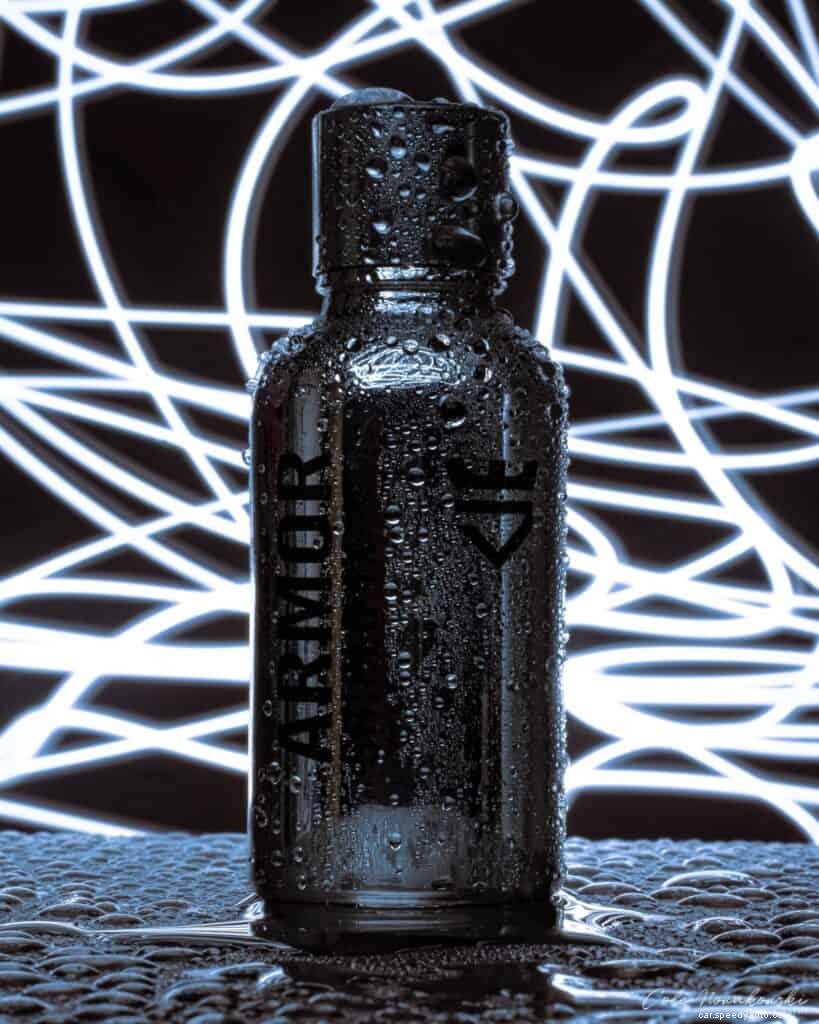
By providing an incredibly hard layer of protection that only needs replacement every few years (as opposed to every couple of weeks or months), products like ceramic coatings have made the need for routine paint correction a thing of the past. And while many auto enthusiasts will swear that PPF products are the best of the bunch due to their levels of longevity and protection, the price associated with their installation and up-front cost is a far cry from what you will pay for a DIY nano ceramic coating like Armor Shield IX.
When compared to a professional detailer’s $2,000 base price for paint correction services, the value associated with taking DIY swing at this mandatory task becomes all the more obvious. While certain projects should definitely be left to the professionals, the methods we covered today should be more than sufficient for those looking to remove spider webbing swirls/scratches from clear coat.
So give it a shot, and don’t hesitate to reach out if you have any questions. We are always happy to help those who wish to delve deeper into the ever expanding realm of DIY automotive adventures.
