 1
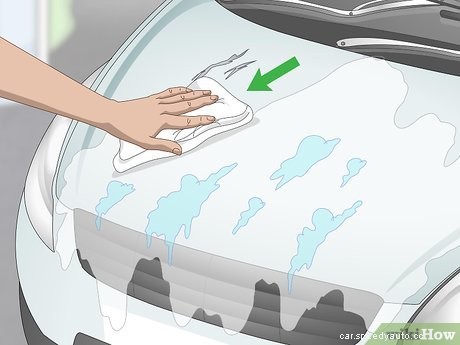
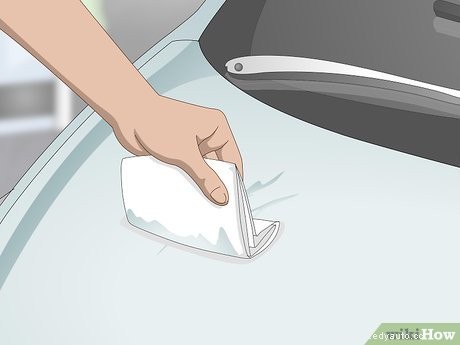
Wash and dry the damaged area. Before you attempt to repair a scratch in your car’s exterior, it’s important to make sure the surrounding area is completely clean. Spray the scratch with a gentle stream of water from a garden hose. Once the surface is spotless, pat it dry using a microfiber cloth or chamois.
1
Wash and dry the damaged area. Before you attempt to repair a scratch in your car’s exterior, it’s important to make sure the surrounding area is completely clean. Spray the scratch with a gentle stream of water from a garden hose. Once the surface is spotless, pat it dry using a microfiber cloth or chamois.
Tip: To save time, you can can also wipe the scratch with rubbing alcohol to remove dust and dirt particles.
 2
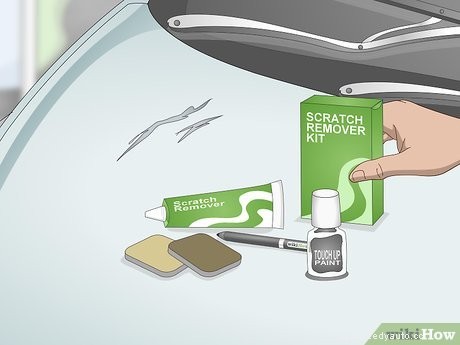
Pick up a scratch repair kit from your local automotive supplier. There are many different products on the market designed to help automobile owners easily fix cosmetic imperfections at home. One of these kits will come with everything you need to buff out a bad scratch in a matter of minutes, including a liquid scratch remover polish and soft buffing pad.
2
Pick up a scratch repair kit from your local automotive supplier. There are many different products on the market designed to help automobile owners easily fix cosmetic imperfections at home. One of these kits will come with everything you need to buff out a bad scratch in a matter of minutes, including a liquid scratch remover polish and soft buffing pad.
 3
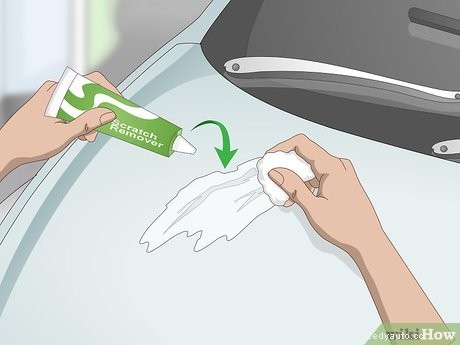
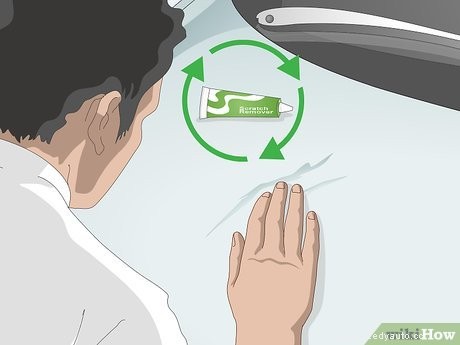
Apply a small amount of scratch remover to the damaged area. Squeeze the polish onto your buffing pad or a clean microfiber cloth rather than applying it directly to the car itself. This will help minimize messes and make it easier to use just the right amount.
3
Apply a small amount of scratch remover to the damaged area. Squeeze the polish onto your buffing pad or a clean microfiber cloth rather than applying it directly to the car itself. This will help minimize messes and make it easier to use just the right amount.
 4
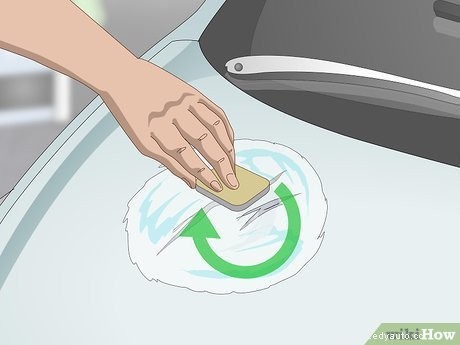
Work the scratch remover using your buffing pad. Buff the damaged area thoroughly, moving the pad in smooth, tight circles from one end to the other. The idea is to massage the polish into the the scratch, where the tiny abrasive particles it contains will gradually wear down the rough edges to produce a uniform surface.
4
Work the scratch remover using your buffing pad. Buff the damaged area thoroughly, moving the pad in smooth, tight circles from one end to the other. The idea is to massage the polish into the the scratch, where the tiny abrasive particles it contains will gradually wear down the rough edges to produce a uniform surface.
 5
Use a clean microfiber cloth to remove excess polish. After buffing for a couple of minutes, carefully wipe away the remaining scratch remover. This will give you a better look at the scratch so you can determine whether it needs more attention.
5
Use a clean microfiber cloth to remove excess polish. After buffing for a couple of minutes, carefully wipe away the remaining scratch remover. This will give you a better look at the scratch so you can determine whether it needs more attention.
 6
Survey the scratch and repeat if necessary. If the scratch is no longer visible, congrats, your problems are over! If you can still see it, however, spread on a little more polish and try buffing the spot a second time. This should be enough to erase most moderate scratches that don’t reach down to the actual paint.
6
Survey the scratch and repeat if necessary. If the scratch is no longer visible, congrats, your problems are over! If you can still see it, however, spread on a little more polish and try buffing the spot a second time. This should be enough to erase most moderate scratches that don’t reach down to the actual paint.
 1
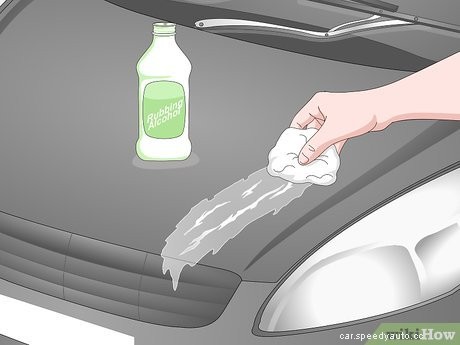
Clean the scratch with rubbing alcohol to remove dirt or wax. Wet a soft cloth or sponge with alcohol and go over the scratch and surrounding area until they’re free of foreign substances. Starting with a spotless surface will help ensure that debris doesn’t find its way into your repair materials.
1
Clean the scratch with rubbing alcohol to remove dirt or wax. Wet a soft cloth or sponge with alcohol and go over the scratch and surrounding area until they’re free of foreign substances. Starting with a spotless surface will help ensure that debris doesn’t find its way into your repair materials.
 2
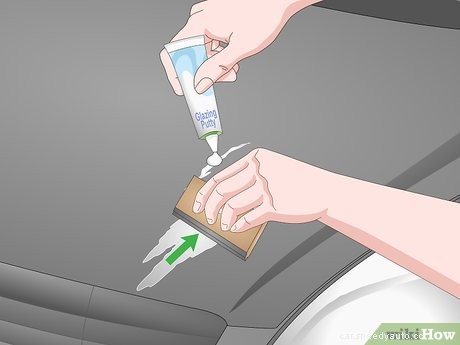
Fill the scratch with glazing putty if you can see bare metal underneath. Squeeze a dime-sized blob of putty onto the finish beside the damaged area, then use a small hand squeegee or spreader tool to spread it into the gouge. The putty will build up the deep depression from within, restoring its original structure.
2
Fill the scratch with glazing putty if you can see bare metal underneath. Squeeze a dime-sized blob of putty onto the finish beside the damaged area, then use a small hand squeegee or spreader tool to spread it into the gouge. The putty will build up the deep depression from within, restoring its original structure.
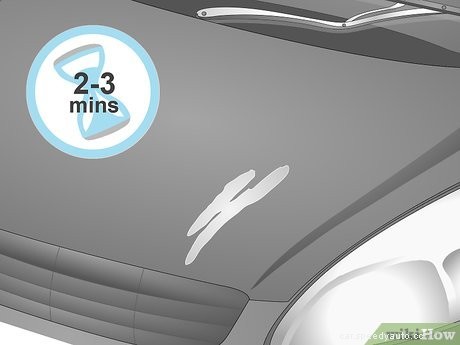 3
Let the putty cure for 2-3 minutes. As it cures, it will harden into a solid inside the scratch. In the meantime, avoid touching it or any part of the scratch. Doing so could cause you to accidentally rub off the putty, creating gaps or inconsistencies.
3
Let the putty cure for 2-3 minutes. As it cures, it will harden into a solid inside the scratch. In the meantime, avoid touching it or any part of the scratch. Doing so could cause you to accidentally rub off the putty, creating gaps or inconsistencies.
 4
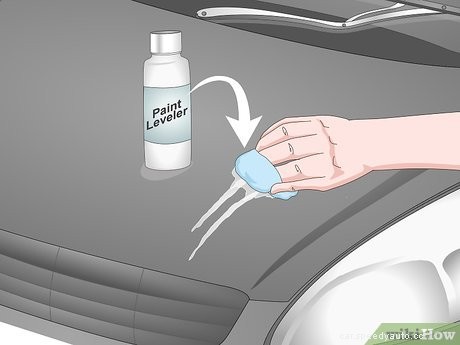
Wipe the scratch with liquid paint leveler to remove excess putty. Pour 1–2 fluid ounces (30–59 mL) of paint leveler onto the center of a detailing towel or clean microfiber cloth. Work the towel back and forth over the resurfaced scratch using light pressure. Continue wiping until the scratch appears as a colored line and the area around it is clean.
4
Wipe the scratch with liquid paint leveler to remove excess putty. Pour 1–2 fluid ounces (30–59 mL) of paint leveler onto the center of a detailing towel or clean microfiber cloth. Work the towel back and forth over the resurfaced scratch using light pressure. Continue wiping until the scratch appears as a colored line and the area around it is clean.
Tip: Wrapping your detailing towel or cloth around a rectangular backing block can make it more comfortable to handle for time-consuming jobs.
 1
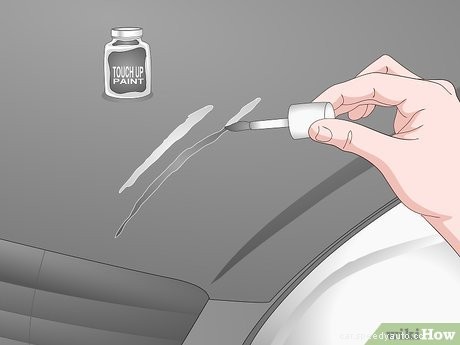
Apply a thin line of touch up paint to the scratch using a fine brush. Use the tip of the brush to dab the paint into the gouge rather than brushing or wiping it on. Aim for a light, thin coat, and work carefully to make sure the scratch is completely concealed.
1
Apply a thin line of touch up paint to the scratch using a fine brush. Use the tip of the brush to dab the paint into the gouge rather than brushing or wiping it on. Aim for a light, thin coat, and work carefully to make sure the scratch is completely concealed.
Tip: To find an exact match for your car’s paint color, refer to the paint code listed on the label inside your driver’s side door. If you don’t see it there, talk to the original dealer.
 2
Allow the paint to dry for 8-12 hours. Most types of touch up paint dry to the touch within a few hours. If possible, however, it’s a good idea to let your freshly-applied paint sit overnight to give it ample time to set.
2
Allow the paint to dry for 8-12 hours. Most types of touch up paint dry to the touch within a few hours. If possible, however, it’s a good idea to let your freshly-applied paint sit overnight to give it ample time to set.
 3
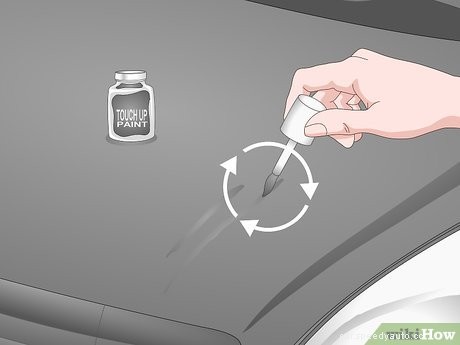
Use additional coats as needed. If there’s still damage visible beneath your initial coat of touch up paint, you can add 1-2 more thin coats to finish the job. Dab on your follow-up coats the same way you did the first coat, then allow the paint to dry overnight when you’re done.
3
Use additional coats as needed. If there’s still damage visible beneath your initial coat of touch up paint, you can add 1-2 more thin coats to finish the job. Dab on your follow-up coats the same way you did the first coat, then allow the paint to dry overnight when you’re done.
 4
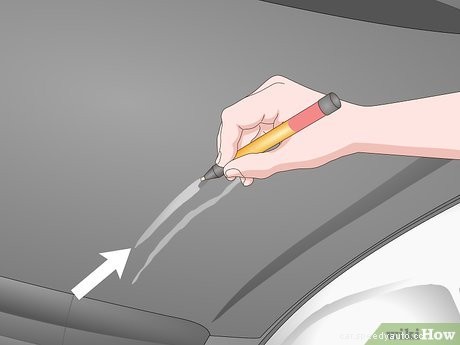
Seal the painted scratch using a clear coat applicator. Glide the tip of the pen down the length of the paint line to slowly cover it with a thin, even layer of sealant. Be careful not to bear down too hard, or you could accidentally take off some of the unprotected paint.
4
Seal the painted scratch using a clear coat applicator. Glide the tip of the pen down the length of the paint line to slowly cover it with a thin, even layer of sealant. Be careful not to bear down too hard, or you could accidentally take off some of the unprotected paint.
 5
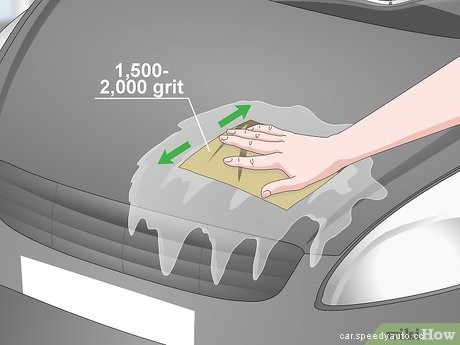
Wet-sand the repaired scratch smooth with 1,500-2,000-grit sandpaper. Wet a sheet of wet/dry sandpaper with clean water and run it over the raised ridge created by the dry sealant. To avoid removing too much of the clear coat, apply gentle pressure and use light, swirling motions. Continue sanding until the damaged area blends in with the surrounding finish.
5
Wet-sand the repaired scratch smooth with 1,500-2,000-grit sandpaper. Wet a sheet of wet/dry sandpaper with clean water and run it over the raised ridge created by the dry sealant. To avoid removing too much of the clear coat, apply gentle pressure and use light, swirling motions. Continue sanding until the damaged area blends in with the surrounding finish.
