 1
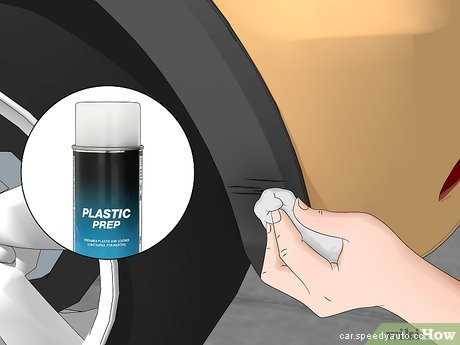
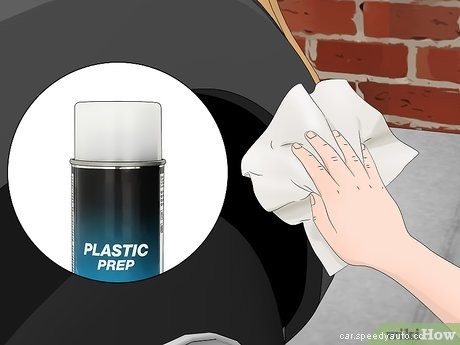
Clean off the scratched area with a plastic prep solvent. Take a special wipe or cleaning spray and sanitize the scratch and surrounding area. Be sure to wipe down the entire area, as you want to clean off any dirt or grime that’s stuck in the scratch.
1
Clean off the scratched area with a plastic prep solvent. Take a special wipe or cleaning spray and sanitize the scratch and surrounding area. Be sure to wipe down the entire area, as you want to clean off any dirt or grime that’s stuck in the scratch.
Tip: If you’re working on a large project (e.g., repairing a car bumper), consider buffing the surface with 80-grit sandpaper before you add filler. This helps the filler adhere better.
 2
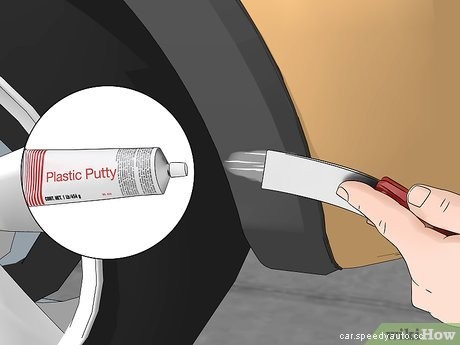
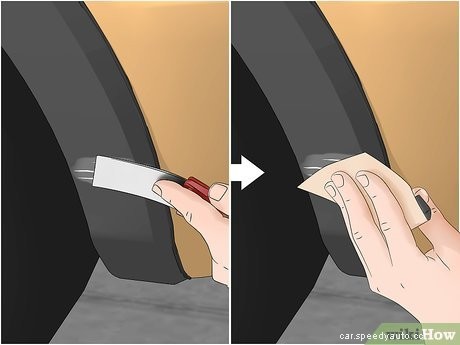
Spread a pea-sized amount of filler into the scratch with a razor blade. Scoop a small amount of plastic filler onto a new razor blade and begin applying it along the surface in long, flat motions. Hold the blade at a 45-degree angle to create a smooth, even layer. Continue working in long, back and forth motions until the scratches are completely filled.
2
Spread a pea-sized amount of filler into the scratch with a razor blade. Scoop a small amount of plastic filler onto a new razor blade and begin applying it along the surface in long, flat motions. Hold the blade at a 45-degree angle to create a smooth, even layer. Continue working in long, back and forth motions until the scratches are completely filled.
 3
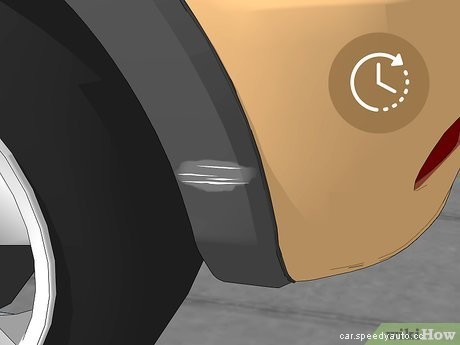
Wait for the filler to dry completely. Read the instructions on your plastic filler or putty to see what the recommended drying time is. Note that some products might be dry to the touch in 20 minutes or so, while others might need more time to harden.
3
Wait for the filler to dry completely. Read the instructions on your plastic filler or putty to see what the recommended drying time is. Note that some products might be dry to the touch in 20 minutes or so, while others might need more time to harden.
 4
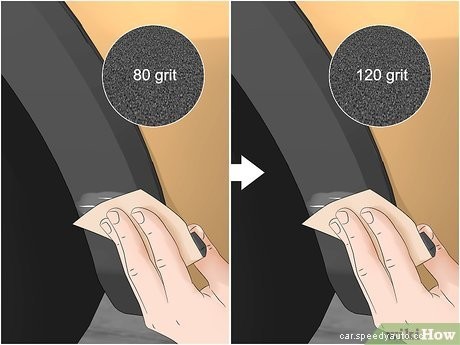
Dry sand the surface with 80- and 120-grit sandpaper. Take a sheet of coarse sandpaper and remove any obvious dust from the top layer of the hardened filler. Once you’re finished buffing the surface with this sheet, use a smoother, 120-grit piece of sandpaper to even out the plastic.
4
Dry sand the surface with 80- and 120-grit sandpaper. Take a sheet of coarse sandpaper and remove any obvious dust from the top layer of the hardened filler. Once you’re finished buffing the surface with this sheet, use a smoother, 120-grit piece of sandpaper to even out the plastic.
 5
Fill in any additional bumps and dry sand them. Use a razor blade or spatula to apply a pea-sized amount of filler, or however much you need to cover the rough area. Follow the recommended drying time listed and wait for the product to harden all the way. If the surface looks rough, go over it with 80- and 120-grit sandpaper, as well as 400-grit paper attached to a rubber sanding block.
5
Fill in any additional bumps and dry sand them. Use a razor blade or spatula to apply a pea-sized amount of filler, or however much you need to cover the rough area. Follow the recommended drying time listed and wait for the product to harden all the way. If the surface looks rough, go over it with 80- and 120-grit sandpaper, as well as 400-grit paper attached to a rubber sanding block.
 6
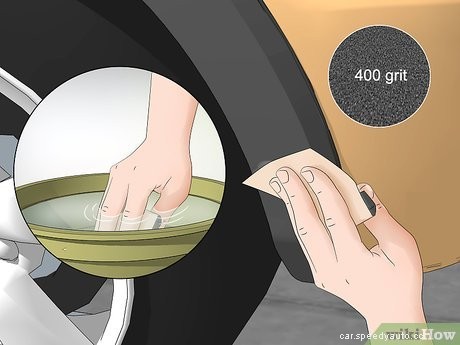
Wet sand the filler with 400-grit sandpaper to smooth out the surface. Dip a smoother sheet of sandpaper into a container of water and rub down the filled surface. Focus on any rough areas and do your best to make the filler look as smooth as possible. Try working the sandpaper in smooth, even movements to create a polished finish.
6
Wet sand the filler with 400-grit sandpaper to smooth out the surface. Dip a smoother sheet of sandpaper into a container of water and rub down the filled surface. Focus on any rough areas and do your best to make the filler look as smooth as possible. Try working the sandpaper in smooth, even movements to create a polished finish.
Tip: If you’re working on a larger project, like a damaged car bumper, you may need to go over the surface with dry 80-, 120-grit sandpaper and wet 400-grit sandpaper again until the surface looks smooth. Use your own discretion to see if your project needs some extra TLC!
 7
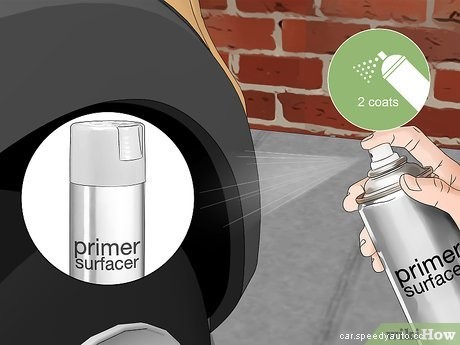
Apply 2 coats of a dual primer and surfacer to the filled plastic. Search online or in an auto repair shop to find a product labeled as a primer-surfacer. Spray over the entire area with the primer, covering both the scratched section and the surrounding sections. Wait for it to dry completely, then apply a second coat.
7
Apply 2 coats of a dual primer and surfacer to the filled plastic. Search online or in an auto repair shop to find a product labeled as a primer-surfacer. Spray over the entire area with the primer, covering both the scratched section and the surrounding sections. Wait for it to dry completely, then apply a second coat.
 8
Buff the surface with 400-grit sandpaper. Dip a sheet of smooth sandpaper into some cool tap water, then buff the filled scratches to even out the surface. Depending on how severe your scratches are, this might be a quick or time-consuming process.
8
Buff the surface with 400-grit sandpaper. Dip a sheet of smooth sandpaper into some cool tap water, then buff the filled scratches to even out the surface. Depending on how severe your scratches are, this might be a quick or time-consuming process.
 9
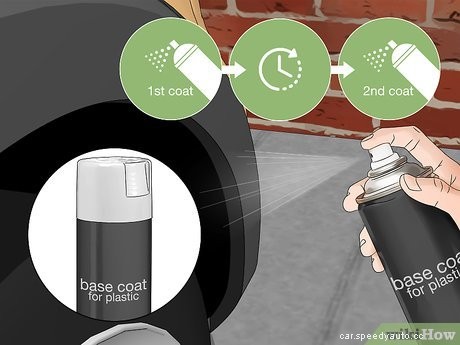
Add 2-3 layers of base paint over the filled section and let it dry between coats. Visit an auto supply shop or online store for special spray paint that‘s safe to use on plastic. Once you’ve primed and buffed the surface, spray over the plastic with a base coat. Make sure the color matches the original coat color so your repair can look as smooth as possible.
9
Add 2-3 layers of base paint over the filled section and let it dry between coats. Visit an auto supply shop or online store for special spray paint that‘s safe to use on plastic. Once you’ve primed and buffed the surface, spray over the plastic with a base coat. Make sure the color matches the original coat color so your repair can look as smooth as possible.
 10
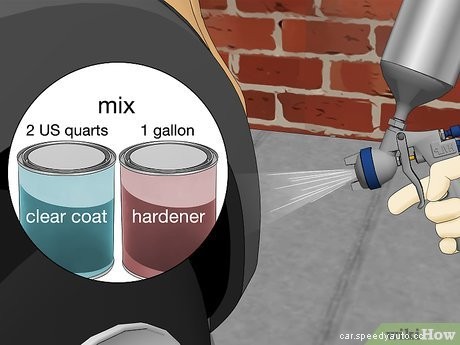
Protect the surface with 1-2 layers of clear coat mixed with hardener. Mix 2 US quarts (1.9 L) of paint hardener into a spray canister with 1 gallon (3.8 L) of clear paint. Stir the ingredients together thoroughly, then spray the clear paint over the dried base coat. For an extra layer of protection, consider adding an extra layer of clear coat to your scratch.
10
Protect the surface with 1-2 layers of clear coat mixed with hardener. Mix 2 US quarts (1.9 L) of paint hardener into a spray canister with 1 gallon (3.8 L) of clear paint. Stir the ingredients together thoroughly, then spray the clear paint over the dried base coat. For an extra layer of protection, consider adding an extra layer of clear coat to your scratch.
 1
Wipe down the area with plastic cleaner. Grab a plastic cleaning wipe or spray bottle and clean out the scratch, along with the surrounding area. Do your best to remove any dirt or grime from the scratch ahead of time so the repair can be as smooth as possible.
1
Wipe down the area with plastic cleaner. Grab a plastic cleaning wipe or spray bottle and clean out the scratch, along with the surrounding area. Do your best to remove any dirt or grime from the scratch ahead of time so the repair can be as smooth as possible.
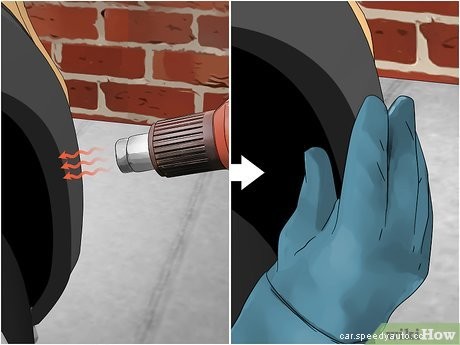
 2
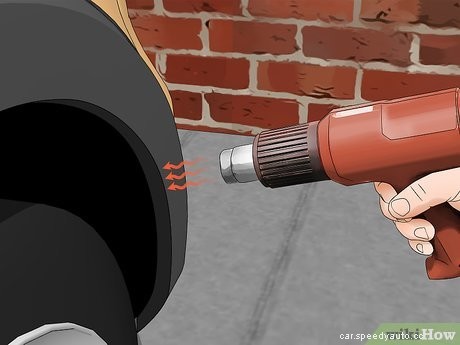
Hold a low-powered heat gun over the scratch until the plastic looks glossy. Hover the tool over the scratch for several seconds, waiting for the plastic to melt slightly. Once the surface is shiny, you can put down the heat gun.
2
Hold a low-powered heat gun over the scratch until the plastic looks glossy. Hover the tool over the scratch for several seconds, waiting for the plastic to melt slightly. Once the surface is shiny, you can put down the heat gun.
 3
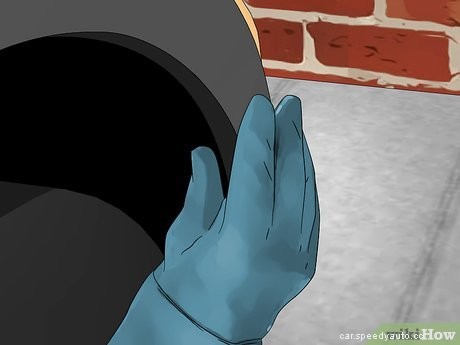
Rub the scratch with your finger or a grain pad to smooth it out. Slide on a pair of work gloves or use a grain pad to level out the surface of the plastic. Rub over the plastic in short, even motions, or until the plastic looks smooth.
3
Rub the scratch with your finger or a grain pad to smooth it out. Slide on a pair of work gloves or use a grain pad to level out the surface of the plastic. Rub over the plastic in short, even motions, or until the plastic looks smooth.
 4
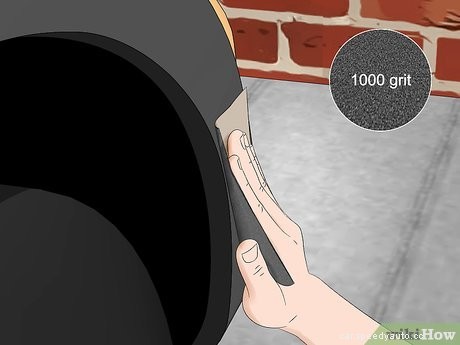
Use extremely smooth sandpaper to buff the surface. Grab a sheet of sandpaper that’s at least 1000-grit and rub over the newly smoothed surface. Wipe and back and forth until the scratch isn’t noticeable on the plastic.
4
Use extremely smooth sandpaper to buff the surface. Grab a sheet of sandpaper that’s at least 1000-grit and rub over the newly smoothed surface. Wipe and back and forth until the scratch isn’t noticeable on the plastic.
 5
Repeat the heating and rubbing process until all scratches are gone. If 1 go around doesn’t do the trick, use your heat gun or hair dryer to soften the plastic surface again. Use your finger or the grain pad to smooth out the surface until it looks pristine again.
5
Repeat the heating and rubbing process until all scratches are gone. If 1 go around doesn’t do the trick, use your heat gun or hair dryer to soften the plastic surface again. Use your finger or the grain pad to smooth out the surface until it looks pristine again.
 6
Wipe down the smoothed area with a plastic cleaner. Take another cleaning wipe or spray bottle and clean off the repaired surface. Wait several minutes for the area to air-dry, and then you’re good to go!
6
Wipe down the smoothed area with a plastic cleaner. Take another cleaning wipe or spray bottle and clean off the repaired surface. Wait several minutes for the area to air-dry, and then you’re good to go!
