First thing's first, never try and change a tyre if your personal safety is at risk or if you do not have the correct tools.
If you are, however, in a safe place, with the right tools and feel confident enough to change the wheel than the good news is a spare wheel is the most reliable way to get yourself back on the road.
Your car will either come with a narrow space-saver or a full-size spare. However, the process of changing a wheel is the same.
If there is no spare wheel and only a tyre repair kit, visit our tyre repair page instead.
Make sure you find a safe place to park. It’s better to drive further and risk damaging the wheel rim than stop somewhere dangerous – such as on a narrow road.
Leave your hazard lights on when you park. Put on your reflective jacket if you have one, and position your warning triangle to alert oncoming drivers.
It's advisable to read your car's manual for advice first.
Apart from the spare wheel, you will need the following:
It may also be useful to carry:
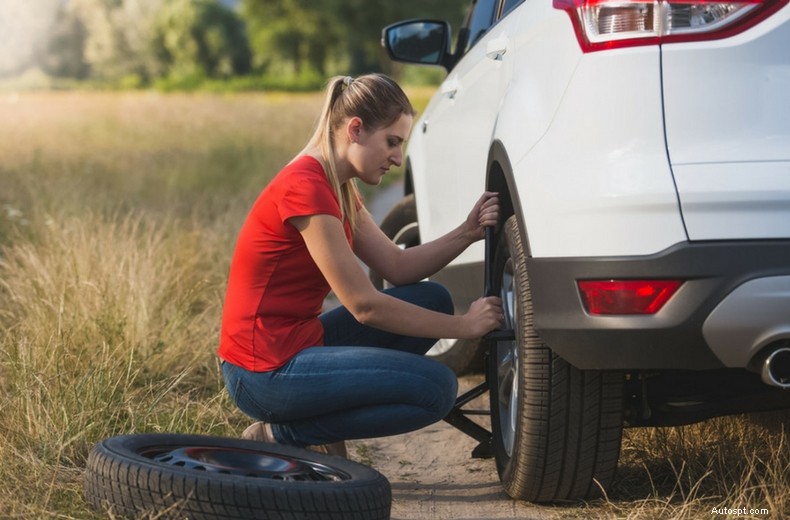
Changing a wheel is a valuable life-skill. Here’s our 10-step guide:
Apply the handbrake and remove all passengers from the car.
Take the spare wheel and necessary tools out of the boot.
Chocks prevent the car from rolling while jacked up.
Position a chock on the opposite wheel to the one with a puncture.
For example, if your left-front tyre has a puncture, put a chock behind the right-rear wheel.
If your left-rear tyre is flat, you need a chock in front of the right-front.
Use chocks for both front/rear wheels (as appropriate) if you have them.
Bricks or large rocks can do the same job if you don’t have a dedicated chock.
It’s easier – and safer – to do this while the car is on the ground.
You may need to lever off a plastic wheel trim first.
Turn the wheel wrench anti-clockwise and loosen the nuts to the point where they can be turned by hand (be warned – they may be tough to loosen).
However, don’t remove them completely yet.
All cars have dedicated jacking points – consult your handbook to see where these are.
Aim to position the jack at the side of the car, close to the punctured wheel.
Placing a small plank of wood under the jack will help keep it stable.
Raise the car slowly until the flat tyre is 10-15cm off the ground.
Fully loosen and remove the wheel nuts, then gently pull the tyre towards you until it comes free.
Place it flat on the ground.
Slide the spare wheel onto the protruding hub bolts, or in line with the wheel nut slots (warning: it’s heavy to lift it off the ground to do this).
Replace the wheel nuts and tighten them by hand.
Use the jack to drop the car down slightly, so that the spare tyre is in contact with the ground.
Now use the wrench to fully tighten the wheel nuts.
Bring the car fully down to earth and remove the jack.
Consider giving the wheel nuts a final check for tightness.
Stow the jack and the other tyre in the boot, along with the rest of your equipment.
Note: if your car has a space saver, the old wheel will take up more space in the boot.
If you have one, use a tyre pressure gauge to check the spare wheel is fully inflated.
Alternatively, drive carefully to a petrol station and use the gauge there.
Pump up the tyre to the recommended pressure – as detailed in the handbook – if necessary.
Visit a garage or tyre fitters at the first opportunity and give them your punctured wheel.
They will advise whether to repair or replace it.
Don’t drive on a space-saver spare wheel for longer than is strictly necessary – they are only intended for emergencies.
If the tyre can't be repaired and you need to replace it, our guide to purchasing tyres may come in handy.
If your MOT is due or if you would like to book your vehicle in for a full car service, you can book online with your local RAC Approved Garage today.
