As vehicle owners, we can be certain of one thing. No matter how careful we are, our cars are going to get dirty. A little dirt and grime can easily be removed with some soap and water, but what about something more stubborn—like tree sap? In this article, we’ll discuss why tree sap is so damaging to your vehicle and provide some tips and product advice for how to remove tree sap from your vehicle.
For car owners, tree sap is both a blessing and a curse. Sap is vital for healthy trees, and let’s face it, without trees, we humans wouldn’t be able to breathe.
On the other hand, if any of that sap gets on our car, it can be a nightmare to get off. That’s because sap contains a large amount of sugar, and that sugar acts like glue when it lands on your car and bakes in the sun.
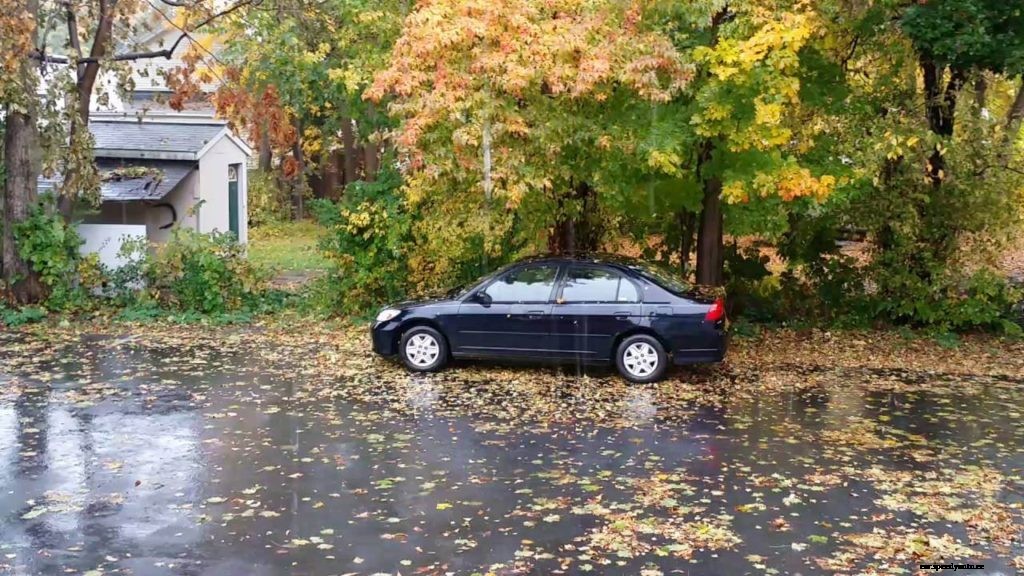
I live in the state of Florida. And for Florida drivers in the summer months, parking spaces under trees are solid gold!
But if you happen to park under a pine tree and get sap on your car, the damage can be severe if you don’t address it quickly.
We mentioned that sap has a high sugar content, and it’s that sugar that will actually eat away at your car’s clear coat and base coat if left to bake and harden.
If left unaddressed, you could end up with a pock-marked paint job that can only be fixed by a professional paint shop.
Tree sap poses a difficult problem for drivers. A new paint job is extremely costly, but the challenge is that most standard car washes, polishes, and waxes are useless at removing sap.
So, what’s a driver to do? Luckily, we’ve got you covered.
Before jumping into any vehicle maintenance project, it’s important to have all of your “tools” and supplies gathered.
Removing tree sap from your vehicle is no exception. Here’s a closer look at what you’ll need to get rid of the sap.
If you’re doing any type of maintenance on your vehicle’s paint job, you can bet you’re going to need some towels handy.
As usual, our recommendation for cloths is to go with a microfiber towel. Microfiber is more absorbent than cotton, and it doesn’t leave behind annoying lent when you’re done cleaning.
In a moment, you’ll see that thoroughly washing your car is the first step in the sap-removal process.
As such, you’ll want to have your wash bucket, soap, mitts, brushes, etc. handy.
Razor blades might not be as obvious as cleaning supplies, but they’re vital in sap removal. If you have sap on your windows, there’s no better tool for removing it.
However, under no circumstances should you use razor blades to remove the sap from your paint. The risk of further damaging your paint job is too great.
Much like removing paint transfers and scuffs, the final step in removing tree sap from your vehicle is to polish and wax the problem areas.
As for polishes, our go-to product is usually Griot’s Complete Polish. It doesn’t require any fancy equipment to apply and the result is a brilliant shine, every time.
When it comes to wax, our undisputed champion is Meguiar’s Ultimate Liquid Wax. It’s easy to apply and tends to last longer than many competitive products.
Ah, the secret weapon. It just so happens that the best product for removing tree sap from your vehicle is also the best product for removing bugs and tar.
Now, if you don’t want to fork over the cash for a quality bug and tar remover, you can use 99% isopropyl alcohol.
The alcohol is going to require a lot more elbow grease to get the sap off, but it will work. However, if you want to go with the best possible product, there’s only one choice we can recommend.
The Turtle Wax Bug and Tar Remover is the number 1 selling bug and tar remover, and it’s our top pick, too.
It’s specifically designed to break down bugs, road tar, and tree sap. It’s also incredibly easy to use. You simply spray it on the trouble spots and wipe it off (though you’ll see in a moment our method is a bit different). It’s also designed so that the formula won’t run, which means you’ll have no excess mess to clean up.
Finally, the Turtle Wax Bug and Tar Remover is safe to use on all vehicle materials, from painted surfaces to plastics and glass.
Any time you’re going to repair the paint surface of your car, the first step is usually to thoroughly wash and dry your vehicle.
Removing tree sap from your car is no exception. Grab your bucket and washing supplies and go to town.
Thoroughly washing and drying your car prior to working on the sap has several benefits.
First off, you might be able to get rid of some of the smaller patches of sap just by scrubbing them with soap and water.
Plus, by removing all of the other grit and grime from your paint surface, the sap will be much more obvious. This will ensure that you get every trouble spot removed.
Hopefully, you’ll be able to easily spot the sap spots on your car after washing it. Heavy sap will be easy to spot because you’ll see raised areas of hardened resin.
It will most likely have a reddish color to it, as well. If the sap has been sitting on your vehicle for a while, you may also see some clear coat damage around the spots.
Once you’ve located all of the sap spots on your vehicle, you can go to work at getting rid of them.
Grab your clean microfiber towel and soak a corner of it with your bug and tar remover. Then, press the soaked towel onto an area of sap.
DON’T RUB IT IN!
If you rub the area, you’ll likely just smear the sap instead of removing it and you’ll only create more work for yourself.
Instead, apply steady pressure with the soaked rag for about 60 seconds. That should be enough to loosen up the sap. If not, spray a little more bug and tar remover on your rag and repeat the process.
Once the sap has loosened up, you should be able to delicately wipe it away.
Repeat with each spot of sap. (Hey, nobody said this was a quick job)
If you have sap on your windshield, you can follow the same steps, just make sure you thoroughly clean the glass afterward (more on that in a moment).
If you have significantly hardened pieces of sap on your windshield, you can also use a razor blade to scrape it off.
Just remember to keep the blade flat so you don’t scratch your glass and NEVER use the razor blades on painted surfaces.
When you’ve removed all the sap from your vehicle, give each repair area a quick wash and dry. Finally, touch up the areas you’ve worked on by applying some polish and wax.
If you don’t have the time to do a full wax job, spray the areas you’ve worked on with a little spray-on detailer’s wax.
Our favorite product is Meguiar’s Quik Detailer. It does a great job of removing paint-harming chemicals (like all of that bug and tar remover you just used), and it’s crazy-easy to use. You simply spray it on and wipe away.
There’s no drying time and no complicated equipment required.
Big globs of tree sap stuck to your vehicle are not only unsightly, but it can also severely damage your paint if left too long.
As you’ve seen, though, that nasty sap can be removed with little more than some easy-to-find products, patience, and elbow grease.
