Unlike drum brakes, replacing disc brakes isn’t very complicated. There are fewer parts, but it’s also worth noting that each part is more important, especially when front disc brakes account for upward of 70 percent of vehicle braking and stability. In talking with technicians over the years, after hundreds of disc brake jobs, we’ve collected five pro tips to make replacing disc brakes easier.
One of the first steps to replace brake pads is to compress the brake caliper, and the easiest way is with a small pry bar or caliper piston tool. Before compression, though, pinch off the flexible brake line with the proper tool and open the bleeder screw. Now, compressing the caliper piston will force the most-abused brake fluid out of the system instead of to the master cylinder.
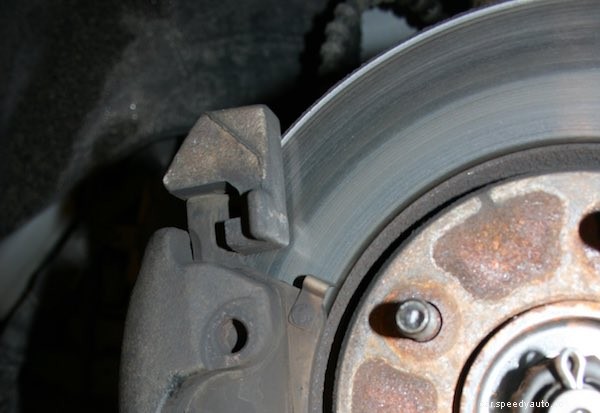 Depending on disc brake design, the brake caliper may move, and the brake pads need to move. On assembly, if the brake pads don’t slide freely on the pins, carrier or caliper, they’ll drag on the brake rotor or apply unevenly. If necessary, use a powered wire wheel or hammer and chisel to remove rust scale. Paint over any bare metal, allow it to dry and then reassemble.
Some brake rotors are held in place by screws, but not all. Without screws, use a wheel nut to keep the rotor from flopping around. This will make assembly easier.
The right lubricant can save several headaches, either yours or the mechanic’s. Use the right lube in the right place to keep things moving without causing future problems. Here’s a brief guide:
After assembly, use brake cleaner and a rag to prevent contamination of the brake pad linings and the brake rotor.
When replacing brake rotors, check and adjust for rotor runout. Brake rotor runout should ideally be 0″, but 0.002″ or 0.003″ (2 or 3 thousandths of an inch) is the maximum. Major runout may be caused by defective rotors or wheel hub damage, but rotor “clocking” can usually minimize minor runout.
A dial indicator can save time and frustration chasing problems after replacing disc brakes. With the dial gauge contacting the rotor 1/4″ from the edge, turn the rotor slowly through 360°. Use a marker to mark the highest spot on the rotor and the closest wheel stud. Remove the rotor and replace it approximately 180° from the marked wheel stud. If this doesn’t minimize runout, you may have a defective rotor.
It’s true that the professionals replace disc brakes all the time, multiple times per day, even, but that doesn’t mean that you can’t benefit from their experience when doing the job at home. If you get stuck, it’s best to stop and call your local NAPA AutoCare locations for expert help.
