Think of oil as the lifeblood of any engine. Keeping fresh oil in your lawn mower is just as important as it is in your vehicle. However, you may not be certain as to how often you need to change it in your mower. A lot of manufacturers suggest oil changes after “25 hours of operation,” but honestly, who’s keeping track? Here’s a quick rundown of how and when to perform a lawn mower oil change.
Checking your oil every time you use your mower is a good habit to get into. You should check before you mow, while the engine cold, to ensure an accurate reading. Most times, the oil level will be fine, although you may need to top it off occasionally.
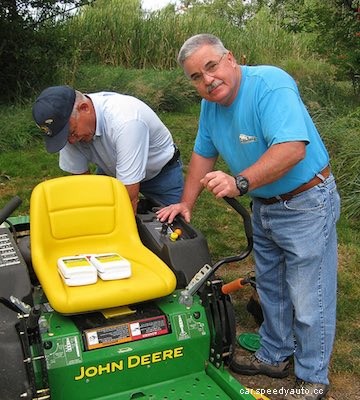
To check the oil, locate the oil fill cap on your mower’s engine, which should be located on the opposite end of the engine from the spark plug. Before you remove the cap, use a rag to wipe away any dirt and debris that could fall into the oil. Pull the cap off, wipe the dipstick clean, and reinsert and remove it to inspect the oil level and quality.
Make sure that the oil level falls between the two marks on the dipstick that indicate the minimum and maximum oil levels. You should also inspect the color and clarity of the oil. Your oil is good to go if it shows clear and has an amber color; if your oil is burnt or has debris in it, it’s time for a change.
It’s also possible that your oil could be clean but low. In this case, add engine oil with identical viscosity into your engine. Oils with different viscosity will not mix properly and can cause poor performance.
When it comes time to change your mower’s oil, refer to your Operator’s Manual to determine quantity and viscosity. It’s also best to perform an oil change when it’s warm out; warm oil will carry floating debris out rather than leaving it in the bottom of the engine.
Changing a lawnmower’s oil is a quick and simple DIY job that will keep your mower’s engine running smoothly for a long time. Remember to check your oil regularly to avoid operating your equipment with bad oil.
