The engine block relies on oil to keep the moving parts lubricated and protected from wear, which is why it can run for thousands of miles without and remain in perfect condition.
Coolant is just as important. Internal combustion creates a lot of energy but also a lot of heat. Thousands of explosions happen every minute, so the engine needs a system to keep it running at the optimal temperature.
But what if there’s no pressure in the radiator hose? In this guide, I’ll show you how to identify different causes and repair them.
The lack of pressure in the radiator hose can be caused by: low coolant level, an air pocket, a thermostat valve stuck open, a clogged radiator, or the water pump failure.
If you’re strictly looking for the potential causes of the problem, you can skip to the next section, but I would advise reading this brief explanation. It will give you a better understanding of the system and why certain parts may cause the lack of pressure.
The main components of the coolant system are:
The system is based on the physics laws of heat exchange. The water pump circulates the coolant into the engine, where it absorbs heat from the engine. The coolant travels through the radiator, where a massive amount of air reduces its temperature.
The thermostat valve opens and closes based on the coolant temperature, with more heat resulting in a greater flow. The CTS (coolant temperature sensor) monitors the temperature and sends the signal that is transferred to the ECU and temperature gauge of the dashboard.
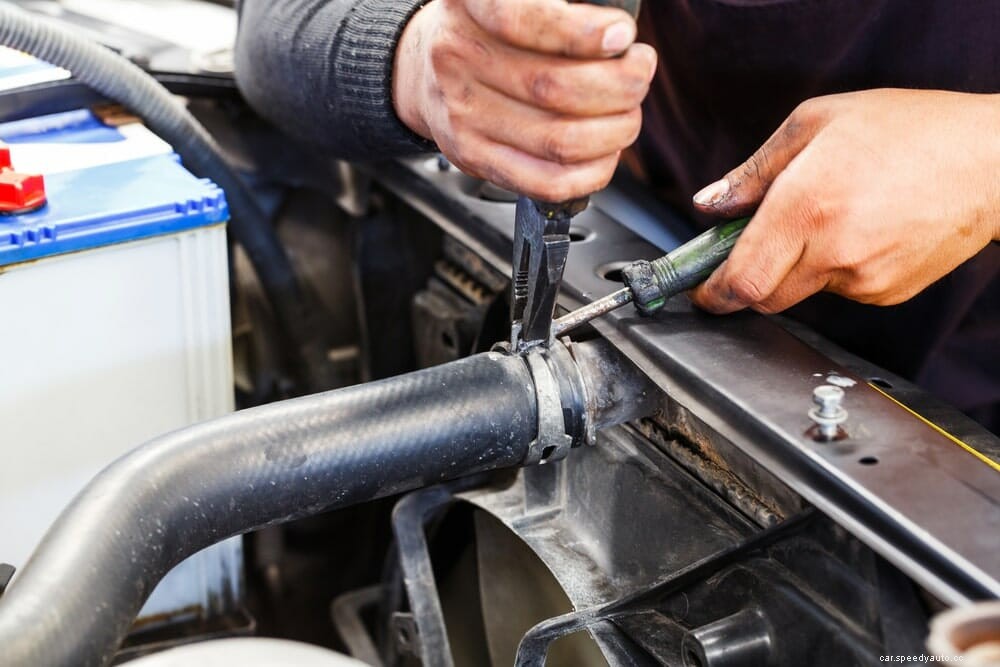
Heat expands liquids and creates added pressure in the system. This pressure builds up in the hoses and causes them to be stiff to the touch. If one section of the hose can be squeezed easily, it’s symptomatic with lack of pressure.
The coolant – antifreeze has a chemical composition that gives it a higher boiling point and a significantly lower freezing point than water, making it a superior and safer option. Water would freeze in sub-zero temperatures, causing a number of catastrophic failures and even a cracked engine block.
Lack of pressure in radiator hoses has a number of potential causes, which are not identifiable through system diagnostic. We’ll start by ruling out the most probable and easily identifiable issues to narrow down the search to just a few components. Before attempting any of the repair methods, make sure the engine has cooled completely to avoid bursts of hot coolant out of the radiator cap.
The search starts with the easiest cause to identify – low coolant level. The coolant reservoir is see-through white to allow you to see the level and color of the coolant. On the side of the reservoir, you’ll find two lines depicting min and max coolant levels. The coolant level can be difficult to gauge, so shake the reservoir slightly to make the fluid stand out.
When there’s not enough coolant in the system, there won’t be enough volume of liquid to create pressure in the hose. Adding more coolant can solve the lack of pressure, but as the coolant system is a sealed unit, a lack of fluid can only be caused by a leak.
A leak in the coolant system is very difficult to locate, even for professionals. I friend of mine has taken his car to three different mechanics, and none of them could find the source of leakage. Still, there’s a way you can try to locate it, and the only thing you need is a large piece of cardboard.
Place the cardboard underneath the engine bay. If your vehicle has a skid plate, remove it so it doesn’t collect the leaking coolant. First, leave the car overnight and pull out the cardboard in the morning. A wet spot on the cardboard can be used as a reference to locate the position of the leak. Then it’s just a matter of tightening the hose clamps or replacing a piece of hose.
However, if the leak is coming from the radiator or the water pump, that’s a more serious problem. Don’t fall into the temptation of using coolant leak stop granules – these are almost guaranteed to clog the cabin radiator which is very expensive to repair due to how difficult it is to access. Replacing the components, or using a liquid leak stop solution after flushing the radiator is a far better idea.
The next thing to check is the thermostat valve. A heat-sensitive wax is stored inside the valve that contracts and expands based on the temperature of the coolant.
The thermostat almost always fails in the fully open position, allowing the coolant to flow at the maximum rate. Typically, the thermostat will only fully open when the engine is under a load, like going uphill for a long period of time. If it’s constantly open, the engine will never be able to heat up, and running it cold is extremely dangerous.
The easiest way to identify a thermostat-related issue is the temp gauge. If it can’t reach its normal position even after you’ve driven the car for a while, that means that the thermostat is stuck open.
The complexity of the repair depends on where the thermostat is located. You may get away with replacing the valve without flushing the radiator, but I’m going to explain how to do it just in case.
Tools you’ll need:
| Title | Price | Buy | |
|---|---|---|---|
 Top
Top
Top
Top | Valvoline Multi-Vehicle 50/50 Prediluted Ready-to-Use Antifreeze/Coolant 1 GA | ||
 Top
Top
Top
Top | Gates 33943 OE Type Engine Coolant Thermostat | ||
 Top
Top | Dorman 902-860 Engine Coolant Thermostat Housing Assembly for Select Ford / Mercury Models, Black | ||
 Top
Top
Top
Top | DEWALT Socket Set, 3/8-Inch Drive, SAE/Metric, 34-Piece (DWMT73804) | ||
 Top
Top
Top
Top | Klein Tools 32500 11-in-1 Screwdriver / Nut Driver Set, 8 Bits (Phillips, Slotted, Torx, Square), 3 Nut Driver Sizes, Cushion Grip Handle | ||
 Top
Top
Top
Top | FloTool 42003MI 16-Quart Drain Container |
Step by step instructions:
This is by far the most common reason for the lack of pressure in the radiator hose. Whether you’ve got a low coolant level, a bad thermostat, or any of the other problems, making sure there’s no air in the system is very important. Adding antifreeze is not like adding engine oil, and air pockets can form, obstructing the flow and reducing pressure.
Once you’ve got enough coolant in the system, keep the reservoir cap open, and squeeze the hoses that seem empty to the touch. By squeezing the hoses, you’re pushing the air pocket towards the reservoir, where you’ll see the bubbles forming up.
Squeezing will also reduce the total capacity of the system, which can cause the reservoir to overflow. Work slowly and place a bucket under the reservoir in case it overflows.
Close the cap, run the engine for a few seconds, then check again. If the problem is persistent, cut the bottom of a bottle and push it inside the reservoir cap-to-cap. Now you can squeeze the hoses harder and even start the engine without closing the cap, as the bottle will prevent the coolant from overflowing.
Clogging of the radiator is a more serious issue, and low pressure will be a minor problem compared to the overheating of the engine. Keep the eye on the temp gauge and if it starts climbing towards the red zone, stop the vehicle and let it cool off.
Flushing the radiator doesn’t require any special tools or solutions – it can even be done with vinegar and baking soda. I’ve recently tried citric acid and it worked very well, so I’ll explain how to flush the radiator with it.
Step by step instructions:
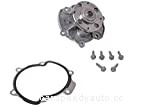
Leaks around the water pump are a clear sign that there’s something wrong. Even if you don’t see leakage, look for grime deposits that were caused by the binding of dirt to the coolant. Other signs of a bad water pump are the rise in temperature, rust, and whining noise.
If you have basic DIY skills I would recommend replacing the water pump yourself, as the total cost of tools and the pump is less than half of that a shop would charge you. The process shouldn’t take you more than a couple of hours.
Tools you’ll need:
| Title | Price | Buy | |
|---|---|---|---|
 Top
Top | PEAK PXAB53 Antifreeze Coolant, 1 gal, 50/50, Amber | ||
 Top
Top | ACDelco GM Original Equipment 251-749 Engine Water Pump | ||
 Top
Top | DEWALT Mechanics Tool Set, 84-Piece (DWMT81531) | ||
 Top
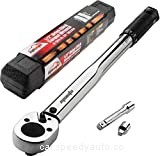
Top | EPAuto 1/2-inch Drive Click Torque Wrench, 10~150 ft./lb., 13.6 ~ 203.5 N/m | ||
|
Top | CRAFTSMAN Screwdriver Set, Assorted, 8-Piece (CMHT65075) | ||
 Top
Top | Permatex 22071 Water Pump and Thermostat RTV Silicone Gasket, 0.5 oz., 0.5 Ounce | ||
 Top
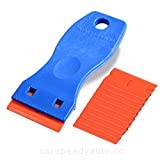
Top | EHDIS 1.5" Plastic Razor Scraper with 10pcs Double Edged Plastic Blades for Removing Labels Stickers Decals on Glass Windows-Blue | ||
 Top
Top | Scotch-Brite Heavy Duty Scour, 8 Pads, 8 Pads, Green, 8 Pads |
Step by step instructions:
The radiator hose should be firm to the touch as the pressure builds up from the heat. Most cars run under optimal coolant temperature of 90° C, which will pressurize the system and leave no soft spots.
If the coolant isn’t circulating, it could be caused by a faulty thermostat, a clog in the radiator, or a failed water pump.
The main symptoms of a collapsed radiator hose are engine overheating, leaking and low coolant, and visible damage to a section of the radiator hose.
When the thermostat gets stuck open, the coolant will flow too quickly through the system and cool the engine too much. The problem will be obvious by monitoring the temperature gauge, which won’t reach the optimal running temperature even after driving for a long time or going uphill.
Radiator hoses are designed to endure high temperatures, but if the coolant reaches temperatures high enough for the engine to overheat, the pressure buildup can cause the hose to swell up before a clamp or the radiator cap gives in. This is a rare occurrence as the radiator is designed to be the weakest stop in the system and prevent serious damage by popping out first.
Radiator hoses are connected through a series of clamps that can rust and loosen up over time. The pressure buildup always looks for the weakest spot in the system to escape, which will cause the hose to pop off at a loose point.
Yes, the radiator cap is a pressure release valve, set to open when the pressure inside the system exceeds 15-16 psi.
The low coolant pressure has a lot of causes, but by following this guide, you’ll be able to identify where the problem originates. Start with the benign causes like an air pocket or the thermostat valve, and work your way towards the radiator and water pump. Working on the coolant system can be tricky, especially if there’s a hidden leak, but I’m sure you’re more than capable of handling it and saving several hundred dollars in mechanic’s fees.
Check out some of these other posts from VehicleFreak:
Does Engine Coolant Affect AC Performance?
6 Reasons Your Car Is Overheating When Idle
Should A Fan Clutch Spin Freely When Cold?
