Your car’s AC isn’t working right, and you think the Blend Door Actuator might be to blame. You’re not sure how to test it or fix it – but don’t worry, we’ll show you how.
Sometimes the blend door actuator can malfunction, which can result in the heated air failing to enter the passenger area. Speaking from experience, I can tell you this is a very frustrating problem to have. I’ll discuss the symptoms of a bad actuator so you can figure out if that’s the part that needs replacing.
You will typically find a blend door actuator in a car or truck that does not have a traditional mechanical link used to move the passenger and driver-side blend doors. The vehicle must have a heating, ventilation, and air conditioning (HVAC) system with manual controls.
A typical blend door actuator moves one way for defrosting and another for cooling. A blend door actuator usually has a small motor inside it to operate the doors, but the HVAC is controlled by an electronic control unit (ECU) that uses vacuum lines and electrical connectors to move the blend doors.
Blend door actuators are normally not “serviced” per see they, simply fail when their internal motor or gears wear out – these parts are no longer available separately from the manufacturer.
A blend door actuator ensures all cabin air is conditioned before entering into the vehicle’s passenger compartment.
If the blower fan is operating in recirculate mode with fresh air turned off and the heater or air conditioner set to full blast, you need a blend door actuator working properly. When this actuator fails, it can no longer move the blend door to turn on recirculate mode.
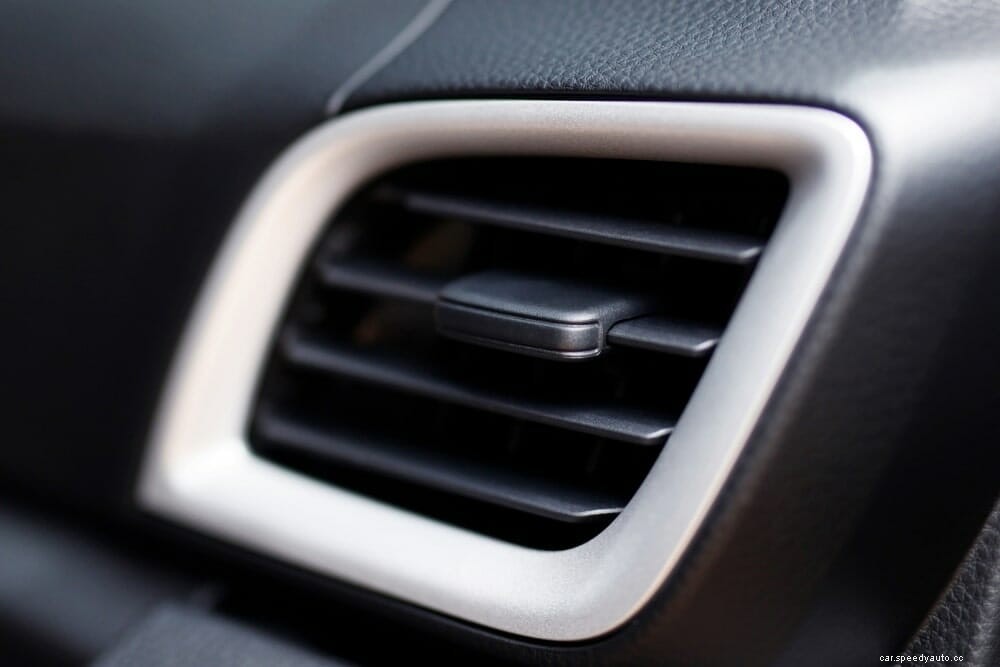
A car or truck with a failed blend door actuator will have an air conditioner that blows air directly into the cabin – i.e. you set the temperature for 70°F and full heat, but all you feel is cold air because there’s no way to direct this heater hoses into or away from the passenger compartment; it just blasts out everywhere.
There will likely be no heat blowing out of your vents at all if this happens – just very cold air! A broken blend door actuator also prevents proper defrosting capabilities which means your windows can fog up easily during the winter months.
Furthermore, without defrosting working properly, you can also experience an increased amount of ice buildup on your windows during the winter. This is because water vapor that passes through the blower fan and evaporator will freeze as it reaches the deicer grid located in front of the AC evaporator core
If your mix door actuator goes bad, you should have a service shop replace it immediately to avoid any more adverse effects from a faulty blend door actuator.
View this post on Instagram
A blend door actuator may have a few different symptoms. The first one is that the heater will blow cold air, even when you have it set to hot. Another symptom is that your A/C will also blow cold air instead of the warm or hot air which is what it’s supposed to do.
If a blend door actuator goes bad, there won’t be enough vacuum going to the mix door and the car won’t heat up properly or cool properly because it isn’t getting enough current going to the heater core or Evaporator Core depending on whether its winter or summer.
When this happens, people usually notice fog forming on the windows as well as ice building up much faster than normal which makes sense if you don’t have a defroster working at all. The car will also likely run rough and the heater will work sometimes but not others.
Blend door actuators do not have definite testing procedures. That said, the following are some suggestions for trying to test them:
Clean all of the electrical connections that are bolted to or integral with the heater case. Remove any wire harnesses that are plugged into the heater case so they can be moved out of your way during testing.
If you don’t have enough slack in the harness, simply unplug it. Do not cut or damage anything! On Chrysler/Ford vent type systems, check inside the passenger compartment for a vacuum hose running from inside the dash to near where the actuator is installed on top of the plenum (noted below).
If it is there, disconnect it at both ends and plug/secure each end.
On GM systems look for a vacuum hose that runs from near where the actuator is installed on top of the plenum into the interior right behind/below your glove box.
Pull up on the plastic frame inside under your glove box to release it from its lower retaining clips and move it out of your way to gain easier access to this hose.
Again, disconnect at both ends and plug/secure each end. On Nissan or Toyota systems, pull off any hoses you see at or near where you think the actuator may be located… carefully push them out of the way if possible so they are not damaged during testing.
Locate an automotive stethoscope (do NOT attempt testing WITHOUT one!)… brass ones work best!

Hold your ear against the back of the case with your left hand and place the stethoscope head against the outside front surface of the heater case (noted below).
You will probably have to switch back and forth between using your right ear and your left ear since you are working by yourself up on top of your plenum.
Crank up your engine enough so that it gets about as warm as it does when you drive around (during hot weather) or turn on your defroster (during cold weather), but make sure it doesn’t actually start blowing hot air!
If you can hear through the stethoscope, listen carefully for a buzzing sound. This is normal…it usually only lasts for a few seconds. If no buzzing is heard, the actuator is probably faulty and should be replaced.
If you do hear a buzzing sound, wait until it stops, and then place your stethoscope on different areas of the outside front surface of the heater case while continuing to crank up your engine until it starts blowing hot air again.
When you hear buzzing coming from someplace other than where you just heard it, that’s your cue to stop cranking up your engine!
The location of the buzz (relative to where you first heard it) will provide a clue as to what part or assembly is bad. The actuator itself, the wiring harness plug/connector(s), vacuum lines, or any type of electrical connection between these parts/assemblies and each other.
At this point you may be able to confirm the problem by tapping on the heater case with a flat-tip screwdriver or something similar while listening through your stethoscope; if it starts buzzing, this confirms that any of the parts/assemblies you just tested and their respective electrical connections are bad.
If tapping stops the buzzing but it returns again when you stop tapping, then one or more of these parts/assemblies is probably good and your actuator needs replacement.
On some automotive systems (typically older ones) instead of hearing a buzz, you will hear a click. This means something has opened up due to increased thermal expansion, such as an internal door in the actuator.
Sometimes all that’s required on these systems is for someone to disconnect the battery and let everything cool down, or you can do it yourself if your system makes this possible.
NOTE: Although not necessary when using a stethoscope, if your vehicle is equipped with heater controls in the center of its dash, you may find it helpful to have someone turn them fully clockwise against their stops while you conduct this test.
This will most likely stop any air from blowing since most systems usually won’t produce hot air unless control is turned counterclockwise a minimum amount…this exposes all components being tested to heat.
NOTE: If tapping produces no change in noise level followed by ‘clicking’, then an internal door has opened up due to increased thermal expansion, meaning the actuator needs replacement.
On some automotive systems instead of hearing a click, you will hear a ratcheting noise. This means something has opened up due to decreased thermal contraction, such as an internal door in the actuator.
Sometimes all that’s required on these systems is for someone to disconnect the battery and let everything cool down, or you can do it yourself if your system makes this possible.
In order to replace a blend door actuator, you will need an 8mm socket for the screws on the front of your heater box and a small flat blade screwdriver. The procedure is as follows:
Disconnect the negative battery cable from your vehicle. This just protects you from any electrical surge that could occur while working in there.
Remove the glove box by pulling it out and then up to disengage it from its retaining knobs. Once open, remove all contents from inside of glove box and set aside for safekeeping.
Unplug the wiring harness going to the heater core located behind where the glove box used to be. It is usually held in place a plastic clip that can be pulled out to allow the plug to be pulled free of its socket.
Remove the air filter assembly by removing the two retaining screws you will see once you peer up into this area. Now, look down at where your glove box used to be and there is a black plastic piece that covers most of this section.
This piece is held in place with 4-10mm bolts depending on year/make/model vehicle. Remove all 4-10mm bolts then remove the black plastic cover.
You should see an area about 6″ wide by 3″ high behind where the glove box used to be which has “HVAC” printed on it which stands for Heater, Ventilation, Air Conditioning. There are six 8mm bolts holding this area in place.
Remove all of them and set them aside as you will need to pull this small section out from the main assembly as well as pull it back a little bit so that you can access the blend door actuator.
Once all 8mm bolts have been removed, carefully pull back on the HVAC assembly just a little bit and then disengage the black plastic sleeve from its metal retaining clips by prying a flat blade screwdriver between them and pushing down until they pop off.
Be careful not to damage any of these clips because if you do, your entire A/C system will blow warm air (and pretty much act like your heater is jacked up). You may need to use more than one screwdriver to release clips. Once you get that sleeve off, set it aside.
Now you can see where the blend door actuator is located. It’s about 6″ wide by 3″ tall and mounted on the side of this black plastic area.
There are two 8mm hex head bolts holding the blend door actuator in place so undo them and pull out the old part by pulling up on it while working your way around all edges to detach any remaining wiring harnesses, etc.
Just don’t yank it too hard because there are many other things back there that could break if you do!
Replace with a new one and reinstall everything in exact reverse order making sure not to skip over steps or forget anything! Reconnect negative battery cable once all other parts are replaced.
Your vehicle may have a blend door actuator located in different locations or your vehicle may not even use this part at all, but the steps are essentially the same no matter where this part is located or what type of vehicle you own.
The main things to remember are disconnecting the negative battery cable before working on anything in there and always going ahead and replacing anything that is questionable or might cause problems down the road when it’s beyond simple to do so!
A blend door actuator replacement cost is $120 for the part plus $100 to $150 labor depending on where you go.
Yes, you can. There are two types of blend doors in most cars – manual ones which allow air to flow through all the vents when they are turned fully open, or automatic ones which restrict airflow depending on outside/engine temperature.
Automatic doors are controlled by a motor inside the car which rotates them based on input from sensors on either side of the car (A/C system). The heater core itself has no effect over where air flows through the vents; that’s all handled by the doors.
Manual blend doors are pretty much always found on heater cores (where they restrict airflow to some or all of the vents when turned open), and sometimes there can be an issue where these doors get stuck in position so air only comes out of one vent no matter what position they’re set to.
If you can, it’s a great quick fix for an air conditioner with little or no airflow coming from the vents. The blend door actuator is located on the passenger side of most vehicles and controls. You can unplug it by removing the electrical connector and then just unplugging it from itself.
The answer is NO, a blend door actuator cannot be repaired. It can however be replaced.
Some people will attempt to repair the actuators and there are some methods out there of repairing them with epoxy and other things, but it’s extremely difficult and almost impossible to do so without causing further problems down the road such as air leaks or reduced performance.
Treat your car like you would treat yourself by going ahead and getting your car fixed before something else goes wrong that could cause more damage than just replacing the part!
So, if you noticed that your heater started to blow warm air after running the car for 30 minutes, this was most likely due to your blend door actuator failing. It is an easy thing to replace yourself and could save you a couple of hundreds of dollars in repair costs.
If you’re not comfortable performing the replacement you should be able to get this fixed at any local mechanic shop.
