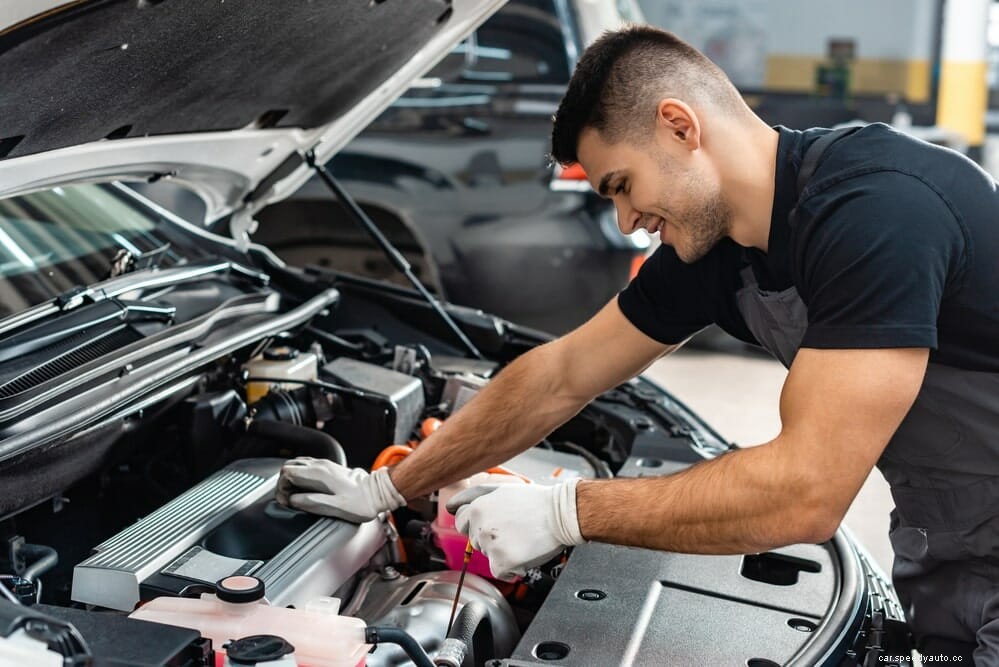
Keeping up with all of your vehicle’s essential maintenance can be expensive. With high mechanic fees, it is not a surprise that so many car owners are choosing to do the work themselves.
For example, instead of paying a professional to replace the valve seals in your car’s engine, you can do the work yourself – you don’t even need to remove the head of the cylinder.
The valve seals in a car engine will last approximately 150,000 miles, but they may need changing sooner if your car engine maintenance is not completed as frequently as it should be.
In this article, we share exactly how to replace valve seals without removing the head and we reveal the symptoms of bad valve seals that drivers need to look out for.
If you want to know how to replace valve seals without removing the head, here is a brief guide. First, you need to remove the rocker cover from the engine so you can easily access the valvetrain.
To be able to replace the valve seals you will need to use tools to compress the valve spring and to stop the valve from falling into the cylinder once the spring is removed.
The seals themselves can easily be removed and replaced once all the other components are out of the way. It is important to maintain the correct air pressure within the cylinders while you are replacing the valve seals.
If more than one cylinder needs the valve seal changing, it can take a lot of time to complete the process but it is still easier than trying to replace the valve seals by removing the head of the cylinder.
Driving a vehicle with faulty valve seals can cause many problems for your vehicle. If you want to keep your car performing at its best, you need to make sure the valve seals are all working correctly. You may be wondering, how can I tell if my valve seals are bad?
After all, they are hidden away inside the cylinders in your car engine. You won’t be able to easily just see if the valve seals are damaged without getting inside your engine for a look, but there are a few telltale signs all drivers should be aware of:
If you notice blue smoke coming from the exhaust pipe – this is an obvious sign that something has gone wrong with the valve seals. Blue smoke occurs when oil is able to pass through into the combustion chamber and is then burnt alongside the fuel.
When the valve seals and guides become worn over time, oil is able to more easily pass into the combustion chamber. The blue smoke may not be noticeable, to begin with, but as more oil is burnt, you will begin to see more and more blue smoke coming from the exhaust pipe.
When you hear an unusual popping or ticking sound coming from the car engine, this may be signposting you to an issue with the valve seals. When all the components in your engine are working correctly, you should not notice any unusual popping or ticking sounds.
However, if you start to hear worrying noises from the engine, it can mean all of the parts are not correctly aligned and working as they should be. The sound could also be due to a lack of lubrication within the engine, this can lead to damage to the valve seals and springs.
Do not ignore any strange sounds coming from your car engine, as it may be the valve seals, and ignoring this issue can lead to further problems down the line.
Smoke from the exhaust doesn’t need to be blue for there to be an unresolved issue with the valve seal. Sometimes you may notice large amounts of smoke coming from the exhaust.
While some smoke from the exhaust when you first start the car is normal, if you start to notice more and more smoke appearing each time you start the car, this may be an indication that the valve seals need to be replaced.
If you are noticing your car is not performing as well as it should and you are losing engine power, this is another clear symptom of a bad valve spring that needs replacing. When the valve seals have moved or worn away, oil is able to get into the combustion chamber.
When this happens, your car will start to burn oil as well as fuel and this can cause problems with the engine’s performance. If the valves inside the cylinder have become burnt and damaged, this can also hinder engine power and you may notice your can is not driving as well as normal.
If you notice a loss of engine power and any of the other symptoms of a bad valve seal, it may be time to get under the hood and have a look to see if the valve seals need to be replaced.
When your car is displaying any of the signs of a bad valve seal, you can either go to a professional to get the work done or you can replace the seals yourself at home.
Trying to remove the head of the cylinder to replace the valve seals can be a long and complicated process, it is much easier to replace the valve seal without moving the head.
Before you can begin replacing the valve stem seals, you will need to get together some essential tools to help you to get the job done. Here is a list of tools you will need:
As you can see, this isn’t a job you can get done with just a screwdriver! While you are removing and replacing the valve seals in the engine it is important you maintain the correct pressure in the cylinder.
If you do not have all the required equipment to manage the air pressure, the best option will be to take your vehicle to a mechanic to have the valve seals replaced professionally.
Is your car showing signs that the valve seals need replacing? Changing the valve seals at home can be a lengthy and slightly complicated process. To make your life easier, we have broken this down into an easy-to-follow step-by-step guide.
Got your tools ready? Let’s get started.
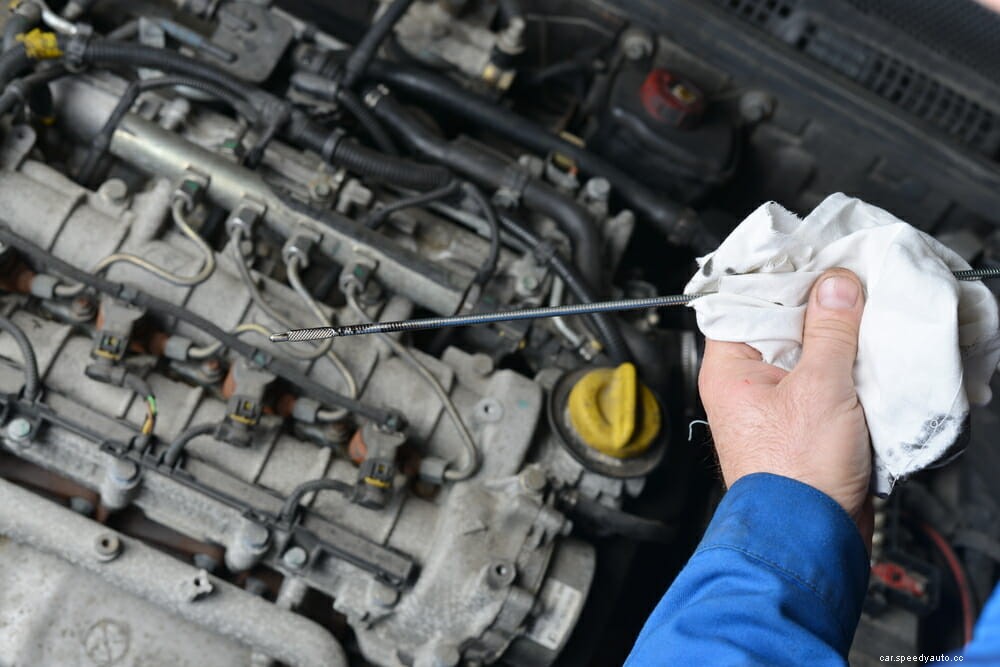
First things first, you will need to have easy access to your car’s engine. You can achieve this by either completely removing the engine from your car or just lifting the hood. The task of replacing the valve seals will feel easier if your engine is removed from the car, as you will have more space to work, but this is not necessary.
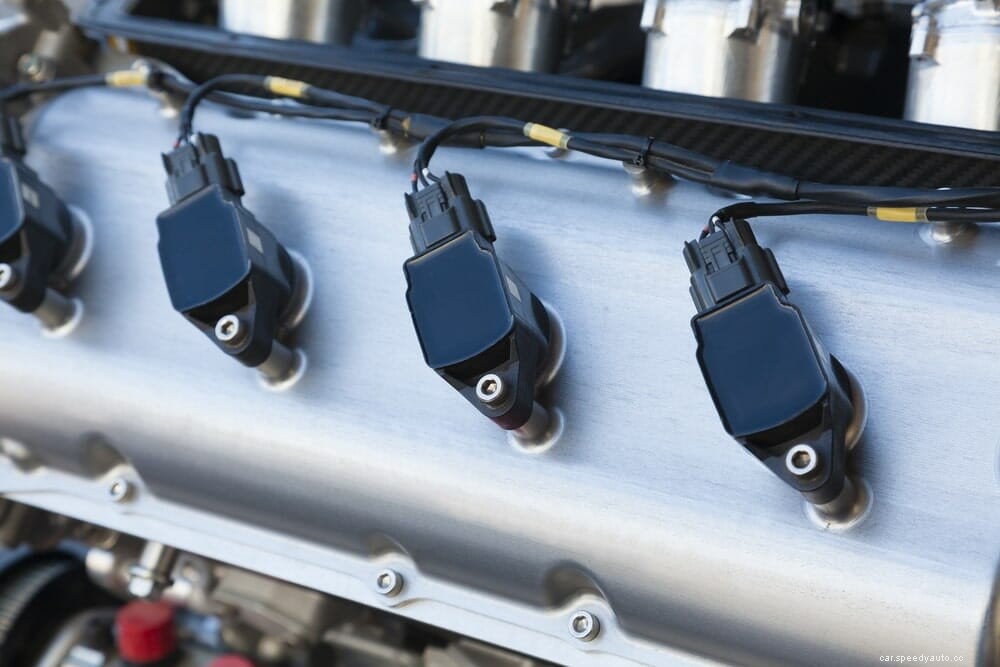
Next, you need to gain access to the valvetrain to get to the valve seals. Using the correct size sockets and wrenches for your car, remove the bolts from the rocker cover.
There will be approximately 10 bolts holding the rocker cover in place on the engine, you will need to remove all of these to successfully take the cover off.
Once the rocker cover is removed, you will now need to remove the oil spray bar from the engine too. Using the right size socket, you will need to remove the 3 bolts and then lift the spray bar off, placing it out of the way of your workspace.
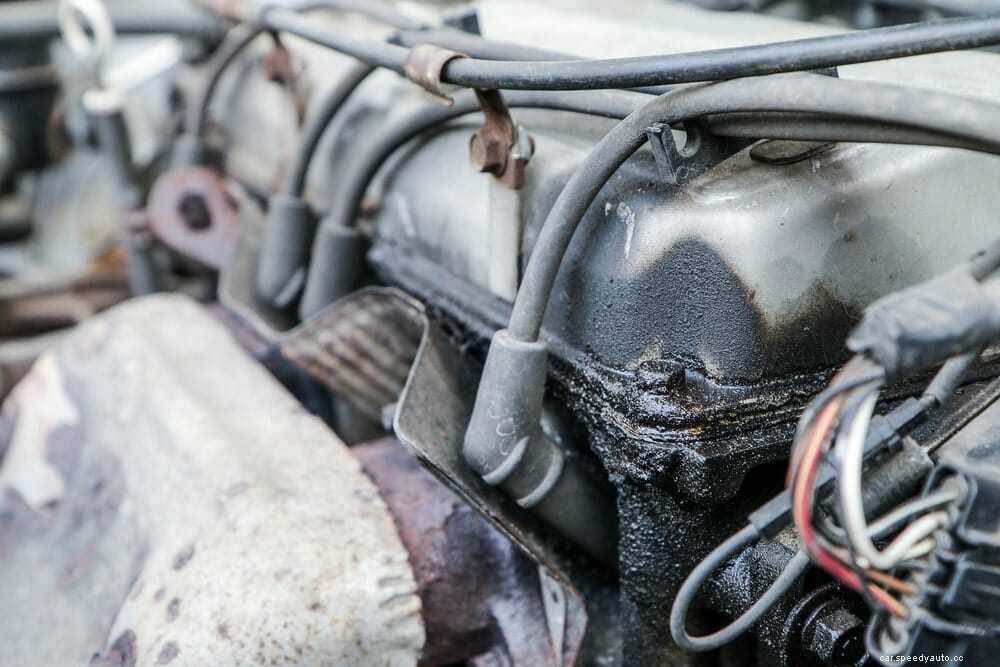
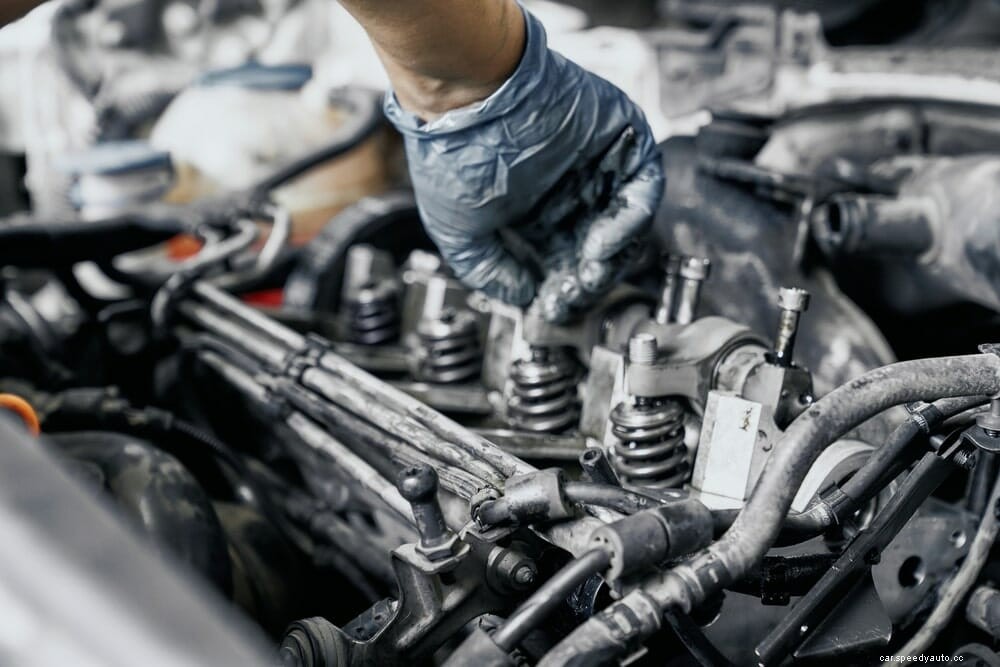
Now you have access to the valvetrain, you will need to check which cylinder valve stem seals are causing the problems. You can identify where the issue is stemming from by inspecting the exhaust ports in the engine.
If you notice that any of the ports have built-up oil around them, check the seal inside the valve spring. If there is oil around the exhaust port, this is a sure sign that there is something wrong with the cylinder’s spring and it will likely be the valve seal.
You may notice the seal has come loose and has just fallen inside the spring, not doing anything.
Before you carry on with any more work, it is essential you check the cylinder you are repairing is on its compression stroke and that the valve seals are closed. If the cylinder is not compressed, you can easily manually rotate the engine.
Everything is in the correct position when both of the cam lobes are pointing up.
Now you have identified which valve needs replacing and all parts of the cylinder are in the correct position, you will need to use a spanner to remove the follower off the valve. Once the follower is removed, put it somewhere safe.
Next, using a smaller spanner, remove the spring retainer, again putting it somewhere out of the way where it won’t get lost. Remember to note down the position of these parts before you remove them as they will need to be reinstalled in the exact same way.
If you will be working on more than one cylinder, have a large piece of paper ready and write down the cylinder number of each part before placing the components on the paper – you don’t want to get all of the followers and spring retainers mixed up.
Next, you will need to remove the spark plug socket, to do this you are going to need a socket wrench. Now the spark plug is removed, attach the air hose on, using the spark plug attachment end. Once that is in place, you will need to hook the other end of the hose to the compressor.
You now need to pressurize the necessary cylinder to 80psi. Keep in mind that you may need to keep topping up the pressure.
It is important to note that your car needs to be in gear with the parking brake on while you are working, otherwise the pressure in the cylinder will try to push the piston down. You do not want this to happen while you are working on the engine!
Next, you will need to use a valve spring compressor tool to help you remove the cotters. To do this, just use a valve spring compressor tool, this makes it possible to quickly and easily get access to the cotters and move the spring out of the way.
Once this is done you can remove the spring compressor tool and lift the spring out of the way.
You have now made it to the valve seals! To remove the seal out of the valve you should be able to just prise it off the valve guide and lift it off the valve stem.
Now you have removed the valve seals, you will need to replace them with new ones. To do this, just repeat this step-by-step guide in reverse.
If you are concerned that the new seals will come loose quickly you can insert them using Locktite glue to keep them in place. You can also use a deep size socket to really push the seal down onto the valve guide, this should keep it firmly in place.
Now that you have replaced the seals, you will need to reassemble everything. Take your time getting everything back in the right place and remember to keep checking the pressure. You don’t want the pressure to drop too low so just ensure you are keeping an eye on it as you reassemble the engine.
If you noticed during your initial inspection of the engine ports that more than one cylinder was causing problems, you will need to repeat this process for each cylinder.
This can be a time-consuming task but it is a lot easier to do than trying to remove the cylinder head and replacing the valve seals that way.
Do you prefer to watch tutorials, instead of following written instructions? This video clearly demonstrates how to replace the valve seals without removing the head.
Yes, you can change the valve seal springs without removing the head. You will need to remove the rocker cover and the oil spray bar from the engine first and then identify which engine ports are showing signs of valve seal damage.
Once you know which valve seals need replacing, you will need to maintain the correct pressure in the cylinder using an air pressure hose. To remove the spring you can use a spring compressor tool and then once the spring is out of the way, you will be able to easily access the valve seals and replace them,
Changing the valve seals is not a difficult task if you know what you are doing. If you have all the correct tools ready and know what steps you need to take, it will not take too much time to replace a valve seal.
However, the process can become a lot more arduous if you need to replace more than one valve seal. For example, changing all of the seals in a 16 a valve valvetrain can take approximately 3 hours.
Whilst it’s possible to replace the valve seals yourself, many drivers prefer to employ a professional to get the job done. When you are confident working on an engine, the job of replacing valve seals is easy as pie but if you have no idea what a valve seal even is, you need to head to the mechanics.
Your local workshop will be able to give you an accurate quote on how much it will cost to replace the valve seals, but on average the work will cost anywhere between $250 and $2100. The price will vary depending on the make and model of your car and also on how many seals need to be replaced.
Drivers can expect their vehicle’s valve seals to last for approximately 150,000 miles. However, if regular oil changes and engine maintenance are ignored, the valve seals may become damaged and need replacing sooner.
Drivers will know if the valve seals need changing as there are many clear signs of a bad valve seal. If your car is emitting excessive smoke, or the smoke has a blue tinge to it and the engine is making a strange sound, these are all clear signs that there is an issue with one or more of the valve seals.
Yes, a bad valve seal can damage a car engine. The valve seals are there to prevent any oil or debris from entering the combustion chamber. When a valve spring has worn away or moved out of place, engine oil is able to leak into the combustion and be burnt alongside the fuel.
When an engine is flooded with oil or excessive oil is being burnt, this can eventually lead to complete engine failure. Ignoring a faulty valve seal is not an option if you want your car to continue working at its optimum performance level.
Also, a valve seal can easily be replaced at home for very little money, you will be stuck paying a much larger mechanic’s bill if you ignore the problem and allow further damage to your car’s engine.
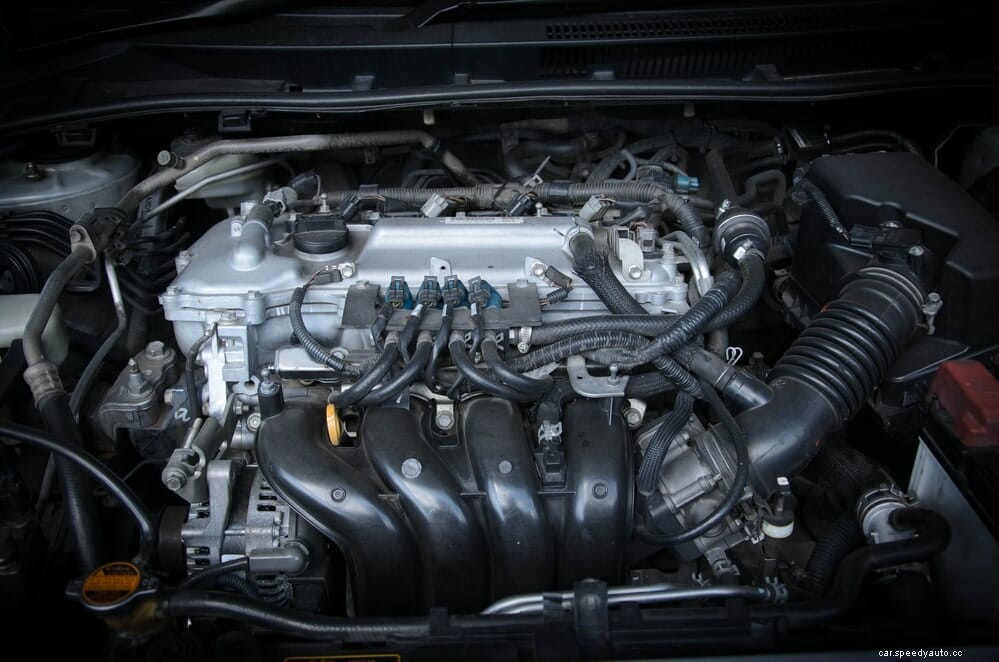
The valve stem seals inside a car engine cylinders control the lubrication of the valve stems as they slide up and down inside the valve guides. The valve seals are made to last for approximately 150,000 miles, but sometimes they may need replacing sooner.
Drivers who do not take good care of their car engine and neglect regular oil changes and maintenance are much more likely to notice issues with the valve seals than drivers who treat their car with the attention and care it deserves.
If you are noticing signs of a bad valve seal – such as blue smoke and strange noises from the engine – you will need to replace the valve seals as soon as possible.
When the issue is not quickly resolved, oil can begin to flood the combustion and if your engine begins to burn too much oil, there is going to be a lot more repair work needed in the future.
A professional mechanic may choose to replace the valve seals by removing the head of the cylinder. This is one way to get the job done, but if you want to complete the task yourself then replacing the valve seals without removing the head is a much easier option.
You are going to need several tools to complete this task, including a spring compressor and an air compressor to stabilize the pressure in the cylinder as you work – to name just two! However, if you have all of the required equipment, you shouldn’t have too much difficulty in successfully removing and replacing the valve spring seals.
In this article, we have shared a thorough step-by-step guide on how to replace valve spring seals without removing the head. Don’t ignore all of the signs of a bad valve seal.
If all the symptoms are there, it is time to grab your tools and get to work. It may take up to three hours to replace all of the valve seals, but it will be three hours well spent for the sake of your car engine’s health and performance.
