The automakers switched from glass to polycarbonate or plastic headlights in the 1980s. People were glad to get rid of the broken glass problem, but soon cloudy lights became another headache. It is important to know how to clean headlights because cloudiness seriously cuts down nighttime visibility. Fortunately, the cleaning job is easy enough to do at home.
You might be thinking about the cause of haziness in the polycarbonate headlights. Oxidation is the culprit in this case, which occurs naturally over time. Even regular maintenance and periodical cleaning jobs cannot prevent this to happen.
The cloudy appearance can also be the collective result of road debris, grime, UV light, and atmospheric chemical ingredients. Exposure to these elements for a long time can make the thermoplastic lens look hazy.
Giving the lights a thorough wash with car soap and water is the first step toward cleaning. If they still look dull, you can proceed with these following methods. Mask the surrounding areas of the headlights with the painter’s tape so that the cleaning agents cannot blemish the paint job or the trim.
When you wash the lights with soapy water, clean the surrounding areas a bit too. A clean surface will help the tape to stick.
Apply any of these three methods to restore the transparency of the headlight lens.
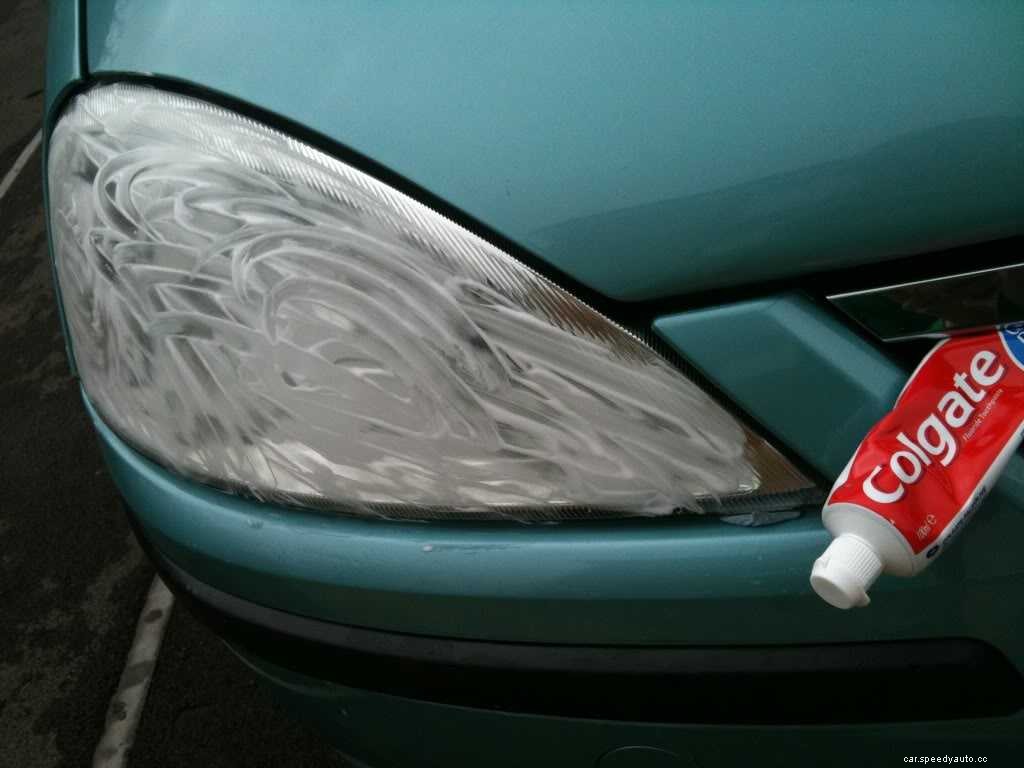
Toothpaste is a cheap, readily available cleaning agent. Scouring the headlights with it will remove the murkiness. You can use this when there is no repair kit or sandpaper available.
How to clean headlights with toothpaste? Well, you will need toothpaste having baking soda, a toothbrush, a piece of cloth, and a spray bottle. Then, follow these steps:
The headlights are now clearer and more translucent than they were.
SEE MORE
A restoration kit is enough to clean two headlights. Choose one that has a plastic cleaner/polish, sandpaper of various grades, a protective coating, and polishing cloths.
The whole process will take around 15 to 20 minutes. You should not rush through it because rubbing away years of oxidation, dirt, and the protective film is going to take time.
The most important rule of using a restoration kit is to follow the user manual, not to skip any step or do anything extra.
You will need to apply a protective coating after the cleaning is done. Wipe the headlights with a dry cloth before applying the sealant and keep it in that condition for several hours to dry completely. Cover the headlights with something during that period because dirt or bugs could stick to the surface and ruin your hard work.
Some kits instruct to apply the coating every 1 to 3 years depending on the temperature and weather.
You should have some previous experience when using a kit to restore the headlights. There is a risk of ruining them if you can’t follow the instructions or do something wrong.
How to clean headlights with sandpaper? If the toothpaste method does not work and you don’t have the budget to purchase a restoration kit, sandpaper is a good option.
The method is a bit more complicated than applying toothpaste but provides a better and longer-lasting result.
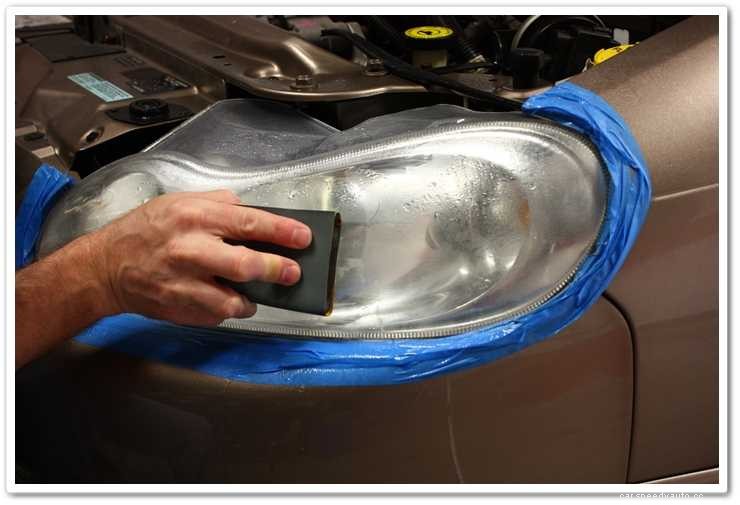
Just sanding the surface won’t make the surface transparent. You will need to buff and polish it to restore the lucidity and shine. Finish the process by applying wax or a protective coating to save the lights from external wear and tear.
If you don’t have the confidence to clean the headlights at home, it is better to consult a mechanic. They will do a professional job for a small fee.
