Creating and using a DIY car upholstery cleaner, is a cheaper alternative to using a commercial car cleaner and even more so to sending your car to a detailer. It also eliminates driving to a detailer, and if you lack an ingredient or tool, it can be bought at any nearby store.
And compared to a commercial cleaner, a DIY solution is a more natural car upholstery cleaner without harmful chemicals.
Creating a DIY solution is as simple as combining a few ingredients found at home. And they can be easily applied with a spray bottle, toothbrush, cloth, or towel.
If you don’t want to have a long drive to an auto shop to buy a car seat cleaner homemade is the way to go. Below you can find the steps for creating and using a homemade car seat cleaner. But before cleaning with your solution, don’t forget to do the very important step mentioned first.
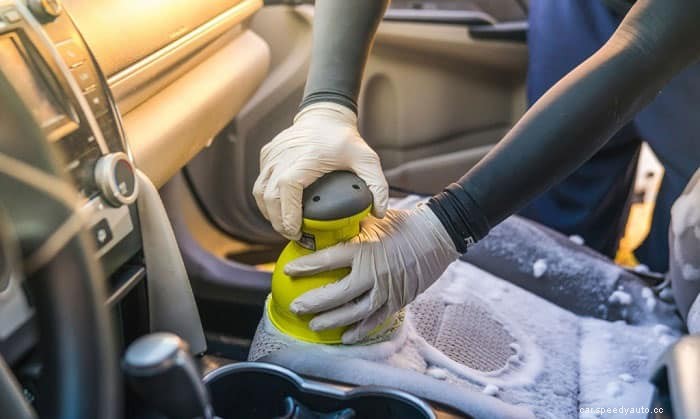
Important Step to Do Before Applying Solution: Vacuum Clean the Seats
Vacuum cleaning your car seats is important, as it would get rid of all the dirt and debris that would get in the way of applying the solution on the seats and make removing stains easier. And particularly for leather seats, if dirt and debris are not removed first, they would be rubbed into and scratch the seats.
These ingredients and tools for creating and cleaning with a DIY car seat cleaner can be found mostly in your kitchen, bathroom, or laundry room. But if you lack something, you’re sure to find them in the nearest store.
Step 1: Combine Baking Soda and Warm Water.
Create a spot remover by combining ¼ cup baking soda and 1 cup warm water.
Step 2: Apply the Spot Remover on Stained Areas and Scrub.
Using a toothbrush, apply the spot remover on the stained areas and scrub gently.
Step 3: Let the Solution Sit For 30 Minutes, Then Blot Away.
Allow the spot remover to penetrate and take effect on the stains by letting it sit for 30 minutes. After the 30 minute-soak, blot away the stains and spot remover. If some stains remain, repeat steps two and three.
Step 1: Combine Vinegar, Dish Detergent, and Warm Water.
In a spray bottle, combine ¼ cup of vinegar, a few squirts of dish detergent, and warm water. Thoroughly shake your homemade car upholstery cleaner and allow it to sit for five minutes.
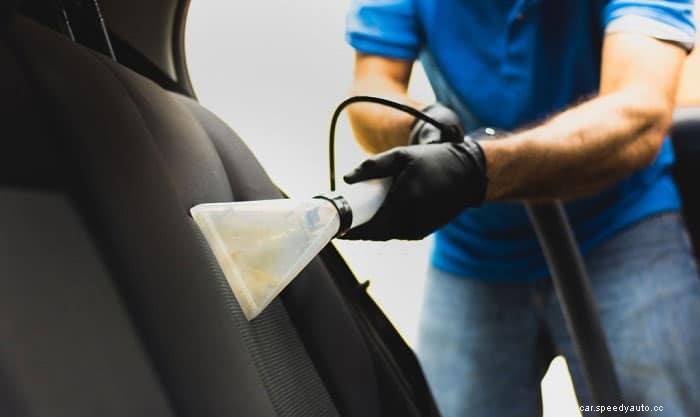
Step 2: Spray the Solution on the Car Seats and Scrub.
Apply the solution on the car seats. Start by working on the seats in the front, then moving on to those at the back. And with a stiff-bristled brush, gently scrub the seats.
Step 3: Let the Solution Sit For 15 Minutes.
Leave the solution on the seats for 15 minutes to let it work its magic. After 15 minutes have passed, wipe away the moisture with some towels.
Step 4: Let the Car Air Out.
The solution may leave a smell on your car. Let some fresh air in to clear out the cleaning smell. Leave all the doors and windows of your car open for the rest of the day or until there is no longer any smell.
Step 1: Locate the Stains on Your Car Seats and Apply Non-Gel Toothpaste
On each of the stains on your leather car seats, dab a small amount of non-gel toothpaste. Then using a toothbrush, gently scrub the stains.
Step 2: Blot Away the Stains and Toothpaste
After scrubbing the stains, dampen a microfiber cloth and use it to blot the stains and toothpaste. Redo the process if there are any stubborn stains left behind.
Step 1: Combine Vinegar and Olive Oil, Then Add in Essential Oil.
First, combine the ¼ cup vinegar and ¼ cup olive oil. After they are combined, you can incorporate ten drops of essential oil.
Step 2: Do a Spot Test. If Safe, Proceed to Clean With Your Solution.
Do a spot test on a seat first to check whether it’s safe to use on your car seats and won’t ruin the leather’s dye. Take a towel and dip it into the solution and in a small, inconspicuous area, apply a little bit of the solution. Once it dries and you don’t see discoloration, then you can proceed to clean with your homemade cleaner.
Apply the cleaner on the seats one section at a time. You should do it gently in circular motions. Then wipe down excess moisture with a dry paper towel.
Through DIY car upholstery cleaning, money and time can be saved and the harmful effects of using a commercial cleaner can be avoided. Plus, homemade cleaners are pretty easy to make.
Was this article helpful enough to readily get you into cleaning with a DIY car upholstery cleaner? If you think so, why not give it a like or hit share.
