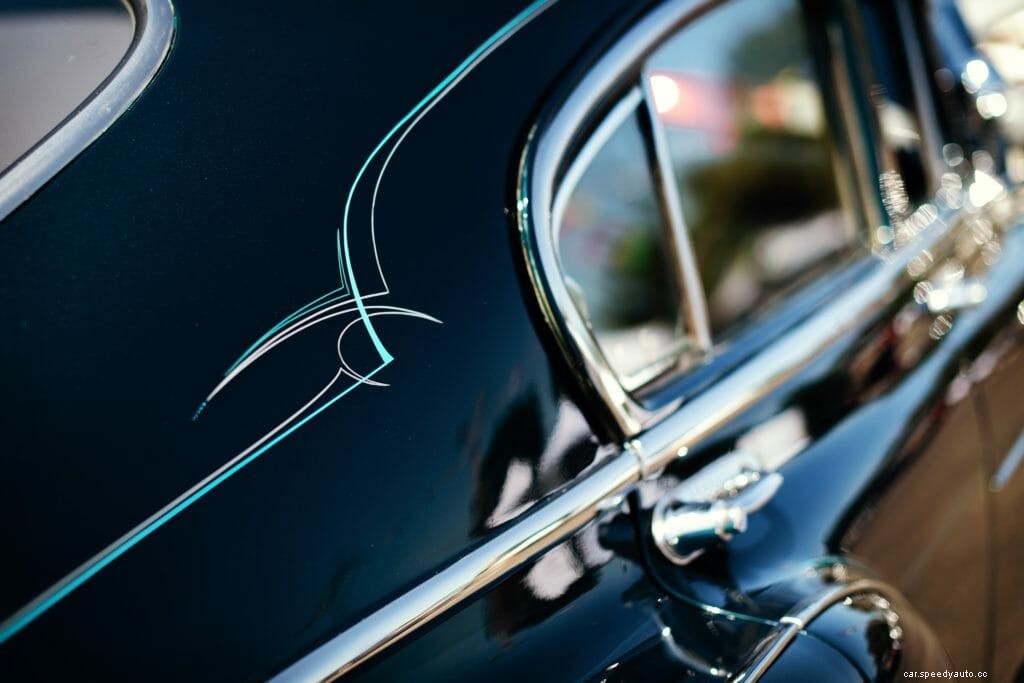
Back in the early 2000’s pinstripes were a massive trend to improve your vehicle’s external appearance without splashing large amounts of cash. Even today, many people find great appeal in the visual effect that pinstriping creates.
However, they are not to everyone’s taste and it has become more common to opt for pinstriping removal.
Whether you’re updating the appearance of your vehicle, or want to remove a previous owner’s decor choice, knowing how to safely remove pinstripes from your car is the key to preventing damage to your vehicle paintwork.
If you have steered clear of this unique design choice until now, you may not know there are two materials used to pinstripe cars. Vinyl and paint are the two options for pinstriping cars, and the removal process for both these options is the key to a successful and damage-free removal.
Let’s take a closer look into the unique art of pinstriping and most importantly, how to remove painted and vinyl pinstripes from your car without damaging the paint.
Removing vinyl pinstripes works similarly to the methods used for sticker removal as the vinyl adhesive can be easily heated up or peeled away to remove the pinstripes. However, removing the leftover adhesive from your vehicle without causing damage can be a difficult task.
Here is the best method to remove vinyl pinstripes from your car.
Using your heat gun or hairdryer, direct the heat in an even sweeping motion to avoid causing paint damage from excessive prolonged exposure. Do this for 3-5 minutes or until you notice the edges of the vinyl are easily raised.
Using your thin sharp edge, use this to gentle lift from the corners of your vinyl and pull away to peel the pinstripe off your vehicle.
If you find the vinyl suddenly becomes difficult to remove, apply heat to this area for a few minutes to loosen the adhesive and make for easier removal.
Once you have fully removed the vinyl pinstripes, you are likely to have some annoying adhesive residue leftover on your car. This is when your adhesive remover comes in handy!
Use your adhesive remover and wipe away with your microfiber cloth until you are satisfied with the results.
Follow up with car shampoo if you notice any leftover unwanted marks and check for any scratches or damage caused during the removal process. We have covered this further along in our article!
You may think that painted pinstripes are going to be a difficult task to remove without causing obvious damage to your vehicle as they don’t “peel away” the same way a vinyl pinstripe would. Luckily, there are two common methods you can try to remove your painted pinstripes that are all easy to perform and require minimal work.
Rubbing alcohol is a fantastic multipurpose liquid, and can be used to remove the unsightly pinstripes you no longer desire on your car.
You will need:
Step 1 – Start by cleaning the pinstripes to remove any dirt or debris on your car. Make sure to dry the area too.
Step 2 – Cover the area surrounding the pinstripes with masking tape in order to prevent any unnecessary paint damage.
Step 3 – Apply your alcohol/thinner to paper cloths, lightly rub it into your pinstripes and leave it to sit for 3-5 minutes.
Step 4 – Dip your microfiber cloth into the alcohol/ thinner and rub it into the pinstripes using circular motions.
Step 5 – When the paint starts to strip away, repeat until it is no longer visible and clean away with car shampoo and a CLEAN microfiber cloth to remove any traces of alcohol.
Our final method implements the use of an electric drill and 3M Stripe Off Wheel attachment to remove the stubborn areas of your pinstripes that won’t shift!
You will need:
Step 1 – Wash and clean the area of your vehicle beforehand.
Step 2 – Put your attachment onto the drill and operate it around 2000rpm.
Step 3 – Place the wheel edge onto the pinstripe using very light pressure, and take your time to prevent the chance of damaging your paint.
You may have gotten overly eager during the task of removing your pinstripes, or maybe you’re just searching for some cheap fixes to make your car’s paintwork look better?
There are several methods you can use to help remove and improve the appearance of scratches, scrapes, and stains on your vehicle’s paintwork. Here are our favorite tips to improve the appearance of damaged paintwork:
T-Cut is used to remove light surface scratches and scuffs on car paintwork. However, there are several varieties such as their metal polish and magic pen available too. It is an easy, affordable, and versatile product for any car enthusiast and can be used for any color.
T-Cut is made up of a blend of polymers, pigmented resin, and wax that can be used to remove scratches, blemishes, and surface oxidation from your vehicle. By applying this to the area where your vehicle’s pinstripes were, it can help to remove any residue or paint damage and improve the overall consistency in your vehicle’s paintwork.
Another product that can help to hide any damage and scratches from your paintwork is Turtle Wax Repair & Renew. This product works by depositing a barrier to promote paint restoration and remove any scratches or damage created on your paint over time from the friction caused by pinstripes against your paint job.
Goo Gone will be handy to remove any leftover adhesive from vinyl pinstripes and prevent damage from the adhesive residue.
Many dealerships can charge upwards of $300 to remove pinstripes which is why we suggest you try some of our methods before forking out on this expense.
Vinyl pinstripes can last up to 10 years with proper care, however, it is more common for them to appear damaged after 2-5 years.
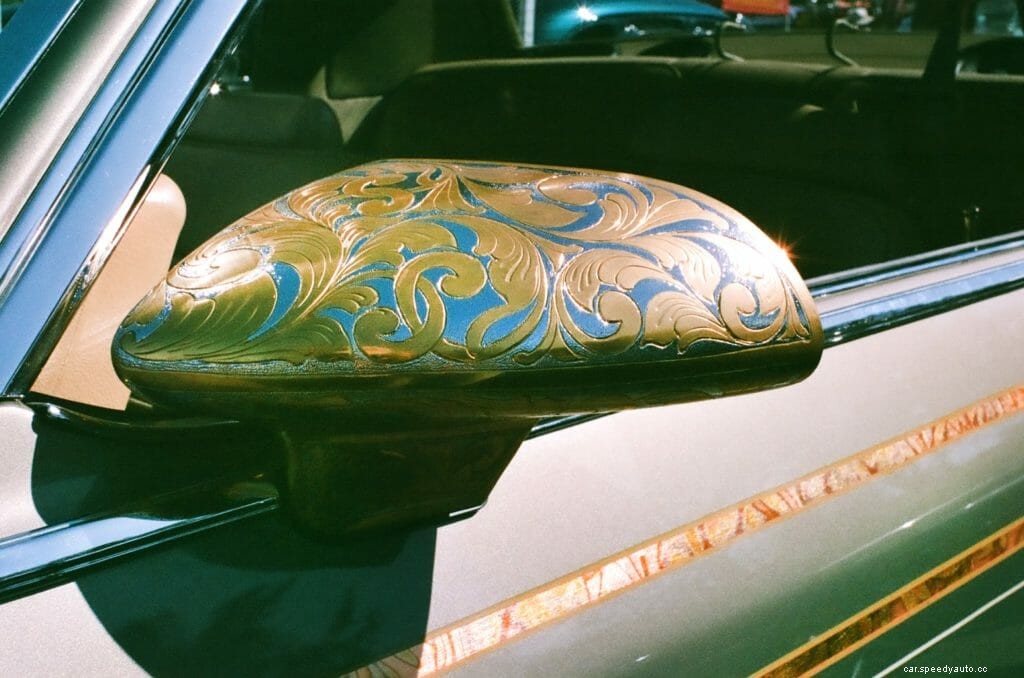
Pinstriping is used for decoration to create a custom look on your vehicle that is unique to your car.
Although pinstriping was once a very common and easy way to give your vehicle a unique modification and appearance, it is no longer viewed as such an appealing feature.
It’s no wonder so many owners have opted to remove them from their cars. We hope this article has given you some tips to try removing your pinstripes at home without having to pay the expense of a body shop.
