Installing an AeroVironment charging dock can be challenging even for the most experienced technicians. This is why I have compiled a step-by-step list that will help you install your new charger effortlessly and in no time.
Here’s the step-by-step AeroVironment charger installation guide:
In the following sections, you’ll find an in-depth explanation of how to execute each of these steps. After going through this process, your charger will be fully installed and ready to use.
To use an AeroVironment charger, you’ll first need to get several permits from local authorities. Ensure you have obtained all of them before beginning the installation process.
Once you have the paperwork, you can do some routine checks before continuing the preparation process. Start by taking a look at the Charging Dock and the connector cable. You might want to check for different types of damage, like a broken Charging Dock, cracked cover, or damaged wires. Inspect the connectors and see if any are broken or cracked.
If you notice any damage that may have occurred during shipment, keep the shipping carton and packing materials. You can file a claim with the insurance company or the carrier for the damages.
Another critical step is to check for missing parts. You can do this by referring to a list included in the package that details all the necessary components. If any of them are missing, make sure to contact Customer Service to resolve the problem.
To prepare for installation, you need to carefully read every instruction and cautionary marking on the assembly. Make sure you understand the material before continuing with the installment. Doing so is crucial for your safety.
Some important information and cautionary measures to keep in mind:
We compiled a Complete AeroVironment Charger Troubleshooting Guide for your perusal. Check it out!
You need quite a few tools to install an AeroVironment charger. Therefore, before starting, make sure you have everything needed in your toolbox. Otherwise, you’ll find yourself scrambling for tools mid-process. Here’s a list of everything you’ll need:
After checking all necessary tools, how many did you have on hand?
You’ll also need a few other items, which are included in the hardware kit:
To better understand the screwdrivers you’ll need for this process, here’s a handy guide of these different types of screwdrivers and their respective uses.
| Screwdriver | Use |
| Standard | Used to turn screws with slotted heads |
| Phillips | Used to fit screws with Phillips heads |
| Electrician | Used to drive screws into a material by turning it at the head |
| #10 Torx | Used for more secure screws and higher torque transmissions |
| Torque | Used to screw while the torque to be set to any value within a range |
The first thing you’ll need to do is install the mounting plate. Position the Mounting Plate over a vertical surface like a masonry wall or vertical wall stud. There should be approximately 48 inches (122 cm) between the floor and the bottom of the Mounting Plate.
Afterward, drill mounting holes into the wall or post. In the hardware kit, you’ll find two lag bolts and flat washers to attach the mounting plate to the masonry wall, stud, or post mounting. For other mounting types, you may need different types of fasteners.
Now it’s time to install the Charging Dock on the Mounting Plate. First, you remove the cover assembly from the Charging Dock and lay the Charging Dock on a flat surface.
The output cable pilot wire connector at the lower-left corner of the contactor should be disconnected. Then move the output cable pilot wire aside to access the lower Charging Dock mounting hole.
Hang the cover assembly on the Charging Dock housing using the hooks provided. Position the Charging Dock on the Mounting Plate and attach the two using two socket head screws and two flat washers.
You need the proper torque wrench to torque the screws to 50 in-lb (5.65 N-m). Finally, you need to reconnect the output cable pilot wire connector at the lower-left corner of the contactor I mentioned above.
The next step is charging the Dock Wiring. The two power phase wires from the power distribution panel to the Charging Dock terminal block should be connected. Use the torque wrench to torque the terminal block screws to 20 in-lb (2.26 N-m).
Make sure to connect the service ground wire to the ground terminal strip. The ground terminal strip screw should be torqued to 20 in-lb (2.26 N-m).
Before installing the Circuit Breaker, make sure it’s in the OFF position so that there’s no chance of any electric shock. Install the Circuit Breaker in the power distribution panel, following all safety precautions. The service ground wire should be connected to the ground strip located inside the power distribution panel.
Connect the power phase wires to circuit breaker terminals. Remember to torque all the circuit breaker screws and the power distribution panel ground terminal fastener according to the manufacturer’s specifications.
The next step in the installation process is assembly. Before starting, have a professional like an electrical inspector examine the Charging Dock wiring before closing the Charging Dock and the power distribution panel. Also, check how the wires from the front cover circuit board are routed to prevent pinching during assembly.
To assemble, first, install the Charging Dock. Attach the cover to the Charging Dock using nine screws. These screws should be torqued in a star pattern to 12 +/- 1.5 in-lb (1.36 +/- 0.17 N-m). Don’t use a screwdriver during this process and only tighten screws by hand.
Next, snap the trim ring into the groove in the Charging Dock faceplate to cover the screws. (Use a flat-head screwdriver if you want to remove the trim ring.) Attach the output cable hanger to the wall stud, masonry wall, or drywall 12 inches or 30 cm below the Charging Dock using the provided fasteners.
These fasteners are suitable for stud mounting, so you might need to search for other options for other types of mounting. The last assembly step is reinstalling the power distribution panel cover.
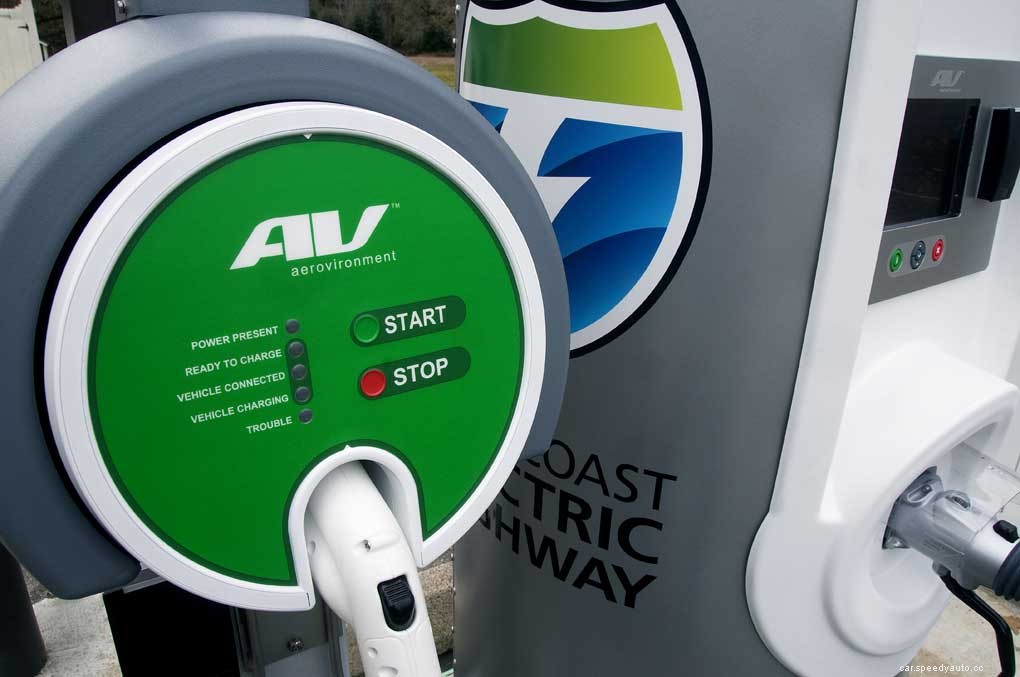
After assembling the charging dock, run a test procedure to make sure everything is working right. Firstly, turn on the distribution panel Circuit Breaker. Secondly, make sure the following conditions are met on the Charging Dock front panel:
The first step to complete a front panel indicator test is to press START and STOP, at the same time, for about three seconds. On the panel, all indicator lights should illuminate for five seconds.
After five seconds, two indicators on the panel should remain on: POWER PRESET and READY TO CHARGE. Otherwise, check the User’s Manual. The TROUBLESHOOTING section on the manual will help.
When you finish installing the Charging Dock, only two processes remain to be completed:
Once these two tasks are completed, the installation is complete. If you’re more of a visual learner, check out this video that takes you through the whole installation process:
AeroVironment highly recommends that only a licensed electrician install this equipment. So, if you’re not one, make sure to at least call a professional to supervise you during the process.
