The author is an amateur automotive, marine, and RV detailer. He has 30+ years of experience with washing, detailing and waxing vehicles.
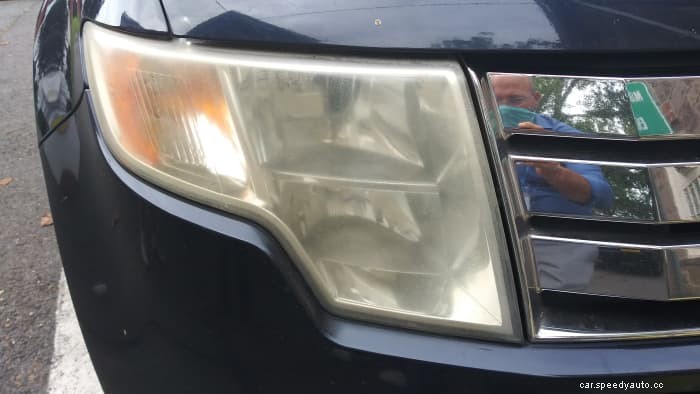
I am notoriously cheap. Looking at my options, I could either replace my headlights or restore them. I quickly decided that it would definitely be cheaper if I invested a little elbow grease and time. I opted to take the cheaper route and restore them. I decided it would be fun to document my work and help others facing the same dilemma. Below, I have outlined a step by step tutorial to easily restore those cloudy, hazy headlights. Save your hard-earned money by completing this quick headlight restoration process in your driveway or garage in 30 minutes or less! Follow along below for the best, proven results.
1. Spray Bottle (For Water)
2. 1500 Grit Sandpaper
3. 2500 Grit Sandpaper
4. 3000 Grit Sandpaper
5. Rubber Sanding Block
6. Rubbing Compound
7. Random Orbit Detailing Machine (Optional)
8. Medium Foam Polishing Pad (Optional)
9. Clean Microfiber Cloth
10. Blue 1" Painters Tape
11. Your favorite automotive wax
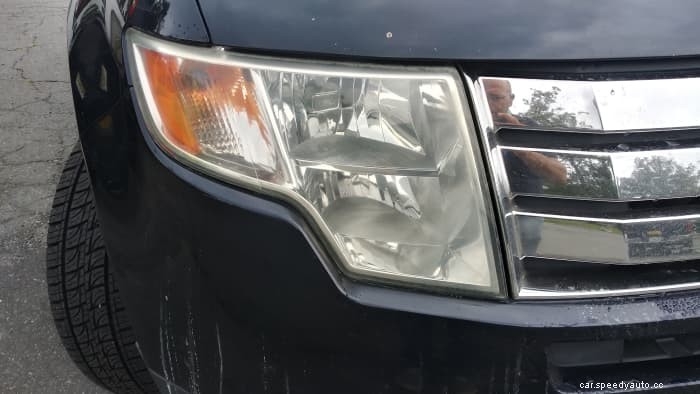
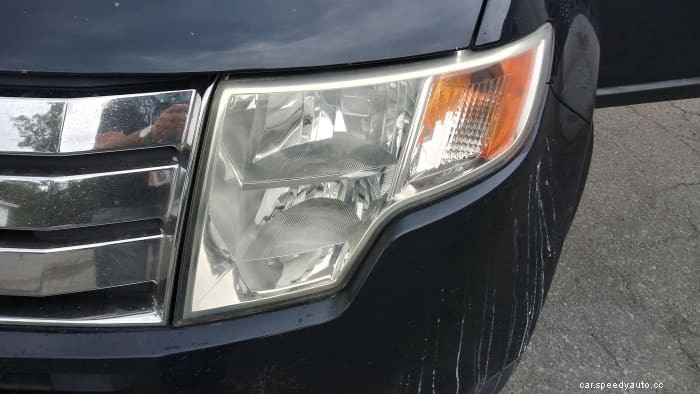
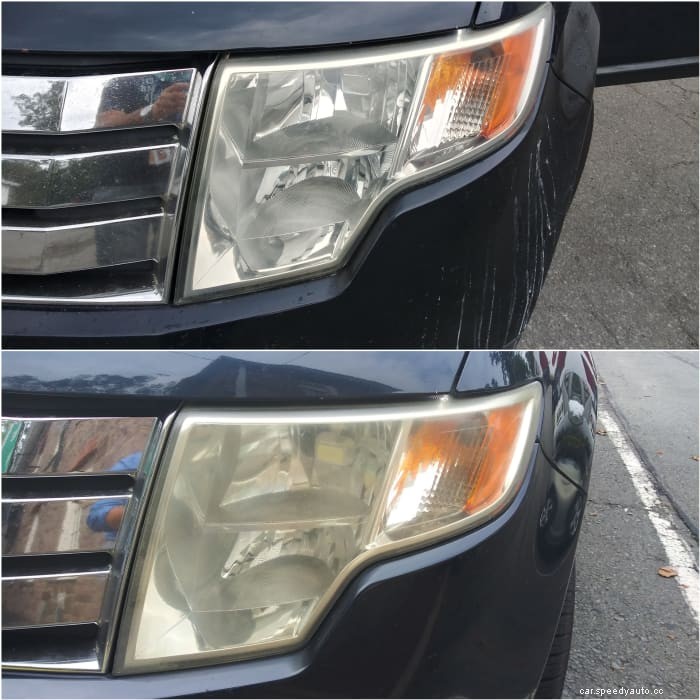
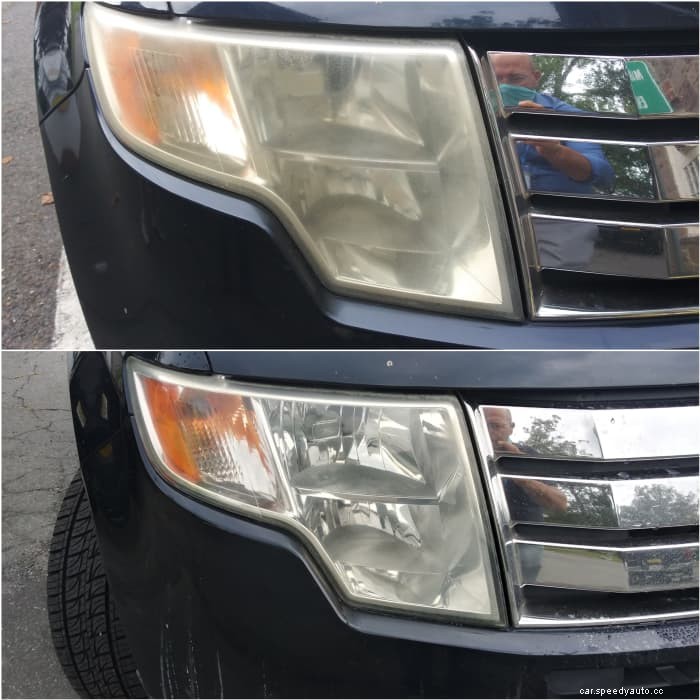
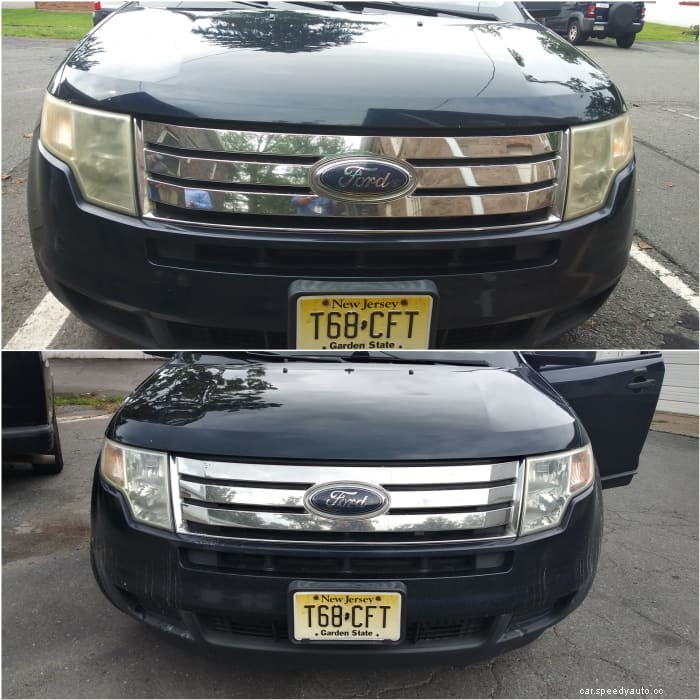
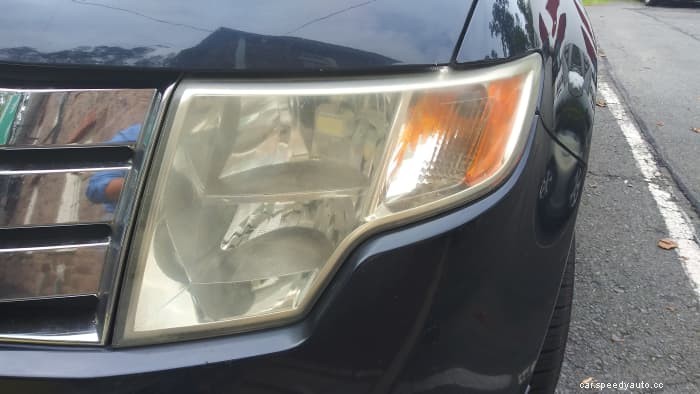
As you can see from the photos, this restoration project was a success. I don't think I exerted myself too much and getting to see these excellent results was very satisfying. With a couple of bucks and some sweat, I saved myself from a $500 replacement bill and gave myself a year or so of safe night driving thanks to the restored clarity of those cloudy headlights. I want to thank everyone for stopping by and hope that I was able to help you achieve similar results on your headlights. Don't forget get to check out some of my other articles! Have a great day!
This content is accurate and true to the best of the author’s knowledge and is not meant to substitute for formal and individualized advice from a qualified professional.
