Car battery is the main component of a vehicle, anything negative that happens to a battery will have a direct effect on an entire car, you may not be able to turn on the engine, lights stop working and etc. therefore a period checkup must be needed to ensure the battery is working at full capacity.
Step – 1
The first thing you need to do is check your meter; this can be achieved by setting the functions to ohms. The readings should be about zero when you connect the test leads, and the readings should be 1 when the relation is split. If your battery does not follow this pattern then something is wrong with the pattern.
There are commonly two types of multimeter available for purchase in the market—analog multimeters and digital multimeters. While digital multimeters showcase a numeric display, analog multimeters provide readings through the use of a microammeter with a moving pointer.
Step – 2
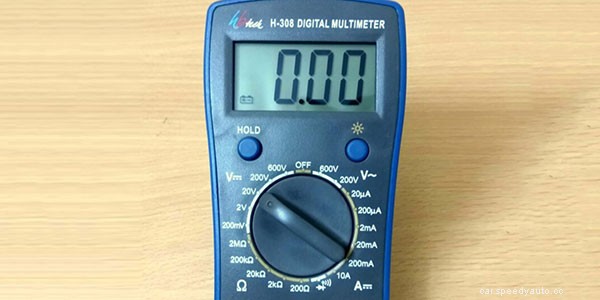
If you have a dedicated car battery test range, select the DC volts location on your multimeter (or the 12V setting). Typically the DC voltage is marked as a V followed by a short line with a dotted line under it. The wavy line after a V is voltage AC (alternating current), and is used to test the voltage of your house’s mains.
Most of the manual ranging meters have a 20V range, which is what you would need to test a car battery. The 20V range means it will measure between 0V and 20V. See below.
Step – 3
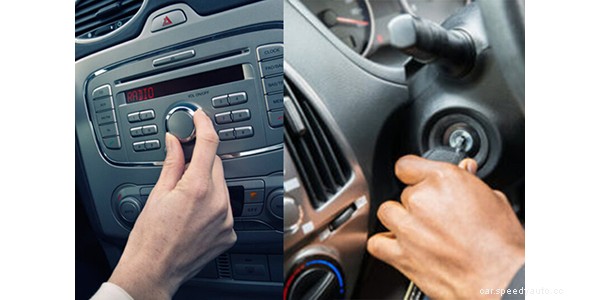
You need to have the engine turned off and radio to test the car battery using a multimeter.
Step – 3
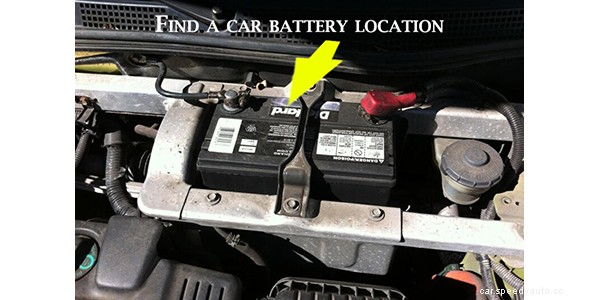
The battery for the car is mainly in the engine room. Open and search for the battery close to engine.
Step – 4

A proper multimeter like Fluke 87V will come with two cords on one end with a probe and a lead on the other. So make sure you insert the cords into correct ends.
Connect it positive to positive and negative to negative.
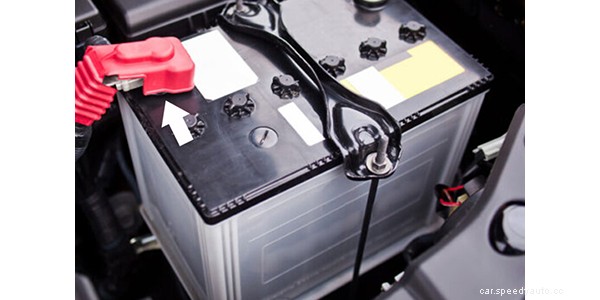
The red cable or lead of your multimeter should be plugged into the + port and connected to the positive terminal on your car battery.

The black cable should connect to the – port ( Neg, Ground) on your digital multimeter and also the negative terminal on your car battery.
Step – 5
Once you turn the multimeter on and set the voltage range properly, the multimeter will show the voltage of the battery.
Car batteries provide 12.6V DC (direct current) through six cells, producing 2.1V each.
Voltage |
Charge Status |
| Engine Running: 13.7 to 14.7 volt |
GOOD |
|
Engine Off |
Charge Status |
| 12.6V: fully charged | 100% Charged – GOOD |
| 12.4V: 75% charge | 75% Charged – GOOD |
| 12.2V: 50% | 50% Charged – Needs Charge |
| 12V: 25% | 25% Charged – Needs Charge |
| 11.9V and below: effectively zero charge | Battery Discharged |
Just because the battery reads more than 12.6 volts does not always mean that the battery is fine. The battery can read more than 12.4 volts, but not enough Cold Cranking Amps (CCA) output to start the engine. You’ll learn how to conduct a battery charging test in the next part.
Load is applied to the battery while its voltage is monitored. You can do this by starting the engine, turning lights on and monitor the voltage with a multimeter that has a min/max mode. This will automatically store the high and low voltages it picks up. The high voltage will likely be in the 14v area and is perfectly normal, while a drop under 9.6v during the process would indicate it can no longer effectively hold charge and needs changing.
Anything under the 75% charge rate, or about 12.45V, generally indicates the battery is undercharged and will need recharging. It does not, however, indicate that it is bad. If after recharging it doesn’t hold the charge, then there are other problems that needs to find it out.
Before finding other problems you need to first charger the battery
1 Method
2 Method (Recommended method)
Other problems
Bad Connections
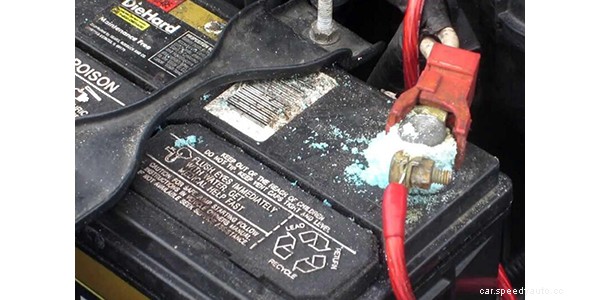
When some corrosion occurs around the battery terminals, the connection may be interfered with, and the vehicle may have trouble starting. It may be attributed to corroded or even loose terminals of the batteries. When the key is turned, the vehicle can experience difficulty starting, slow cranking, or fast clicking.
Short Circuit
A common type of short circuit occurs when the positive and negative terminals of a battery are connected with a low-resistance conductor, like a wire. With a low resistance in the connection, a high current will flow, causing the delivery of a large amount of energy in a short period of time.
Alternator at fault
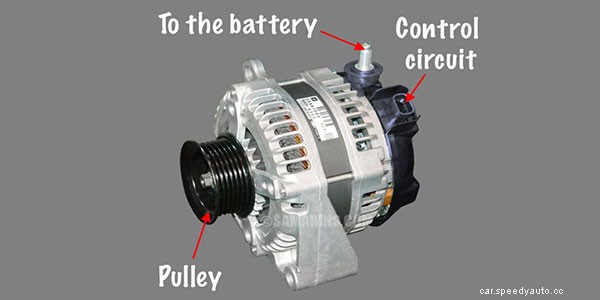
A very simple way to check if the alternator is working is to run the car and disconnect the positive terminal of the battery. If the vehicle stops running, then you probably have a bad alternator.
You can also inspect your interior and dashboard lights. If you note that the lights shine brightly but gradually fade over time, then you’ve got a poor alternator on your hands. It is because while the battery starts the ignition and the lights, it still depends on the alternator to continue to operate while the car is running. So if the lights come on but don’t have the same brightness then the battery isn’t charged properly.
Battery need replacement
These are only a couple of the key explanations for the need to replace a car battery.
