 1
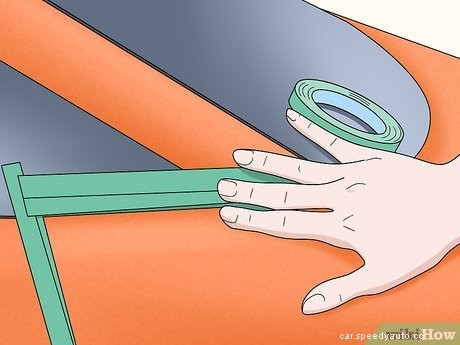
Cover anything that isn’t painted with masking tape to protect it. Grab a roll of masking tape and walk around your vehicle. Use the tape to cover up any plastic edges, the trim around your windows, any emblems on your vehicle, and the edges of your headlights. Mask off any portion you don’t want to damage with the abrasive polisher you’re going to use.
1
Cover anything that isn’t painted with masking tape to protect it. Grab a roll of masking tape and walk around your vehicle. Use the tape to cover up any plastic edges, the trim around your windows, any emblems on your vehicle, and the edges of your headlights. Mask off any portion you don’t want to damage with the abrasive polisher you’re going to use.
Warning: You’re going to use a polishing tool to apply an abrasive compound. If you don’t mask off the areas you want to protect, you may end up damaging or scratching them.
 2
Add tape to any portions of your panels that aren’t flat or smooth. If you have any ridges, racing stripes, or images on the vehicle’s panels, tape them off. Use horizontal strips of tape to cover any edges that sit on an angle to protect them. It’s exceptionally difficult to remove orange peel from these edges without damaging them, so you’re better off just taping them off.
2
Add tape to any portions of your panels that aren’t flat or smooth. If you have any ridges, racing stripes, or images on the vehicle’s panels, tape them off. Use horizontal strips of tape to cover any edges that sit on an angle to protect them. It’s exceptionally difficult to remove orange peel from these edges without damaging them, so you’re better off just taping them off.
 3
Pick a panel to start with and tape off the edges on the adjacent panels. Choose any panel to start with. Then, tape off the seams on the panels surrounding your starting panel. For example, if you’re starting on the hood, add pieces of tape to the panels surrounding each wheel next to the hood.
3
Pick a panel to start with and tape off the edges on the adjacent panels. Choose any panel to start with. Then, tape off the seams on the panels surrounding your starting panel. For example, if you’re starting on the hood, add pieces of tape to the panels surrounding each wheel next to the hood.
 1
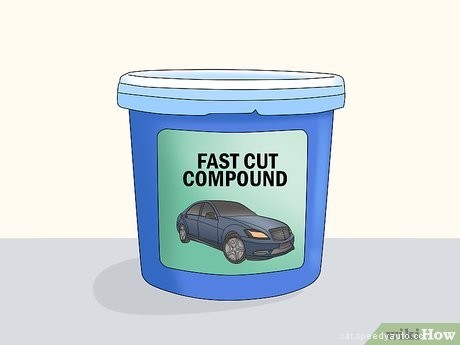
Pick up a fast cut compound designed for vehicles to buff the bumps out. The best way to remove orange peel without sanding is to use fast cutting compound. Cutting compound is an abrasive paste that will erode an extremely thin layer of paint and wear away the orange peel in the process. Pick up some fast cutting compound at a local automotive or construction supply store.
2
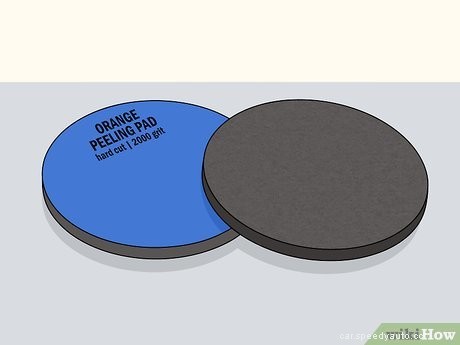
Attach an orange peel removal pad to a rotary polisher. Buy or rent a rotary polisher, which is basically a big orbital sander designed for buffing cars. Get an orange peel removal pad or a denim pad, and slide the edges of the pad over the disc on the front of the rotary polisher.
1
Pick up a fast cut compound designed for vehicles to buff the bumps out. The best way to remove orange peel without sanding is to use fast cutting compound. Cutting compound is an abrasive paste that will erode an extremely thin layer of paint and wear away the orange peel in the process. Pick up some fast cutting compound at a local automotive or construction supply store.
2
Attach an orange peel removal pad to a rotary polisher. Buy or rent a rotary polisher, which is basically a big orbital sander designed for buffing cars. Get an orange peel removal pad or a denim pad, and slide the edges of the pad over the disc on the front of the rotary polisher.
Warning: Do not use a wool or foam pad. The orange peel basically looks like a series of waves when you look closely at it. Wool and foam will fill the ridges of these waves and may make the orange peel worse. Denim and orange peel removal pads are flat and won’t fill the gaps between the waves, which means they’ll smooth the wavy ridges down evenly.
 3
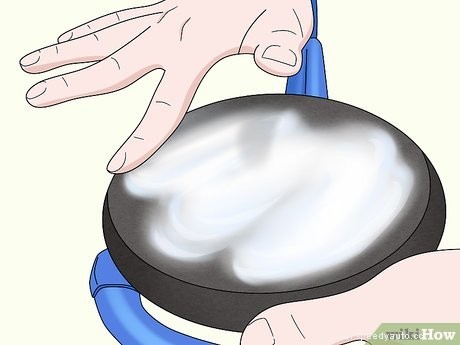
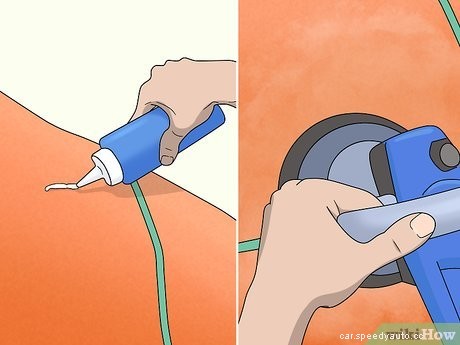
Spread a 12–16 in (30–41 cm) bead of compound around the pad to prime it. Put on a pair of nitrile gloves and turn your rotary polisher over. Pour fast cutting compound out of the nozzle and spread it on your denim or orange peel removal pad in a zigzag pattern. Then, use your gloved finger to spread the compound out so every portion of the pad is covered in a thin layer of the paste.
3
Spread a 12–16 in (30–41 cm) bead of compound around the pad to prime it. Put on a pair of nitrile gloves and turn your rotary polisher over. Pour fast cutting compound out of the nozzle and spread it on your denim or orange peel removal pad in a zigzag pattern. Then, use your gloved finger to spread the compound out so every portion of the pad is covered in a thin layer of the paste.
 1
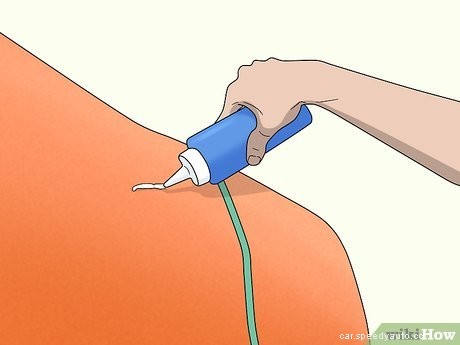
Apply a 6–12 in (15–30 cm) bead of compound to the first panel. Take the bottle of cutting compound and spread a thick line of paste over any portion of the first panel. It doesn’t necessarily matter where you start. You’re going to work in 2–3 ft (0.61–0.91 m) sections, so just pick an any area to start.
1
Apply a 6–12 in (15–30 cm) bead of compound to the first panel. Take the bottle of cutting compound and spread a thick line of paste over any portion of the first panel. It doesn’t necessarily matter where you start. You’re going to work in 2–3 ft (0.61–0.91 m) sections, so just pick an any area to start.
 2
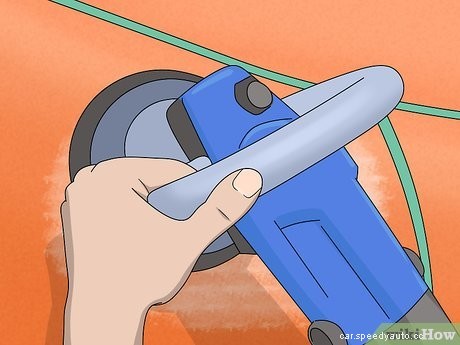
Spread the compound around the panel in a 2–3 ft (0.61–0.91 m) section. With your polisher off, hold the pad flat against the panel where you applied the compound. Move the pad back and forth to spread the bead of cutting compound out in a square- or rectangle-shaped section. Once you’ve covered a small portion of the panel with your compound, you’re ready to start buffing.
2
Spread the compound around the panel in a 2–3 ft (0.61–0.91 m) section. With your polisher off, hold the pad flat against the panel where you applied the compound. Move the pad back and forth to spread the bead of cutting compound out in a square- or rectangle-shaped section. Once you’ve covered a small portion of the panel with your compound, you’re ready to start buffing.
 3
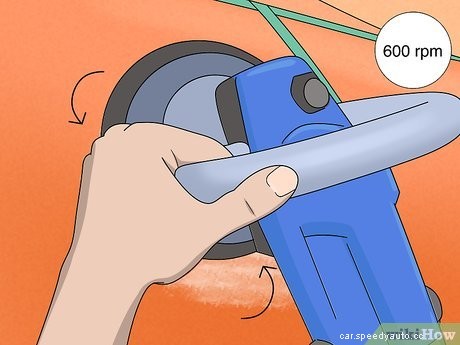
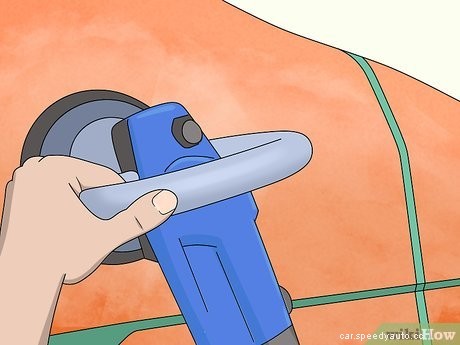
Set the rotary polisher to 600 rpm and work in a circular motion. There is a dial on the handle of the rotary polisher. If the rpm isn’t listed on the dial, set it to "1" or "low." Otherwise, set it to 600 rpm. Pull the trigger to spin the polishing pad and hold it gently against the panel. Move the pad in a smooth circular motion while applying light pressure to the vehicle to begin removing the orange peel.
3
Set the rotary polisher to 600 rpm and work in a circular motion. There is a dial on the handle of the rotary polisher. If the rpm isn’t listed on the dial, set it to "1" or "low." Otherwise, set it to 600 rpm. Pull the trigger to spin the polishing pad and hold it gently against the panel. Move the pad in a smooth circular motion while applying light pressure to the vehicle to begin removing the orange peel.
Tip: You really don’t need to press very hard. Pretend like you’re petting a cat or brushing someone’s hair back. It’s a very light pressure.
 4
Cover the area where you spread the polish out 3-5 times. Keep moving the polishing pad around in a smooth circular motion. If the area is round, keep turning the polisher so that the pad is resting parallel to the area that you’re working on. Cover each portion of the area where you originally spread the compound out 3-5 times until the paint looks a little paler and less reflective than the surrounding area.
5
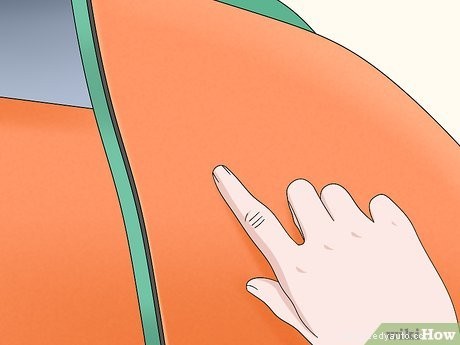
Keep polishing until the paint is paler and less reflective than the rest of the vehicle. Somewhere between the third and fifth cycle with the polishing pad, the orange peel will be gone. Pay attention to the color of the paint and the way it reflects light to determine when you’ve worn it away. Typically, when the orange peel is gone, the paint will look a little less glossy, reflect less light, and the area will be a little paler than the rest of your vehicle.
4
Cover the area where you spread the polish out 3-5 times. Keep moving the polishing pad around in a smooth circular motion. If the area is round, keep turning the polisher so that the pad is resting parallel to the area that you’re working on. Cover each portion of the area where you originally spread the compound out 3-5 times until the paint looks a little paler and less reflective than the surrounding area.
5
Keep polishing until the paint is paler and less reflective than the rest of the vehicle. Somewhere between the third and fifth cycle with the polishing pad, the orange peel will be gone. Pay attention to the color of the paint and the way it reflects light to determine when you’ve worn it away. Typically, when the orange peel is gone, the paint will look a little less glossy, reflect less light, and the area will be a little paler than the rest of your vehicle.
 6
Repeat this process on the rest of your panels to remove the peel. When you’re done with the first area, add a bead of compound to the section next to it, spread it out, and buff it with the pad 3-5 times. When you finish the first panel, tape off the adjacent seams on the next panel and repeat the process all over again. This process may take 30-60 minutes.
6
Repeat this process on the rest of your panels to remove the peel. When you’re done with the first area, add a bead of compound to the section next to it, spread it out, and buff it with the pad 3-5 times. When you finish the first panel, tape off the adjacent seams on the next panel and repeat the process all over again. This process may take 30-60 minutes.
 7
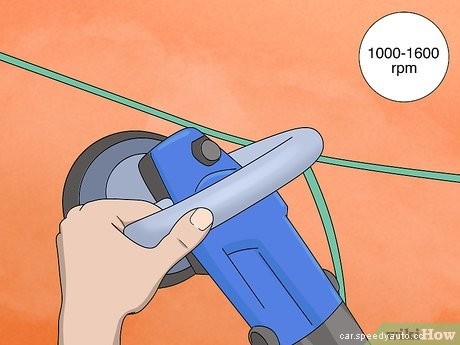
Polish everything at 1000-1600 rpm when you’re done buffing the paint. Once you’ve buffed the entire vehicle, repeat the entire process. This time, cut the amount of cutting compound you use in half, apply no pressure, and use the highest rpm available on your polisher. This will even out any mistakes, remove any scratches, and make your car look practically new. Cover each area 1-2 times to finish polishing your vehicle.
7
Polish everything at 1000-1600 rpm when you’re done buffing the paint. Once you’ve buffed the entire vehicle, repeat the entire process. This time, cut the amount of cutting compound you use in half, apply no pressure, and use the highest rpm available on your polisher. This will even out any mistakes, remove any scratches, and make your car look practically new. Cover each area 1-2 times to finish polishing your vehicle.
